 Domain SearchInstantly check and register your preferred domain name
 Web Hosting
 cPanel HostingHosting powered by cPanel (Most user friendly)
 KE Domains
 Reseller HostingStart your own hosting business without tech hustles
 Windows HostingOptimized for Windows-based applications and sites.
 Free Domain
 Affiliate ProgramEarn commissions by referring customers to our platforms
 Free HostingTest our SSD Hosting for free, for life (1GB storage)
 Domain TransferMove your domain to us with zero downtime and full control
 All DomainsBrowse and register domain extensions from around the world
 .Com Domain
 WhoisLook up domain ownership, expiry dates, and registrar information
 VPS Hosting
 Managed VPSNon techy? Opt for fully managed VPS server
 Dedicated ServersEnjoy unmatched power and control with your own physical server.
 Website Builder
 Online Store BuilderLaunch a professional e-commerce store without writing code.
 Web Design ServiceGet a custom-designed website tailored to your brand and goals. From just KES 15,600
 BlogRead our guides on web hosting, online business, digital marketing, and more
 SupportOur support guides cover everything you need to know about our services
 ContactContact us via chat or email
You just spun up a fresh VPS, and the terminal is sitting open in front of you. No web server is running yet, so the next few steps will decide how soon your site goes live.
Apache tends to win out when a project needs flexible per-directory configuration (through .htaccess files) or heavy module support.
This guide walks through the exact commands to install, configure, and verify Apache on a Linux VPS. It covers Ubuntu, Debian, CentOS, AlmaLinux, and Rocky Linux.
What You Need Before You Start

Before you type a single command, check a few things first. Skipping this step often confuses later, so take two minutes here.
- SSH access to your VPS, with root privileges or a sudo-enabled user account ready
- Your distro is identified up front, since Ubuntu and Debian use different commands than the RHEL family.
- Ports
80and443are free and not already claimed by another service - At least 1GB of RAM available, since Apache’s default worker processes can strain smaller VPS plans under load
Run this command to check if port 80 is already taken:
sudo ss -tuln | grep :80If nothing returns, the port is open, and you can move ahead.
Step 1: Update Your Server Packages First
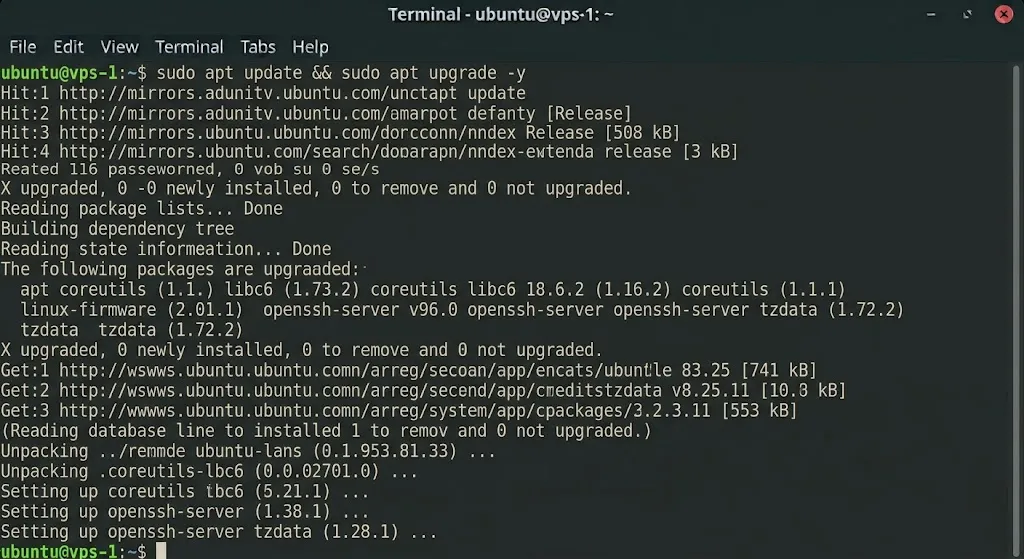
Every install should start with an update. Old package lists can pull in outdated dependencies and cause conflicts mid-install.
For Ubuntu and Debian, run:
sudo apt update && sudo apt upgrade -yFor CentOS, RHEL, AlmaLinux, or Rocky Linux, run:
sudo dnf update -yIf the update touches the kernel, reboot the server before continuing.
sudo rebootGive it a minute, then reconnect over SSH and pick up where you left off.
Step 2: Install Apache on Ubuntu and Debian VPS
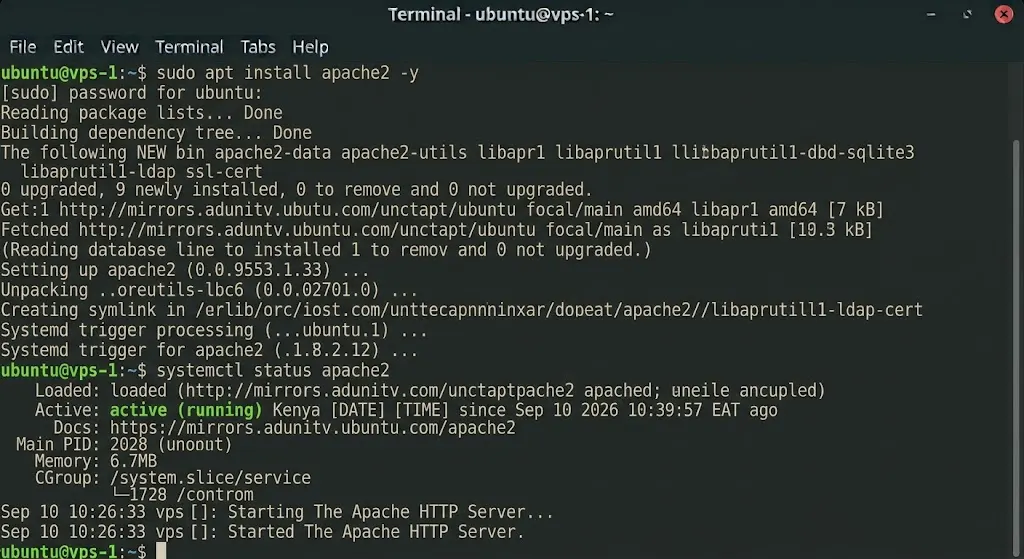
Ubuntu and Debian both use apt as the package manager, and Apache installs through a single command.
sudo apt install apache2 -yApache starts on its own right after install, so there’s no separate launch step. Confirm it’s running with this command:
systemctl status apache2You should see “active (running)” in the output. If you do, the install worked.
A few defaults worth knowing right away:
- Document root:
/var/www/html - Main config file:
/etc/apache2/apache2.conf - Service name:
apache2, nothttpd, and every command from here uses that name
Step 3: Install Apache on CentOS, RHEL, AlmaLinux, and Rocky Linux VPS
The RHEL family uses dnf instead of apt, and the package name changes, too.
sudo dnf install httpd -yUnlike Ubuntu, Apache does not start on its own after installation here. Start it and set it to launch on boot in one step:
sudo systemctl enable --now httpdDefaults to remember on this distro family:
- Document root:
/var/www/html - Main config file:
/etc/httpd/conf/httpd.conf - SELinux runs in enforcing mode by default, which plays a role later when you set permissions
Step 4: Start, Enable, and Verify the Apache Service
Once Apache is installed, confirm it actually runs before moving on. Use the right command for your distro:
sudo systemctl status apache2 # Ubuntu/Debian
sudo systemctl status httpd # RHEL family
Then open a browser and visit your server’s IP address directly, like http://your-server-ip/. A default Apache test page should load. That page confirms the install worked and the service answers on port 80.
Read the status output carefully. “active (running)” means everything is fine. “failed” or “inactive (dead)” means something needs attention. When that happens, pull more detail with:
sudo journalctl -u apache2 # Ubuntu/Debian
sudo journalctl -u httpd # RHEL family
This log usually names the exact line or file causing the failure.
Step 5: Open Apache Ports Through Your VPS Firewall
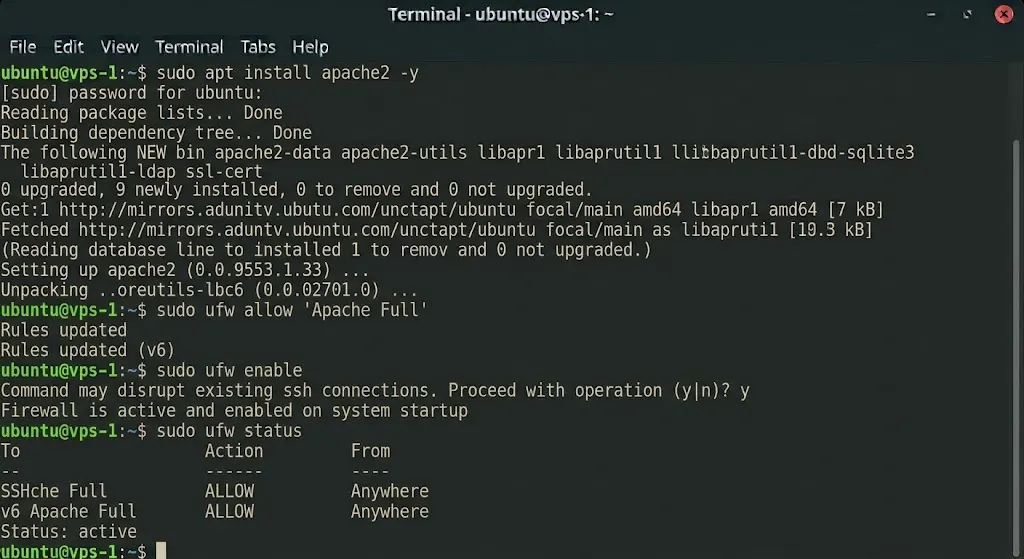
A running service does nothing for visitors if the firewall blocks it. Open the right ports before you test from outside.
On Ubuntu or Debian with UFW:
sudo ufw allow 'Apache Full'

sudo ufw enable

sudo ufw status
The “Apache Full” rule opens both port 80 and port 443 in one move.
On CentOS, RHEL, AlmaLinux, or Rocky Linux with firewalld:
sudo firewall-cmd --permanent --add-service=http

sudo firewall-cmd --permanent --add-service=https

sudo firewall-cmd --reload
One warning before you touch any firewall on a remote VPS: allow SSH first. If you enable the firewall without an SSH rule in place, you lock yourself out instantly. Getting back in then needs console access from your hosting provider.
Step 6: Configure an Apache Virtual Host for Your Domain
A virtual host tells Apache which files belong to which domain. This step turns a bare test page into a real site.
Start by creating a dedicated document root:
sudo mkdir -p /var/www/yourdomain.com/htmlThen create a config file with the basics filled in: ServerName, ServerAlias, and DocumentRoot. On Ubuntu or Debian, place it in /etc/apache2/sites-available/ and enable it with:
sudo a2ensite yourdomain.com.conf

sudo a2dissite 000-default.conf
On the RHEL family, drop the config file directly into /etc/httpd/conf.d/, since there’s no a2ensite equivalent on this distro.
Before you reload Apache, test the config for syntax errors:
sudo apache2ctl configtest # Ubuntu/Debian
sudo httpd -t # RHEL family
A clean “Syntax OK” means you’re ready to reload. Skipping this check is how small typos take a live site down.
Step 7: Set Correct File and Folder Permissions
Apache runs as a specific user, and that user needs the right access to read your files. Get this wrong, and visitors see a blank page or an error instead of your site.
Set ownership first:
sudo chown -R www-data:www-data /var/www/yourdomain.com # Ubuntu/Debian
sudo chown -R apache:apache /var/www/yourdomain.com # RHEL family
Then apply the standard permission split, directories at 755 and files at 644:
sudo find /var/www/yourdomain.com -type d -exec chmod 755 {} \;

sudo find /var/www/yourdomain.com -type f -exec chmod 644 {} \;
Loose permissions might not cause problems on a default test page. Once real site content sits in that folder, they become a risk.
Step 8: Secure Apache With an SSL Certificate
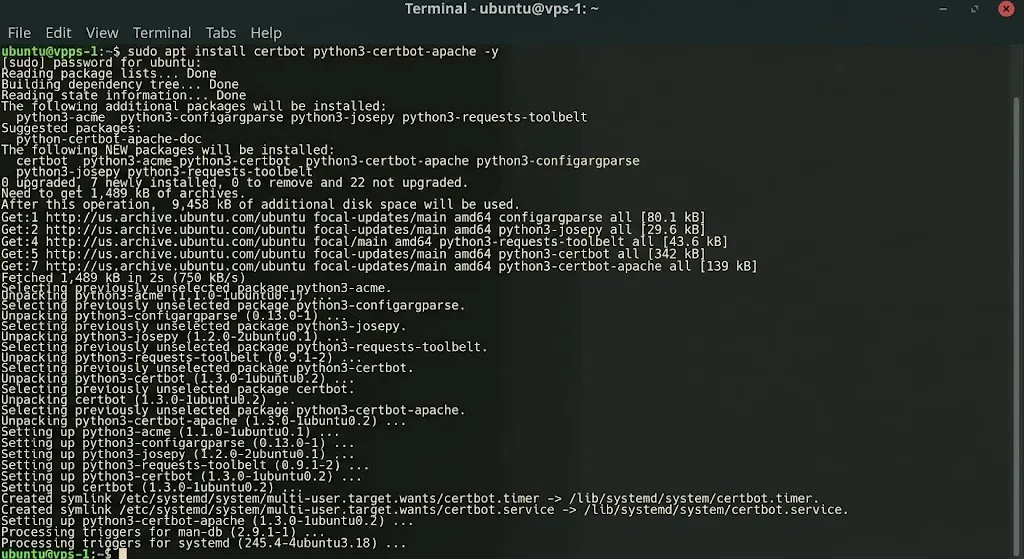
A site without HTTPS looks outdated to visitors and to search engines alike. Certbot makes adding a free certificate a short job.
Install Certbot along with the Apache plugin:
sudo apt install certbot python3-certbot-apache -y # Ubuntu/Debian
sudo dnf install certbot python3-certbot-apache -y # RHEL family
Run Certbot and let it handle the virtual host edits on its own:
sudo certbot --apacheFollow the prompts, and Certbot updates your config and sets up the redirect from HTTP to HTTPS automatically. Confirm it worked by visiting your site with https:// in front of the address.
Certificates expire every 90 days, so check that auto-renewal is set up:
sudo certbot renew --dry-runA clean dry run means renewal will happen on its own without any manual steps later.
Troubleshoot Common Apache Installation Errors on a VPS
Even a careful install hits a snag sometimes. Here are the errors people run into most often, along with the fix for each one.
1) AH00558: Could not reliably determine the server’s fully qualified domain name
This warning shows up often and does not stop Apache from running. Fix it by adding a global ServerName line:
echo "ServerName localhost" | sudo tee /etc/apache2/conf-available/servername.conf

sudo a2enconf servername

sudo systemctl reload apache2
2) AH00072: could not bind to address 0.0.0.0:80 (port already in use)
Something else already holds port 80. Find out what with:
sudo lsof -i :80

sudo ss -tlnp | grep :80
Nginx or a second Apache instance are the usual culprits. Stop the conflicting service, then start Apache again.
3) 403 Forbidden on an install that seemed to work
Start with permissions. Run ls -la on your document root and confirm the ownership and access levels match what Apache expects. Check the virtual host file too, since a missing DirectoryIndex or a restrictive Require directive can trigger this same error.
4) 403 Forbidden that sticks around after permissions look correct (RHEL family only)
SELinux context is almost always the reason on CentOS, AlmaLinux, or Rocky Linux. Reset it with:
sudo restorecon -Rv /var/www/html/This fix is especially common after moving files in from another directory. Copied files can carry the wrong context with them.
5) Site loads over HTTP, but the SSL setup fails.
Confirm the SSL module is active before running Certbot again:
sudo a2enmod sslOn the RHEL family, check that mod_ssl is installed alongside httpd, since it ships as a separate package.
6) Config test passes, but the reload still fails.
Look for a duplicate Listen directive or two virtual hosts claiming the same ServerName. Both are common after manual edits and won’t always show up during configtest.
Where to look next
Log files often explain what a status check alone cannot:
- Ubuntu/Debian:
/var/log/apache2/error.log - RHEL family:
/var/log/httpd/error_log
Run sudo tail -20 on either file to see the most recent entries first.
FAQs
Is Apache free to use on a VPS?
Yes. Apache is open source software from the Apache Software Foundation. There’s no license fee for running it on any number of servers.
What is the difference between Apache and Nginx on a VPS?
Apache handles dynamic content and per-directory configuration with more flexibility, while Nginx tends to serve static files with less memory. Many VPS setups run one or the other. Some run both together, with Nginx as a reverse proxy in front of Apache.
How long does installing Apache on a VPS actually take?
The core install takes a few minutes on a standard VPS with a stable connection. Adding a virtual host, firewall rules, and an SSL certificate takes longer. Expect about 20 to 30 minutes total for a first-time setup.
Can Apache and Nginx run on the same server at once?
Yes, though not on the same port at the same time. A common setup has Nginx listen on ports 80 and 443 as a reverse proxy. It then passes traffic to Apache on an internal port, like 8080.
Set up Apache Web Server Today
A finished Apache install means more than a package that downloaded without errors. The service runs, the right ports stay open, and your virtual host points to the correct files. SSL keeps traffic encrypted on top of that. That’s a site ready for real visitors, not just a default test page.
From here, the next steps usually involve adding PHP or a database for dynamic content. Scaling up VPS resources comes next once traffic grows.
If your current plan feels tight on RAM or storage, check a VPS plan built for that load. Apache and your application should run side by side, so the installation you just finished has room to grow.