Domain SearchInstantly check and register your preferred domain name
 Web Hosting
 cPanel HostingHosting powered by cPanel (Most user friendly)
 KE Domains
 Reseller HostingStart your own hosting business without tech hustles
 Windows HostingOptimized for Windows-based applications and sites.
 Free Domain
 Affiliate ProgramEarn commissions by referring customers to our platforms
 Free HostingTest our SSD Hosting for free, for life (1GB storage)
 All DomainsBrowse and register domain extensions from around the world
 .Com Domain
 WhoisLook up domain ownership, expiry dates, and registrar information
 VPS Hosting
 Managed VPSNon techy? Opt for fully managed VPS server
 Dedicated ServersEnjoy unmatched power and control with your own physical server.
 SupportOur support guides cover everything you need to know about our services
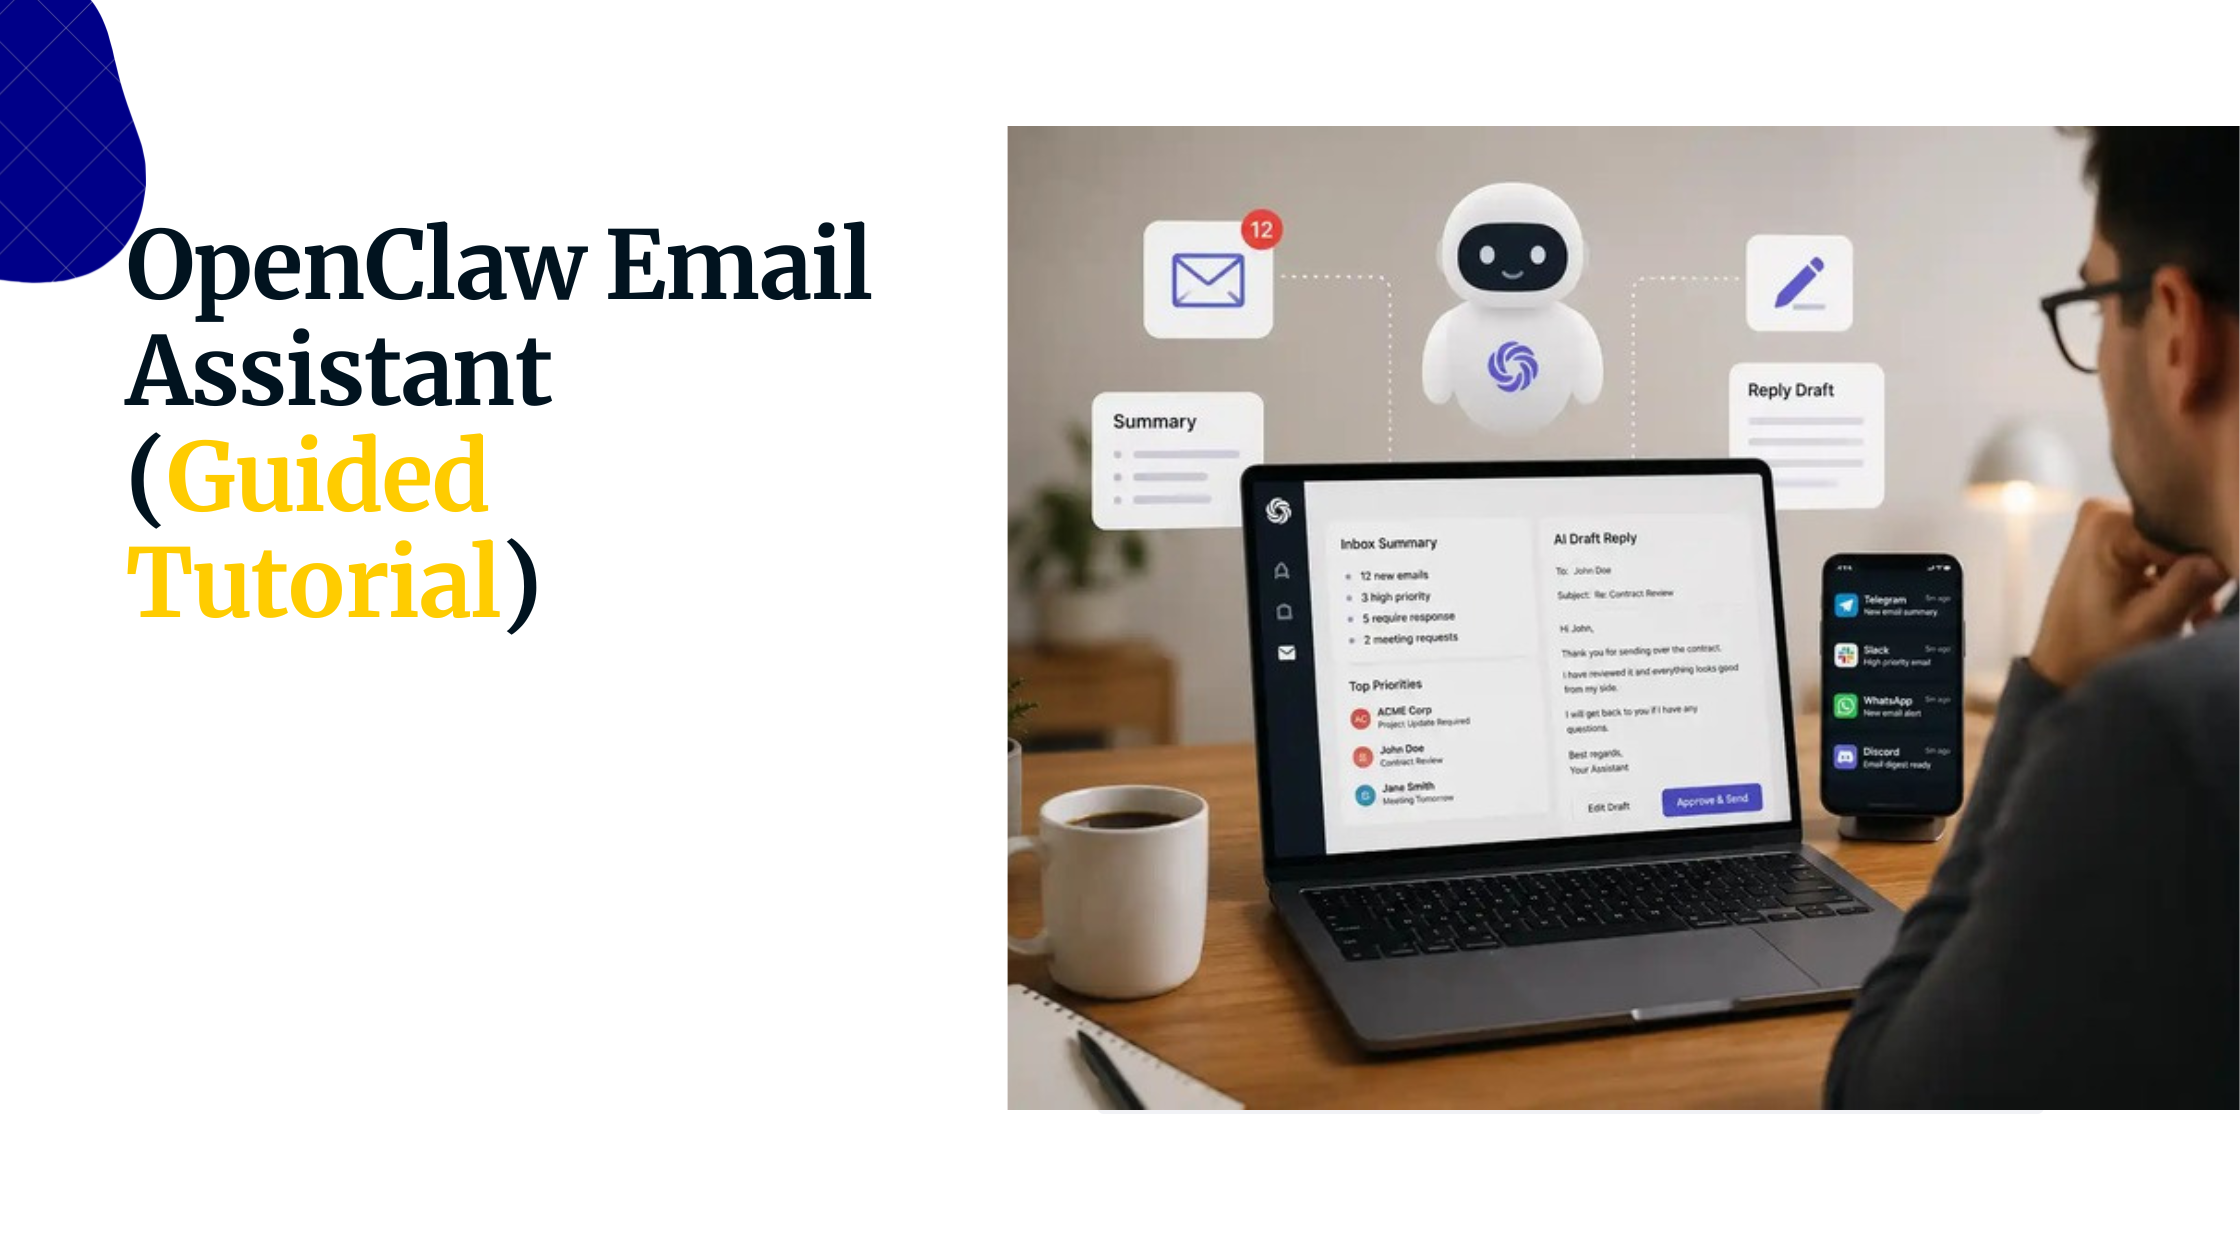
Turning your home into a smart home is one thing, and giving it an intelligent, always-on AI butler that you can talk to in plain English is another.
That’s exactly what OpenClaw is built for.
It’s an open-source AI agent framework that transforms your home from a collection of gadgets into a truly responsive environment, automating everything.
You can turn it into a home assistant because it talks directly to your smart home system. Unlike Alexa or Google Home, OpenClaw does not send your commands to the cloud.
It controls your lights, thermostat, locks, and sensors through a local connection on your own network.
You can control it from the messaging apps you already use, like WhatsApp or Telegram, giving your home a voice you can reach from anywhere.
This guide walks you through every step to get OpenClaw running as your personal home assistant.
What You’ll Need Before You Start
You do not need to be a programmer, but you should be comfortable typing commands into a terminal window.
You need this before you type a single command:
- A dedicated computer (Raspberry Pi, old PC, Mac Mini) or a VPS to run OpenClaw 24/7
- Basic terminal or command line knowledge
- Node.js 20 or higher installed on that machine
- Ollama installed for a free local AI model, OR an API key from Anthropic, OpenAI, or Google for a cloud-based AI
- A Telegram Bot Token from BotFather on Telegram. You can also use Discord, WhatsApp, or iMessage
- A working Home Assistant instance is already installed and running on your network
- A Home Assistant Long-Lived Access Token
- A stable local network where your OpenClaw machine sits on the same network as Home Assistant. An Ethernet cable is recommended over WiFi
- If you use a VPS, you need at least 2 GB of RAM, 20 GB of SSD storage, and Ubuntu 22.04 LTS
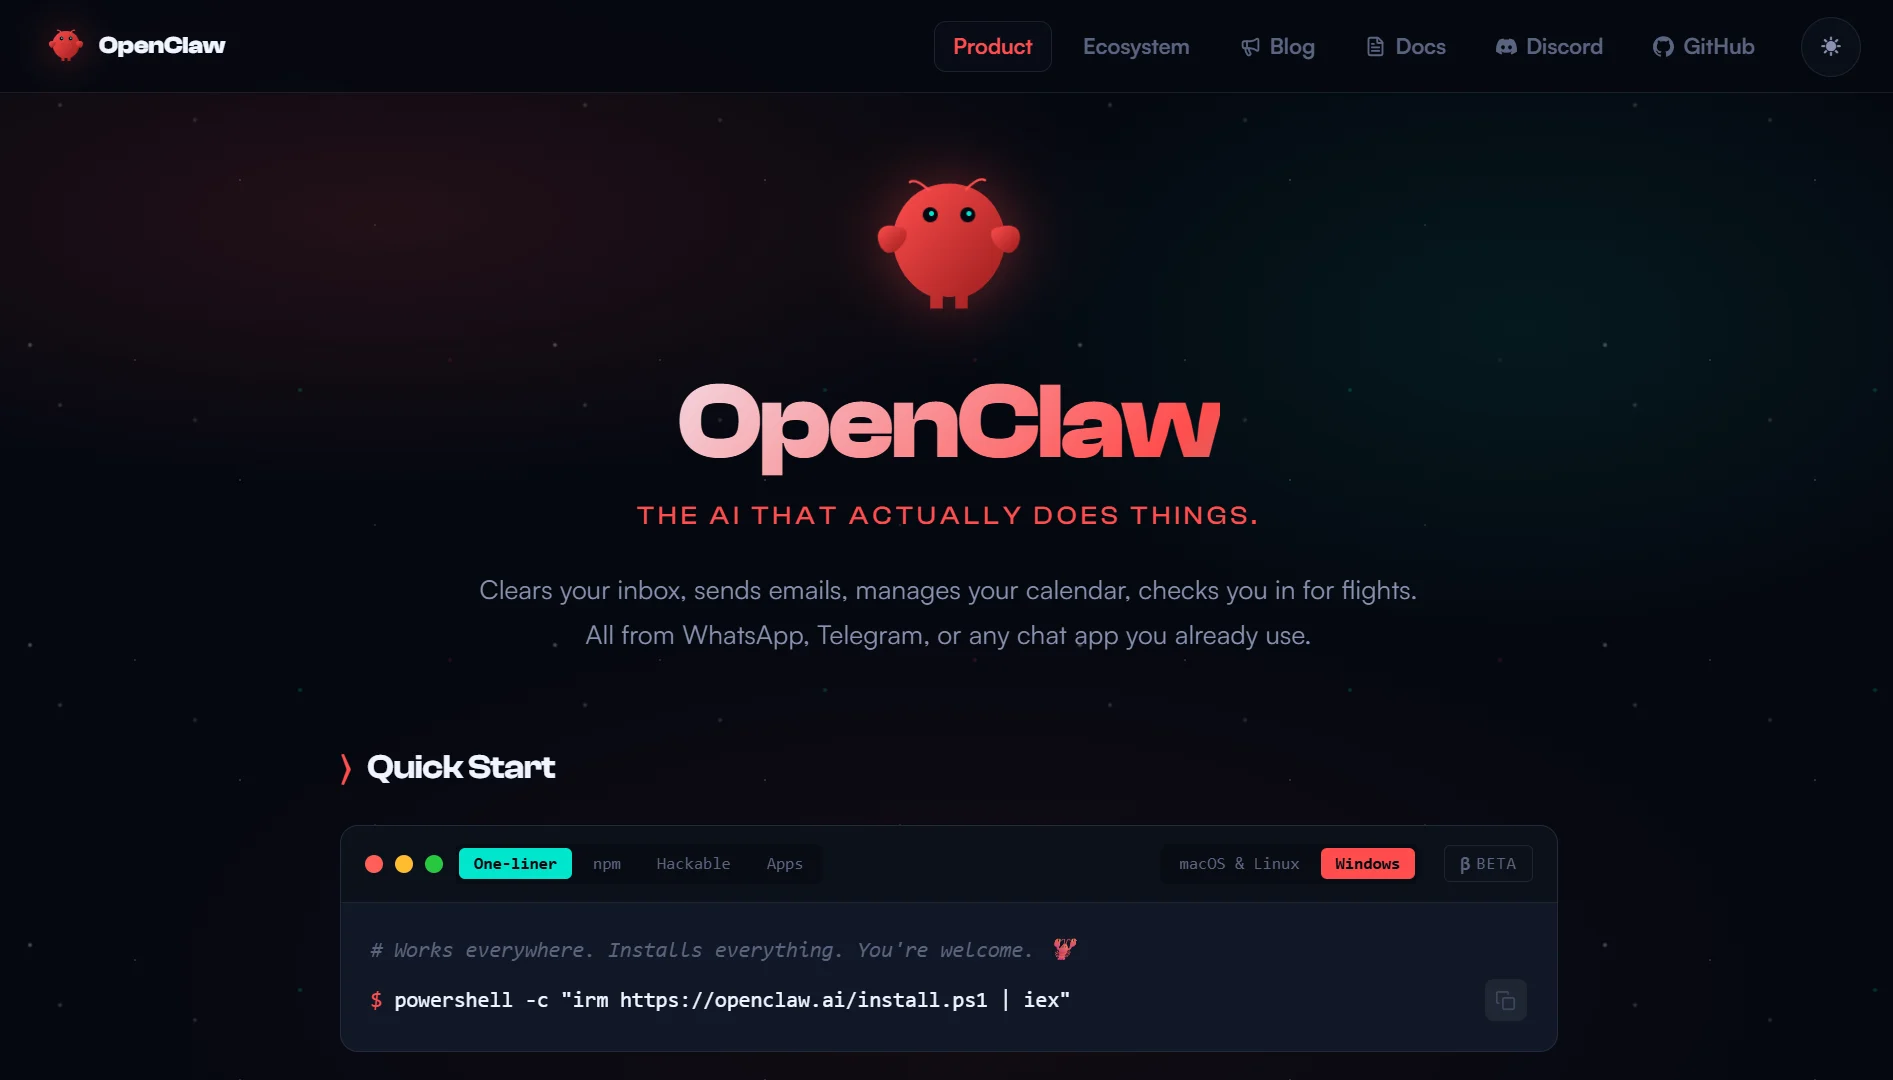
Step 1: Install OpenClaw
OpenClaw runs locally on your own hardware. This keeps all your home automation data and daily routines completely private. No one else sees when you lock your doors or turn off your lights.
macOS / Linux (curl)
Run this:
bash
curl -fsSL https://openclaw.ai/install.sh | bash
Windows (PowerShell as Administrator)
To install on Windows, run this command:
powershell
iwr -useb https://openclaw.ai/install.ps1 | iex
Once the installation completes, verify if it worked correctly:
bash
openclaw --version
You should see a version number printed in your terminal. If you see an error, go back and check that Node.js 20 or higher is installed.
Step 2: Launch OpenClaw and Configure the Gateway
The gateway is the brain of your setup. It receives your commands and routes them to the AI model for execution.
To start the gateway immediately, run:
bash
openclaw gateway
But for first-time users, I recommend running the guided setup instead:
bash
openclaw onboard
This interactive wizard walks you through API key setup, channel configuration, and security settings. It asks you questions and writes the configuration files for you.
On the first run, OpenClaw automatically creates a workspace at ~/.openclaw/workspace. Inside this folder, you will find starter agent files named AGENTS.md, SOUL.md, and TOOLS.md.
You can edit these later to change how your assistant behaves.
Pro tip: OpenClaw supports a direct voice pipeline for hands-free control. On compatible setups, you can integrate voice input and have the agent respond through the same voice channel.
This enables natural language conversations with your smart home, just like talking to another person in the room.
Step 3: Choose an AI Model Provider
OpenClaw connects to AI models through API keys or runs them locally on your machine. For home automation, both options work well.
Your choice depends on the option to pay for cloud intelligence or keep everything free and private.
Option A: Local Models via Ollama (Free, Fully Private)
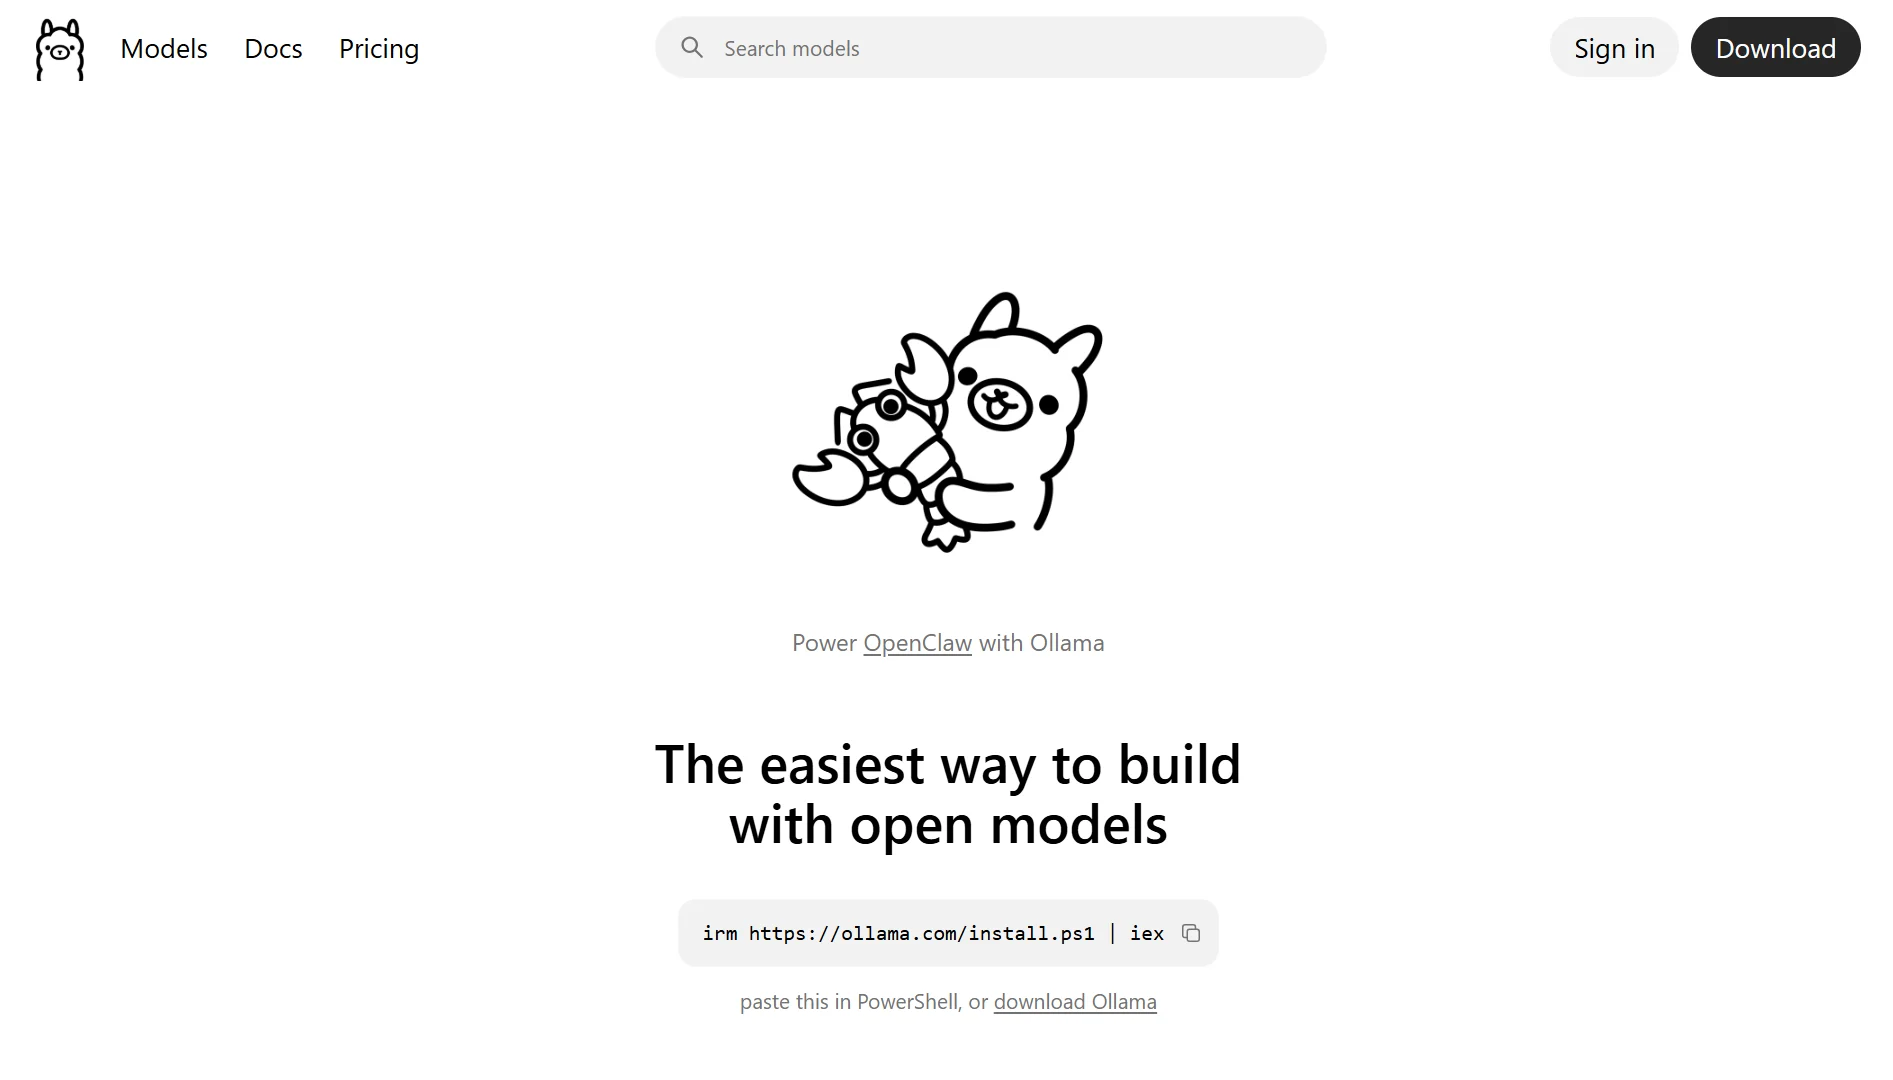
If you have Ollama installed, you can run AI models entirely on your own machine. OpenClaw requires a minimum context length of 64k tokens for reliable task execution.
That means the model must be able to remember a long conversation or a complex set of instructions.
These the recommended models for home automation:
| Model | Best for | Pull command |
| qwen3-coder | Optimized code generation and device control logic | ollama pull qwen3-coder |
| glm-4.7 | General-purpose with strong tool-calling support | ollama pull glm-4.7 |
| kimi-k2.5 | Complex, multi-step automation routines | ollama pull kimi-k2.5 |
After pulling a model, you can launch OpenClaw with it using this command:
bash
ollama run qwen3-coder --openclaw
Option B: Cloud API Models (Claude, GPT, Gemini)
For maximum capability, connect OpenClaw to a cloud API. These models are larger, faster, and generally more accurate. You will need an API key from your chosen provider.
Add the key to your OpenClaw configuration:
bash
openclaw config set model.provider anthropic
openclaw config set model.apiKey YOUR_ANTHROPIC_API_KEY
Then, replace anthropic with openai or google depending on which service you use.
Step 4: Integrate OpenClaw with Home Assistant
This is the core of your smart home setup. OpenClaw connects to Home Assistant, which is the leading open-source home automation platform.
The simplest method is through the official Home Assistant skill.
Option A: Home Assistant Skill (Recommended)
This skill enables OpenClaw to communicate with your Home Assistant instance via its REST API. It translates your natural language commands into actual device controls.
Step 4.1: Create a Long-Lived Access Token in Home Assistant
- Open your Home Assistant web interface
- Click your profile picture in the bottom-left corner. Scroll down until you see Long-Lived Access Tokens
- Click Create Token, give it a name like “OpenClaw”, and click OK.
- Copy the token immediately. You will not be able to see it again.
Step 4.2: Install the Home Assistant Skill
OpenClaw includes an intelligent feature that simplifies this process. It can automatically detect when you need to set up a connection and guide you through it.
Many users report that typing a command like “Can you install home assistant mcp and configure it?” triggers a prompt asking for your Home Assistant URL and Long-Lived Token.
The agent then sets everything up on its own.
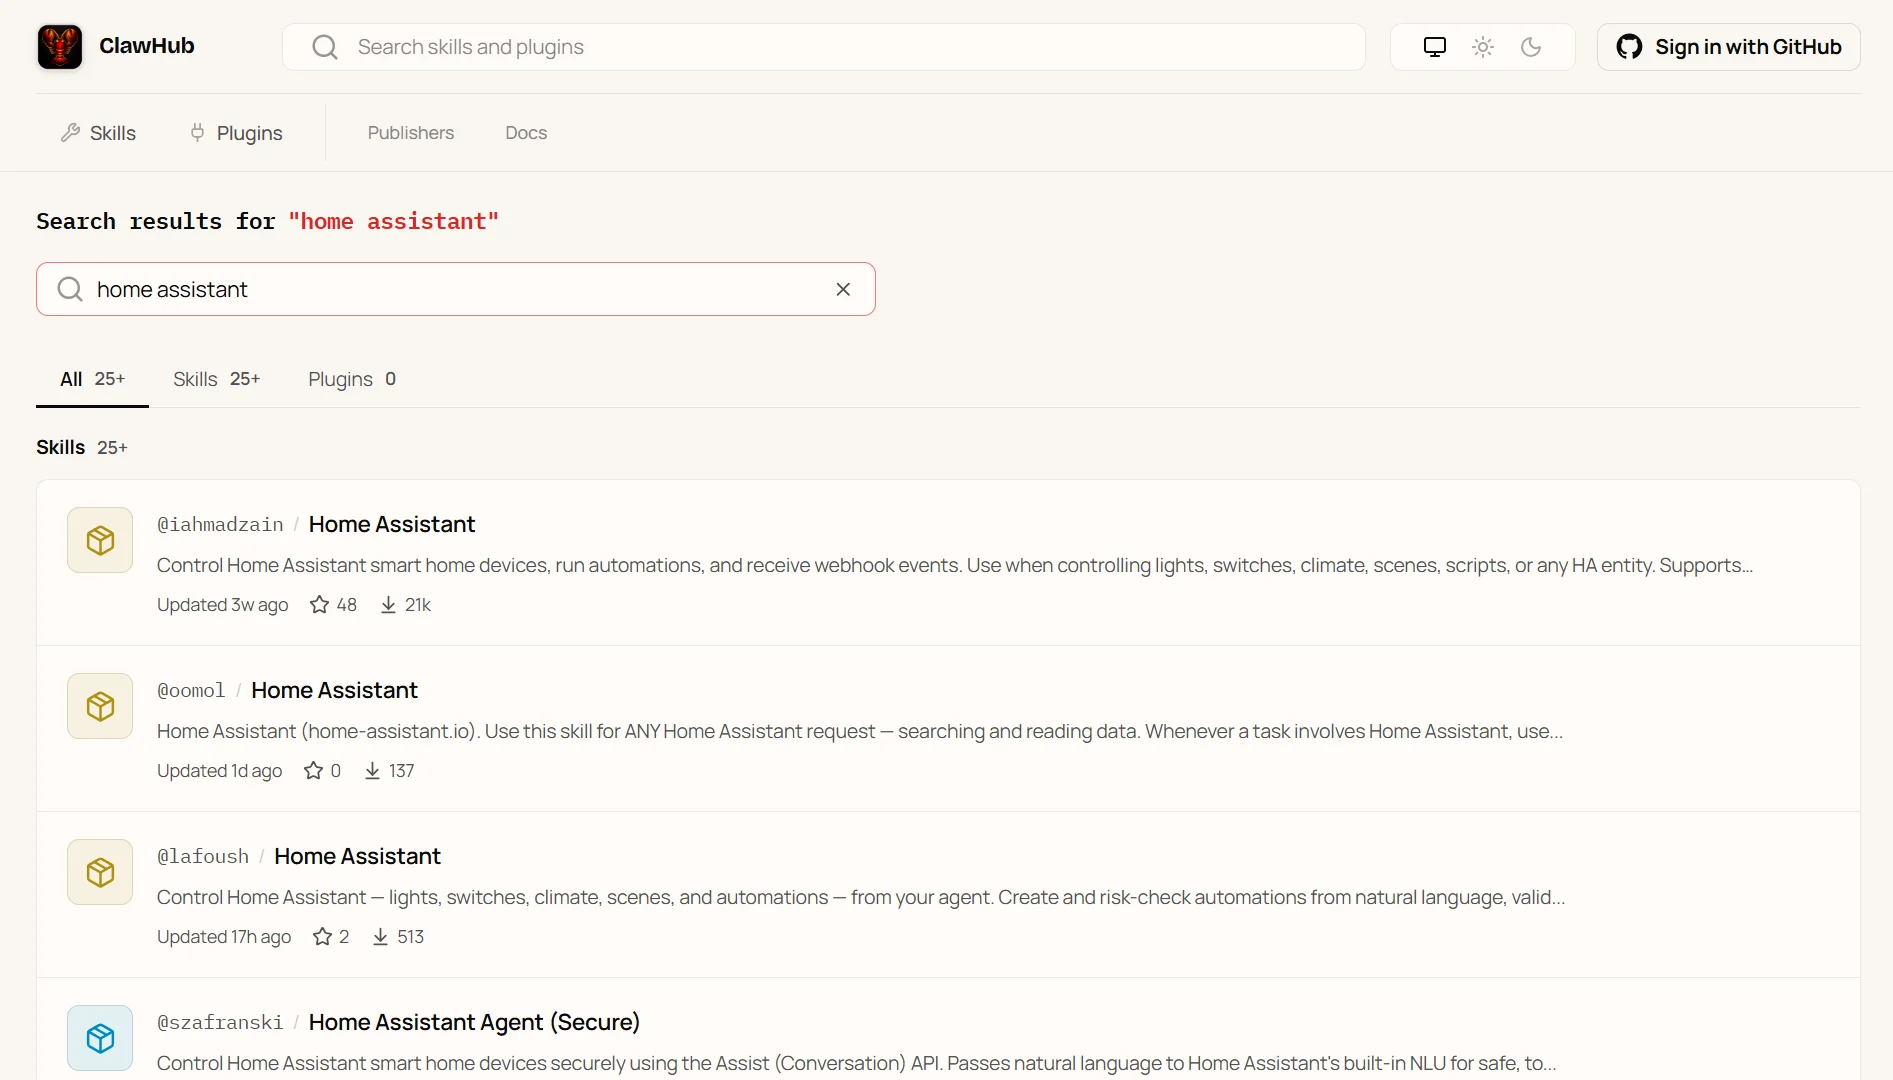
If you prefer to do it manually, install the skill through the CLI:
bash
openclaw skills install homeassistant
Step 4.3: Configure the Skill
You configure the skill by editing your workspace’s TOOLS.md file. You need to add your Home Assistant instance’s internal network URL along with the Long-Lived Access Token you just created.
Once configured, OpenClaw has full, local access to every connected device in your home.
Option B: Alternative Integrations (MQTT, HomeClaw, Add-on)
Beyond the main REST API skill, OpenClaw offers several other powerful ways to connect.
- MQTT Protocol: Install the
@turquoisebay/openclaw-mqttpackage for bidirectional messaging with your MQTT broker. This is ideal for real-time device state updates and works seamlessly with Mosquitto, EMQX, and Home Assistant’s built-in MQTT support. - HomeClaw Integration: For Apple HomeKit users, HomeClaw integration exposes HomeKit accessories such as lights, locks, thermostats, and scenes via OpenClaw. You can install it with one click from OpenClaw’s Settings → Integrations menu.
- Home Assistant Add-on: If you run Home Assistant OS (HAOS), you can install OpenClaw directly as an add-on. Navigate to Settings → Add-ons → Add-on store and search for OpenClaw.
- HA Connector Container: For advanced setups, a dedicated WebSocket container manages the single bidirectional connection to Home Assistant. This prevents conflicts and connection drops.
Step 5: Connect a Messaging Channel
With the setup complete, you need a way to issue commands. OpenClaw supports Telegram, Discord, Slack, WhatsApp, Signal, iMessage, and more.
How to connect to Telegram, which is the easiest method for most people:
Message @BotFather on Telegram. Send the/newbot command, choose a name for your bot, and copy the API token that BotFather gives you. Then add that token to OpenClaw:
bash
openclaw config set channels.telegram.token YOUR_BOT_TOKEN
Restart the gateway for the changes to take effect:
bash
openclaw restart
Now find your bot on Telegram, send it a message, and it will reply.
Step 6: Start Automating Your Home
Your home assistant is now live. OpenClaw interprets the true meaning of your words to create a comfortable environment without you having to think about the technical steps.
It can already handle complex tasks, and you can set up routines for powerful automations.
Examples of what you can type into your messaging channel:
Single Device Commands
- Turn on the living room lights
- Set the bedroom thermostat to 22 degrees
- Lock the front door
- What’s the temperature in the nursery?
- Close the garage door
- Turn off all the downstairs lights
Scene and Routine Commands
- Set the lights to 50% in the living room
- Activate movie night mode
- Dim the dining room to 30%
- Start the good morning routine
- Turn on reading mode in the study
Advanced Automation Commands
- When I say “bedtime”, turn off all lights, lock all doors, and set the thermostat to 18 degrees
- At 6 AM, slowly brighten the bedroom lights to 30%
- If the front door opens after 11 PM, turn on the hallway lights and send me an alert
- When the living room motion sensor is idle for 15 minutes, turn off the TV and lights
Step 7: Run OpenClaw 24/7 as a Background Service (Optional)
To have your home assistant available even when your main computer is off, you need to run OpenClaw on a dedicated, always-on device. This can be an old PC, a Raspberry Pi, or a VPS in the cloud.
Option A: Deploy on a Raspberry Pi (Local, Private)
An old Raspberry Pi 4 or 5 makes an excellent always-on home for OpenClaw.
Install Raspberry Pi OS Lite on a microSD card, install Docker on the Pi, and then use the OpenClaw Docker image with this command:
bash
docker run -d --name openclaw-gateway -v openclaw-data:/root/.openclaw openclaw/openclaw:latest
Option B: Deploy on an Android Device (Portable)
You can also turn an old Android phone or tablet into a local automation brain. Install Termux from F-Droid, then run the OpenClaw setup directly on the device. No root access is required.
This approach is perfect for a discreet, energy-efficient controller you can hide anywhere.
OpenClaw Home Assistant FAQs
Yes. OpenClaw connects to Home Assistant through a REST API skill, MQTT, or a WebSocket connector. It translates natural language into device commands.
It supports any device connected to Home Assistant. That includes lights, locks, thermostats, cameras, sensors, switches, media players, and vacuums from hundreds of brands like Philips Hue, IKEA, Aqara, Sonoff, and Shelly.
Yes, especially when you run it locally on your own network. Your commands never leave your house. The only data sent to a cloud provider is your message text if you use a cloud AI model like Claude or GPT.
Yes, if you use Ollama with a local model like qwen3-coder. The system runs on your machine with no internet connection required. You lose access to cloud APIs but gain complete privacy and offline reliability.
Yes. OpenClaw replaces Alexa, Google Home, and Siri for home automation. It offers greater privacy, works offline, and understands natural language better than most voice assistants.
The main difference is that you need to set it up yourself instead of buying a pre-built speaker.
Get Your Home Assistant Running
You do not need to struggle with manual installations or missing dependencies.
At Truehost, we offer a blazing-fast OpenClaw hosting solution built specifically for Kenyan businesses.
Our pre‑configured OpenClaw environment gives you a ready‑to‑run Ubuntu setup. It comes with Playwright frameworks, full Python stacks, and the OpenClaw orchestration engine already installed.
You do not have to configure anything manually once you pick your package.
We deliver dedicated virtual cores built to eliminate browser slowdowns and dropped scripts, even during heavy headless operations.
And, with our one‑click launch, you can deploy high‑performance AMD virtual instances tuned for web automation in under 45 seconds.
If you have a small budget, our OpenClaw KVM1 plan gives you 1 vCPU core, 2 GB RAM, 50 GB of NVMe storage, and 4 TB of bandwidth for Ksh 1990 per month when billed triennially.