Domain SearchInstantly check and register your preferred domain name
 Web Hosting
 cPanel HostingHosting powered by cPanel (Most user friendly)
 KE Domains
 Reseller HostingStart your own hosting business without tech hustles
 Windows HostingOptimized for Windows-based applications and sites.
 Free Domain
 Affiliate ProgramEarn commissions by referring customers to our platforms
 Free HostingTest our SSD Hosting for free, for life (1GB storage)
 All DomainsBrowse and register domain extensions from around the world
 .Com Domain
 WhoisLook up domain ownership, expiry dates, and registrar information
 VPS Hosting
 Managed VPSNon techy? Opt for fully managed VPS server
 Dedicated ServersEnjoy unmatched power and control with your own physical server.
 SupportOur support guides cover everything you need to know about our services
cPanel has long been the go-to control panel for managing web hosting, but it is not your only option for a VPS.
Managing a VPS without cPanel offers clear advantages. You save money because you do not need to buy a monthly license.
You get more control over your server because nothing hides the underlying system from you.
Plus, you also learn more about how servers work, which helps you troubleshoot problems faster.
Without cPanel, you have two paths.
You can manage everything manually via the command line, or you can install a free alternative control panel that provides a user interface without the cost.
Both options work well, and the best choice depends on your comfort level with technical tasks.
What Managing A VPS Means
When we talk about managing a VPS, you’ll take care of things like:
Connecting to the server: Use a protocol such as SSH to remotely access your VPS’s command line from your local computer.
Installing software: Use package managers such as apt or dnf to add the web servers, databases, and PHP versions your sites need to run.
Hosting websites: Store your site files on the VPS and configure the web server to serve them to visitors.
Managing domains: Create DNS records that tell the internet which VPS IP address corresponds to your domain name.
Setting up SSL certificates: Obtain and install free certificates from Let’s Encrypt to ensure your sites load securely over HTTPS.
Creating email accounts: Set up mail server software like Postfix and Dovecot to send, receive, and store emails for your domains.
Securing the server: Configure firewalls, disable SSH root login, and install tools such as Fail2ban to block unauthorized access.
Updating packages: Run update commands regularly to patch security holes and keep your server software up to date.
Monitoring performance: Check CPU, memory, and disk usage with tools like top or htop to spot slowdowns or resource problems.
Backing up your files: Copy your website files and databases to another location, such as remote storage or a second server.
Now, without cPanel, you handle these tasks manually or use free tools.
How to Manage VPS Manually Without cPanel
Try these alternative ways to manage a VPS without cPanel.
Manage VPS Using SSH
1) Connect To Your VPS Using SSH
Open a terminal on your computer. On Windows, you can use PowerShell or install Windows Terminal. On Mac or Linux, use the built-in terminal.
Type this command to connect:
ssh root@your_server_ip_addressEnter your root password when prompted. If you set up SSH keys during VPS setup, the connection happens automatically.
2) Update Your Server
Once logged in, update all system packages. The command depends on your operating system.
For Ubuntu or Debian:
apt update && apt upgrade -yFor CentOS or AlmaLinux:
dnf update -yRun this regularly to keep your server secure.
3) Install A Web Server
Now, you need a web server. Nginx and Apache are the two most common web servers.
Nginx is lighter and faster for static files and high traffic. Apache is more flexible with configuration options.
To install Nginx on Ubuntu:
apt install nginx -yTo install Apache on Ubuntu:
apt install apache2 -y4) Install PHP And Database Software
Most websites need a database and PHP to run. MySQL and MariaDB are the standard options.
Install MariaDB with this command:
apt install mariadb-server mariadb-client -yThen secure your database installation:
mysql_secure_installationNow install PHP along with the common extensions you will likely need, using
apt install php php-fpm php-mysql php-cli php-curl php-zip php-gd php-mbstring -y5) Point Your Domain To The VPS
Head over to your domain registrar or DNS provider. Create an A record that points your domain to your VPS IP address.
If you want to use www, create another A record for it as well.
Keep in mind that changes can take anywhere from a few minutes to a few hours to fully spread across the internet.
6) Create A Website Directory
Make a folder to store your website files. The standard spot is /var/www/yourdomain.com.
Use this:
mkdir -p /var/www/yourdomain.com/htmlThen set the correct permissions via:
chown -R www-data:www-data /var/www/yourdomain.com7) Create A Server Block
A server block tells your web server how to handle requests for your domain. Create a new configuration file for Nginx:
nano /etc/nginx/sites-available/yourdomain.comPaste in this basic configuration:
server {

    listen 80;

    server_name yourdomain.com www.yourdomain.com;

    root /var/www/yourdomain.com/html;

    index index.php index.html index.htm;

    location / {

        try_files $uri $uri/ =404;

    }

    location ~ \.php$ {

        include snippets/fastcgi-php.conf;

        fastcgi_pass unix:/var/run/php/php8.1-fpm.sock;

    }

}
Enable the site by creating a symbolic link:
ln -s /etc/nginx/sites-available/yourdomain.com /etc/nginx/sites-enabled/Test your configuration and reload Nginx:
nginx -t

systemctl reload nginx
8) Install Free SSL
Let’s Encrypt hands out free SSL certificates. Install Certbot to automate the whole process.
apt install certbot python3-certbot-nginx -yThen run Certbot for your domain:
certbot --nginx -d yourdomain.com -d www.yourdomain.comFollow the prompts. Certbot will retrieve your certificate and automatically update your Nginx configuration.
The system cron job handles renewals, so you do not have to worry about them.
9) Secure Your VPS
A few basic security steps go a long way. Start by disabling root login over SSH. Open the SSH configuration file:
nano /etc/ssh/sshd_configFind this line and change it to no
PermitRootLogin noCreate a regular user account with sudo privileges:
adduser yourusername

usermod -aG sudo yourusername
Then, set up a firewall. UFW makes this easy on Ubuntu:
ufw allow OpenSSH

ufw allow 'Nginx Full'

ufw enable
Also, install Fail2ban to block repeated failed login attempts:
apt install fail2ban -y

systemctl enable fail2ban

systemctl start fail2ban
10) Back Up Your VPS
Manual backups put you in control of where your data goes. A simple script can back up your websites and databases.
Create a backup script:
nano /usr/local/bin/backup.shAdd this content:
#!/bin/bash

tar -czf /backup/websites-$(date +%Y%m%d).tar.gz /var/www/

mysqldump --all-databases > /backup/database-$(date +%Y%m%d).sql
Set it to run automatically with cron:
crontab -e

Add this line to run the backup every day at 2 AM:

0 2 * * * /usr/local/bin/backup.sh
Then send your backups to remote storage, such as Google Drive, AWS S3, or another server, using rsync or rclone.
11) Monitor Your Server
Finally, keep an eye on your server resources. A few basic commands give you instant answers.
Check memory usage:
free -hCheck disc space:
df -hCheck CPU load:
topFor more detailed monitoring, install htop or Netdata. Netdata gives you a real-time web dashboard right out of the box with zero configuration needed.
Use A Free Control Panel If You Want A UI
If you don’t want to manage a VPS manually but don’t want cPanel either, you can switch to a free control panel.
Your options:
| Control Panel | Best For |
| Cyberpanel | WordPress and OpenLiteSpeed hosting |
| ISPConfig | Agencies, resellers, and multi-site hosting |
| Webmin | General server administration |
| Virtualmin | Website hosting with Webmin |
| CloudPanel | Lightweight VPS hosting panel |
How to Manage a VPS without cPanel FAQs
No. You can run a VPS perfectly well using the command line or free control panels. Many experienced server administrators prefer working without cPanel because it gives them more control and saves money.
Yes, many people still use cPanel. It is popular with hosting companies and users who want a polished, all-in-one interface. However, its market share has dropped in recent years due to price increases and the availability of good free alternatives.
Yes, several free alternatives exist. CyberPanel, Webmin, Virtualmin, ISPConfig, and CloudPanel are all free to use. Each has its own strengths, so you can pick the one that best matches your needs.
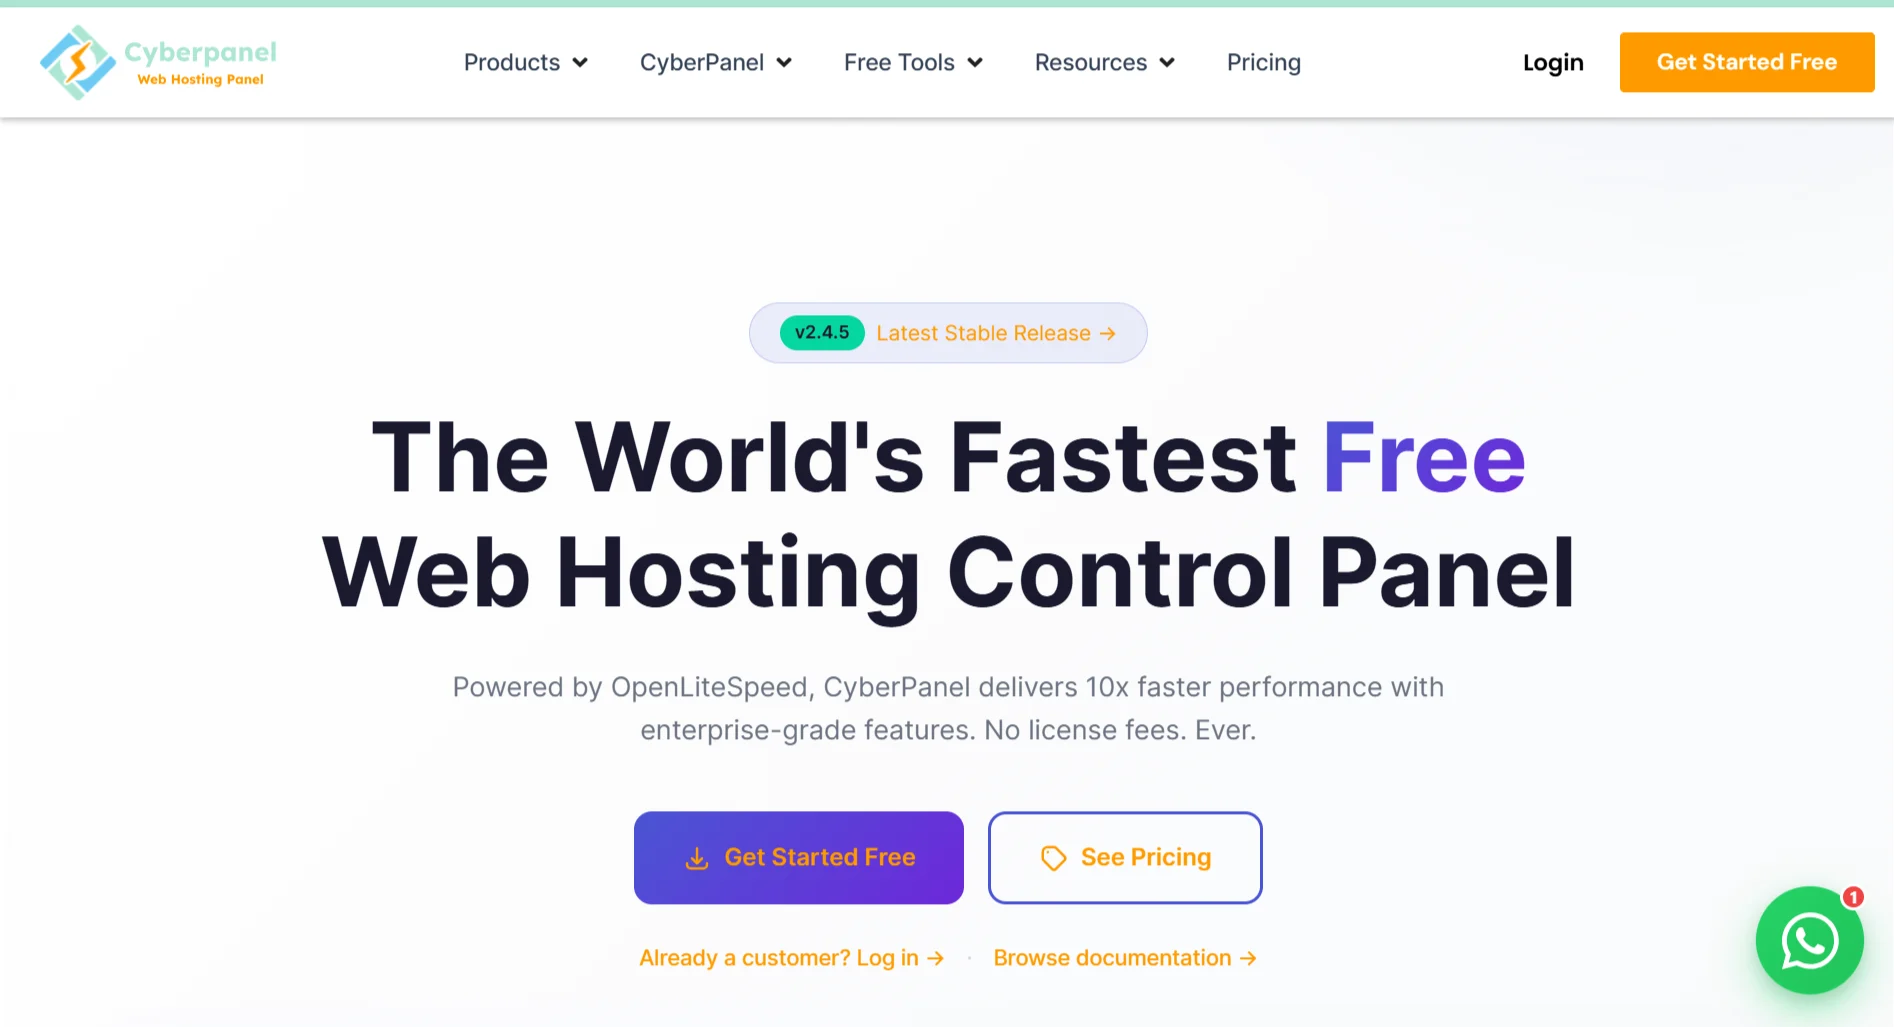
Ready to Ditch cPanel? Try Truehost VPS with CyberPanel
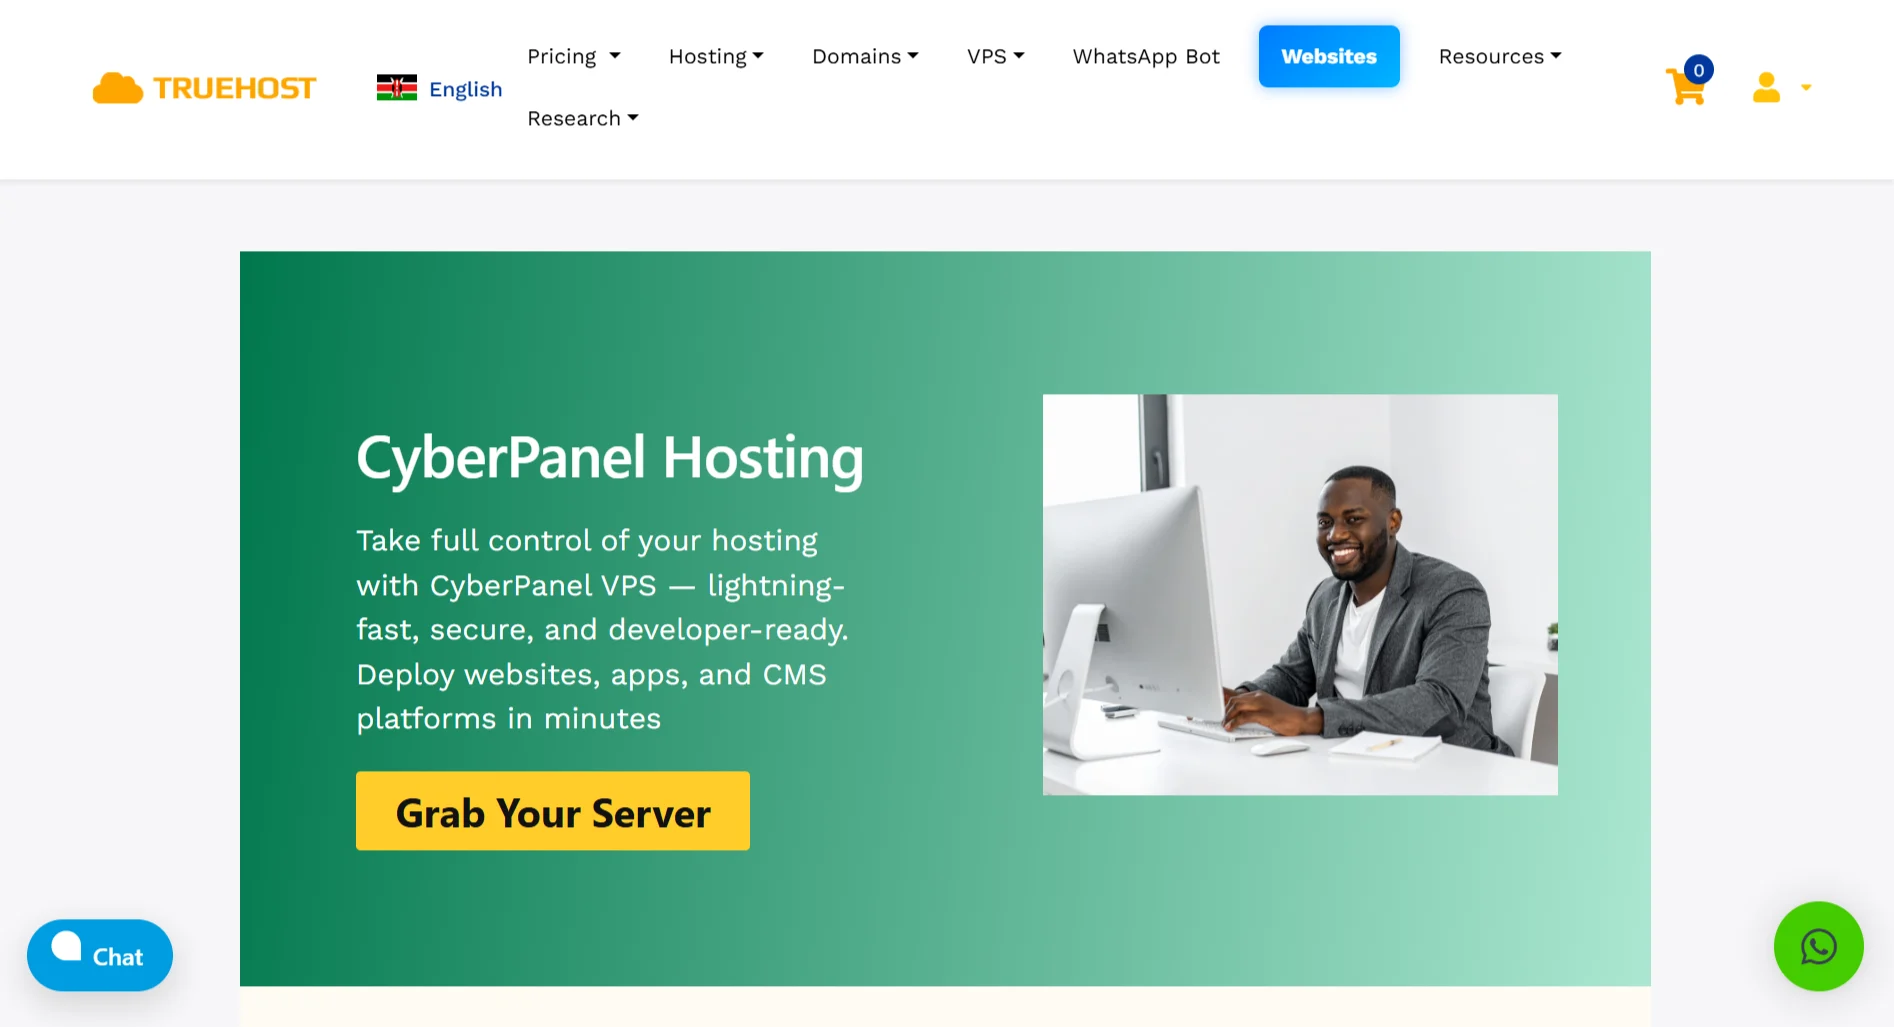
If you want a user interface but do not want to pay for cPanel, we offer VPS plans that include CyberPanel.
CyberPanel runs on OpenLiteSpeed, a web server that outperforms Apache and Nginx for WordPress and PHP applications.
You get LSCache built in, which delivers full-page caching for massive speed gains.
Our CyberPanel VPS comes with a free panel license, daily backups to keep your data safe, DDoS protection, and a 100% uptime guarantee.
You get full root access, plus support for both command-line and GUI management.
Our plans start at KES 698 per month with no hidden fees.
For example, our Cloud VPS 4 plan gives you 4 CPU cores, 8 GB of RAM, 75 GB of SSD storage, and 1 TB transfer for KES 1775 per month when billed annually.
We offer data centers in Europe and the USA.
You also get features like one-click installs for WordPress, Magento, and Joomla.
Our panel includes a Docker manager, built-in firewalls with Fail2Ban, full email support through Rainloop and Postfix, and auto-renewing SSL certificates from Let’s Encrypt.
You can manage DNS zones inside the panel and store backups to Google Drive, AWS S3, or FTP.
Agencies, eCommerce store owners, and bloggers all get a fast, secure VPS from us without the cPanel markup.