Domain SearchInstantly check and register your preferred domain name
 Web Hosting
 cPanel HostingHosting powered by cPanel (Most user friendly)
 KE Domains
 Reseller HostingStart your own hosting business without tech hustles
 Windows HostingOptimized for Windows-based applications and sites.
 Free Domain
 Affiliate ProgramEarn commissions by referring customers to our platforms
 Free HostingTest our SSD Hosting for free, for life (1GB storage)
 All DomainsBrowse and register domain extensions from around the world
 .Com Domain
 WhoisLook up domain ownership, expiry dates, and registrar information
 VPS Hosting
 Managed VPSNon techy? Opt for fully managed VPS server
 Dedicated ServersEnjoy unmatched power and control with your own physical server.
 SupportOur support guides cover everything you need to know about our services
If you’ve been wondering how to host a WordPress website on cPanel without getting lost in technical jargon, you’re in the right place.
It might sound like something reserved for developers in dark rooms filled with code, but the truth is, it’s much simpler than it looks.
With cPanel, you can set everything up in just a few minutes.
Hosting a WordPress site on cPanel is a bit like setting up a new shop.
You’ve got your domain (your address), your hosting account (your rented space), and WordPress (your storefront).
Once you know which doors to open and which buttons to click, everything starts to fall into place.
In this guide, I’ll walk you through the entire process step by step, from logging into cPanel to launching your WordPress site live on the internet and managing it once it’s live.
By the end, you’ll know exactly how it works and how to keep it running smoothly.
Let’s get your website up and running.
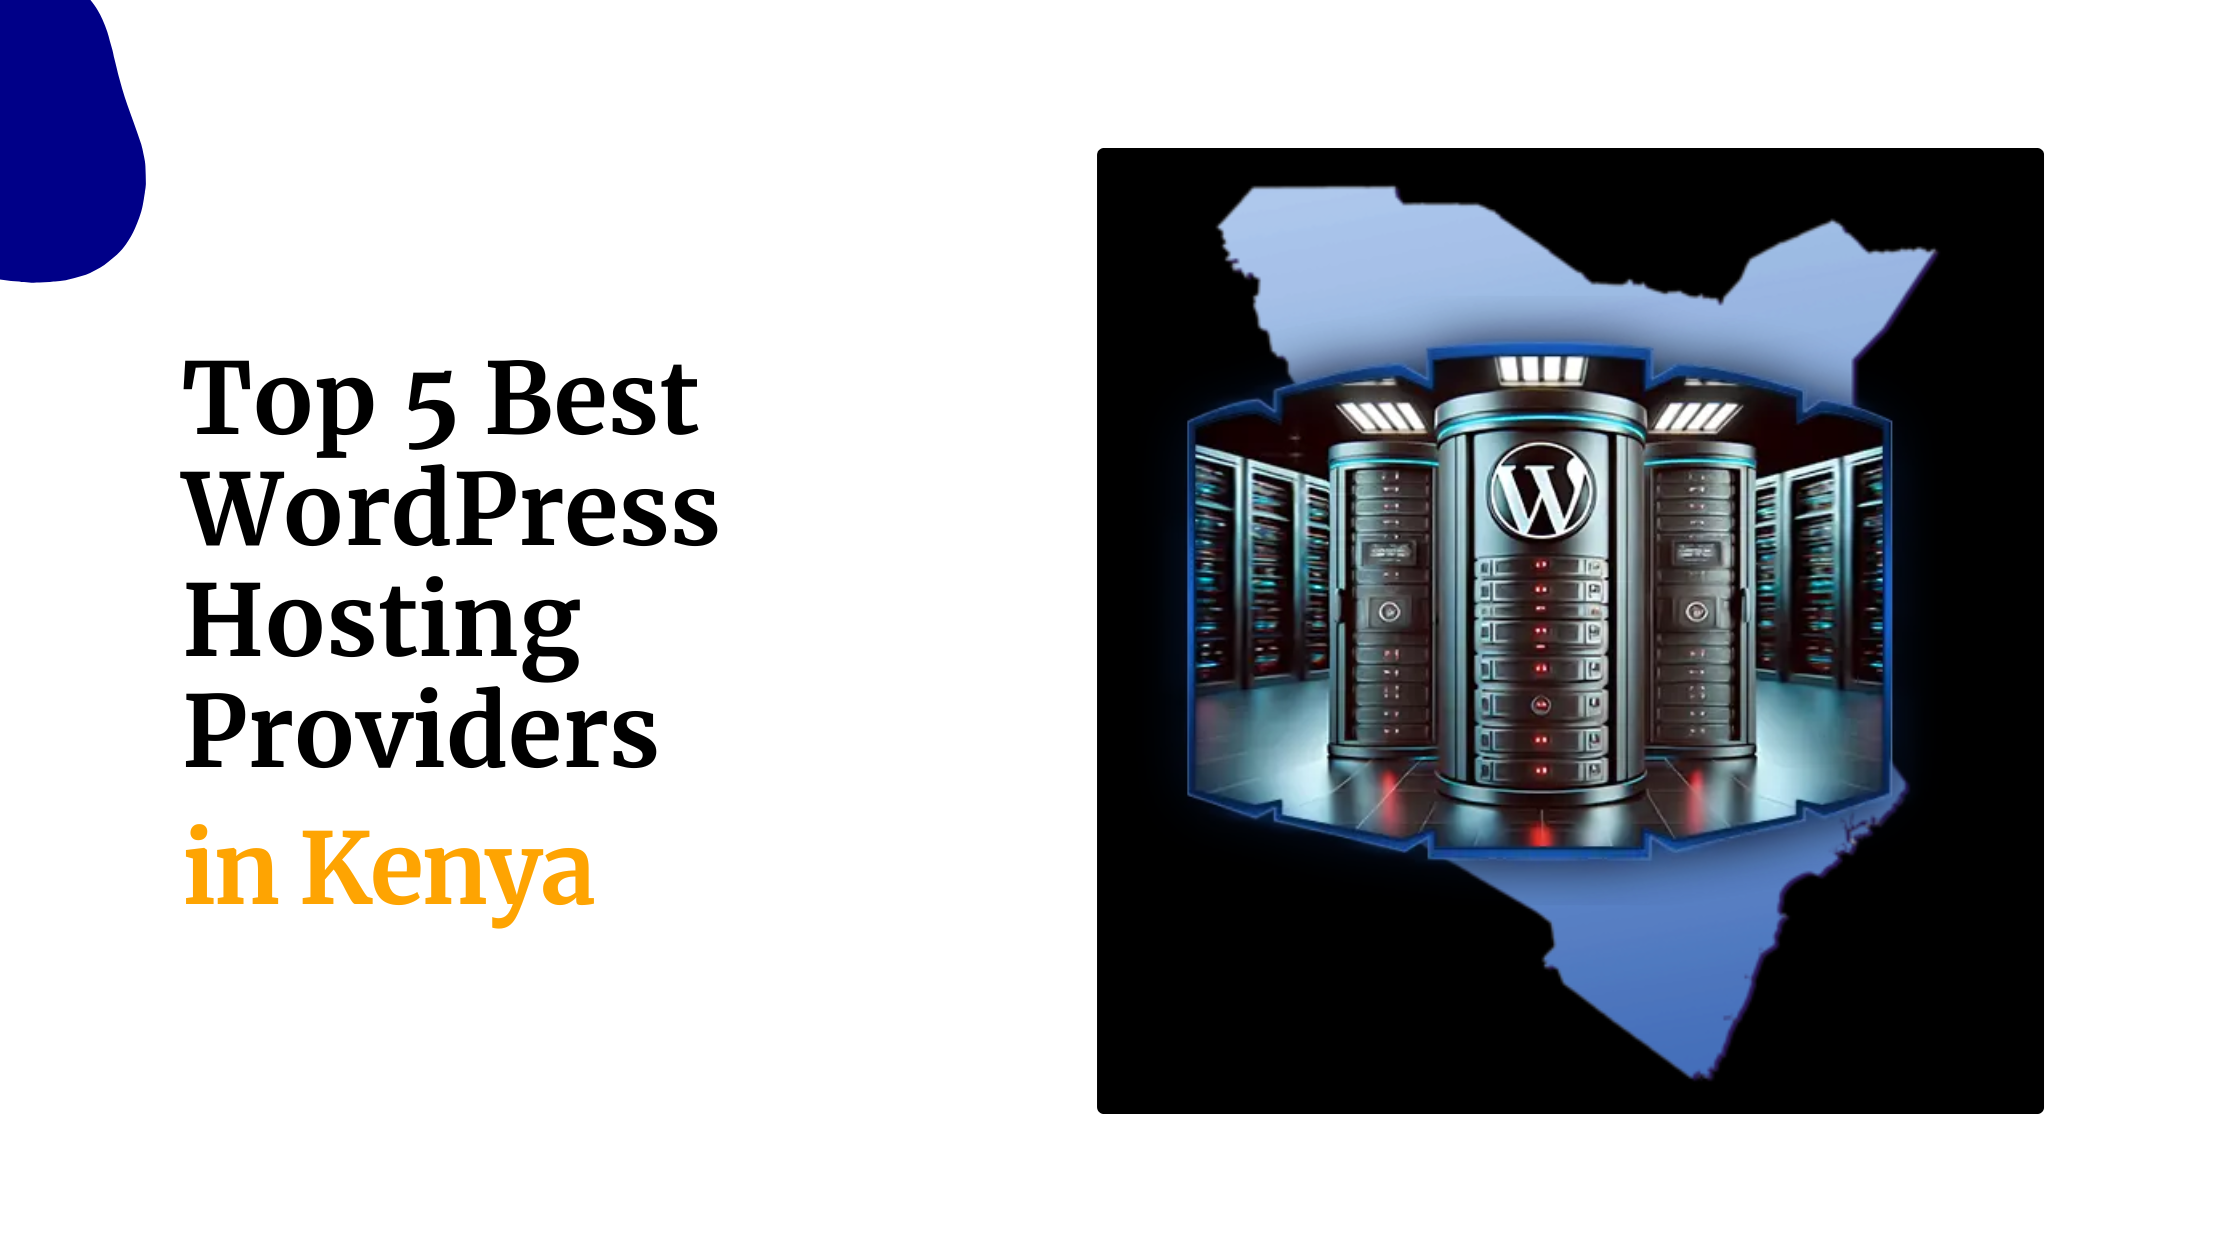
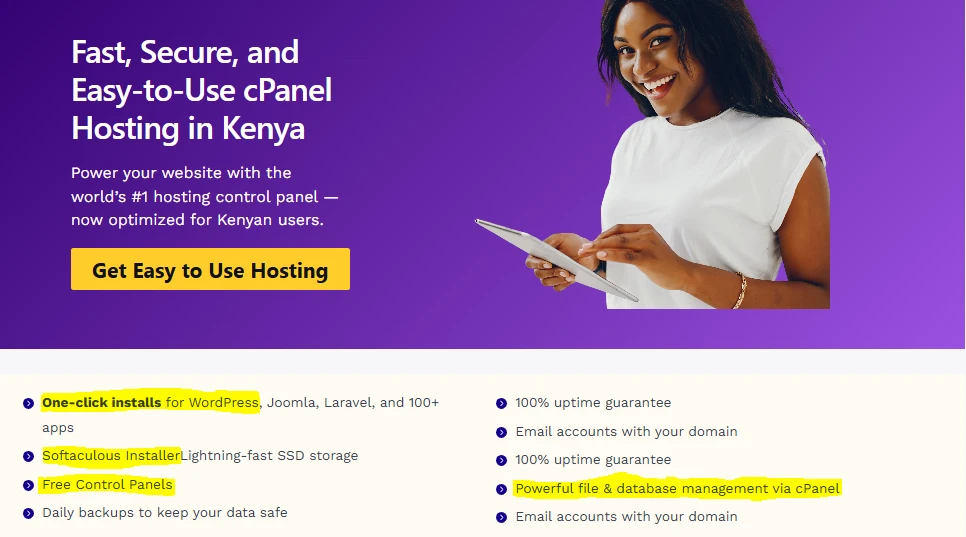
Why Use cPanel to Host a WordPress Website in Kenya
One of the reasons cPanel remains so popular is because it’s clean, straightforward, and everything you need is in one place.
From a single dashboard, you can manage your domains, upload files, create databases, set up emails, run backups, and handle security without ever having to code.
Now let’s talk about location.
Hosting your WordPress site outside Kenya might seem like a small detail, but it makes a real difference.
When your server is overseas, your website data has to travel farther. That delay can slow down your pages, frustrate visitors, and even affect your Google rankings.
On top of that, support teams in different time zones aren’t always available when you urgently need help.
Importance of Using Local Servers for WordPress Hosting
Now, learning how to host a WordPress website on cPanel is great, but doing that using local hosting is even better.
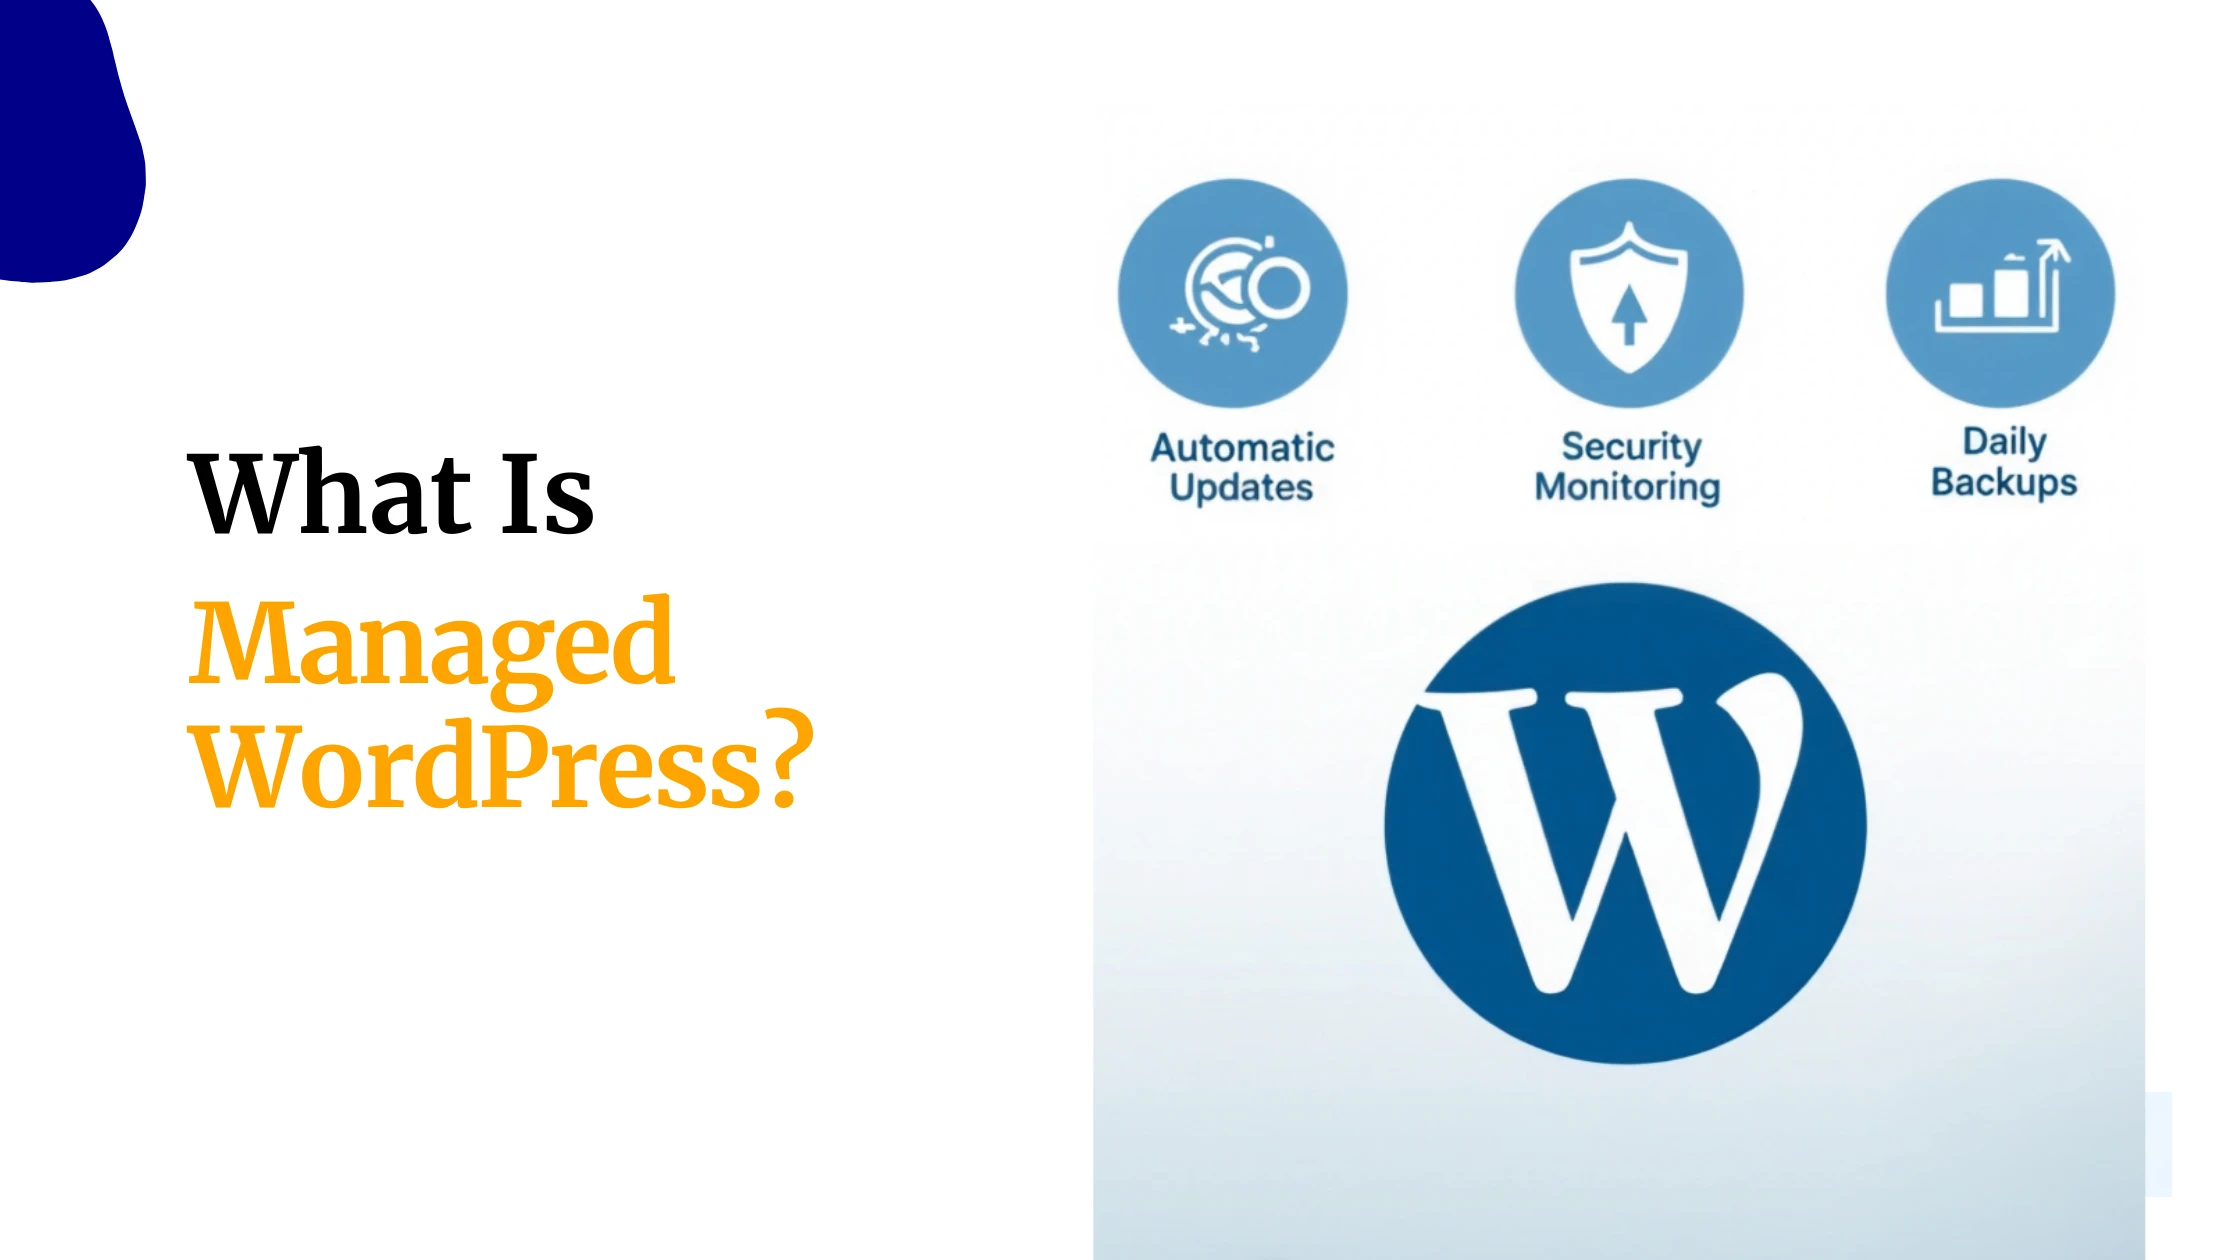
Truehost’s cPanel hosting runs on local Kenyan data centers, which means faster loading speeds for your visitors.
We also include SSD storage for better performance, free SSL certificates that auto-renew, daily backups to protect your data, and 24/7 support from a local team that understands your market.
And the plans are designed to grow with you:
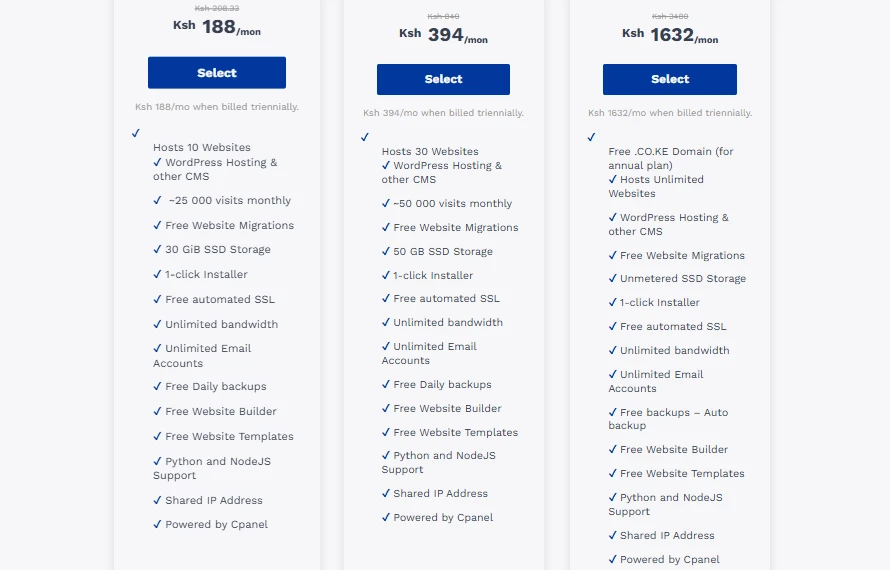
- WebHosting Starter – Handles around 25,000 visits per month, includes 30 GiB SSD storage, and can host up to 10 sites on some variants. Promo pricing starts from KES 188/month (billed triennially, saving 9% from the regular KES 208.33).
- WebHosting Pro – Supports roughly 50,000 visits per month with 50 GB SSD storage. Promo pricing starts from KES 394/month (saving 53% from KES 840).
- WebHosting Unlimited – Comes with unmetered SSD storage and unlimited sites. Promo pricing starts from KES 1,632/month (saving 53% from KES 3,480).
All plans include free migrations, unlimited email accounts, one-click installers like Softaculous, and plenty of other tools to make managing your site easier.
If your goal is speed, reliability, and support that’s actually available when you call, cPanel hosting with a local provider simply makes sense.
Before You Start: A Quick Checklist
Before we walk through how to host a WordPress website on cPanel, let’s make sure you have a few basics ready.
This will save you time and keep everything smooth.
Here’s what you’ll need:
- A domain name – If you don’t have one yet, you can register it with us for easy setup and integration.
- A Truehost cPanel hosting account – You can sign up in just a few minutes.
- An email address – This will be used for your WordPress admin account.
- A strong password – It’s best to have one prepared in advance.
If you’re just starting out, the Starter plan is more than enough to get your first website online comfortably.
Step-by-Step Guide to Host Your WordPress Website on cPanel
Now it’s time to practically learn how to host a WordPress website on cPanel, so follow through.
Step 1: Sign Up for cPanel Hosting with Truehost
Head over to our cPanel hosting page and choose a plan that fits your needs.
During signup, you can either use an existing domain or register a new one. The process is straightforward.
When you’re done with the payment, check your email. You’ll receive your login details, including:
- Your cPanel URL (usually something like yourdomain.com/cpanel)
- Your username
- Your password
Keep this email safe since you’ll need these details in the next step.
Step 2: Log In to Your cPanel Dashboard
Open your browser, type in your cPanel URL, and log in using the credentials you received.
Once inside, you’ll see your dashboard neatly organized into sections like Files, Databases, Software, and Security.
Everything is labeled clearly, so it’s easy to find what you need. There’s also a search bar at the top, so if you’re ever unsure where a tool is, just type its name and cPanel will pull it up instantly.
Take a moment to look around. This is where you’ll manage your entire website.
Step 3: Connect or Set Up Your Domain
If your domain isn’t pointing to your hosting account yet, you’ll need to connect it.
Inside cPanel:
- Go to Domains.
- Click Addon Domains (if you’re adding an extra domain) or use the Zone Editor if needed.
- Add your domain name.
Next, update your domain’s nameservers to:
ns1.truehost.co.kens2.truehost.co.ke
You’ll find these details in your welcome email as well.
Once updated, give it some time. Domain propagation can take anywhere from 1 to 24 hours, although it’s often much faster.
If you’re installing WordPress on your main domain, you can leave the directory field blank during installation. If it’s for a subdomain, you’ll specify that during setup.
And that’s it. You’re officially ready for the WordPress installation step.
Step 4: Install WordPress Using cPanel
The Quick Way with Softaculous
This is where everything comes together.
If you’ve been following along on how to host a WordPress website on cPanel, this is the part where your actual website gets created.
Inside cPanel, scroll down to the Software section and click Softaculous Apps Installer.
Once it opens, type “WordPress” in the search bar and click Install.
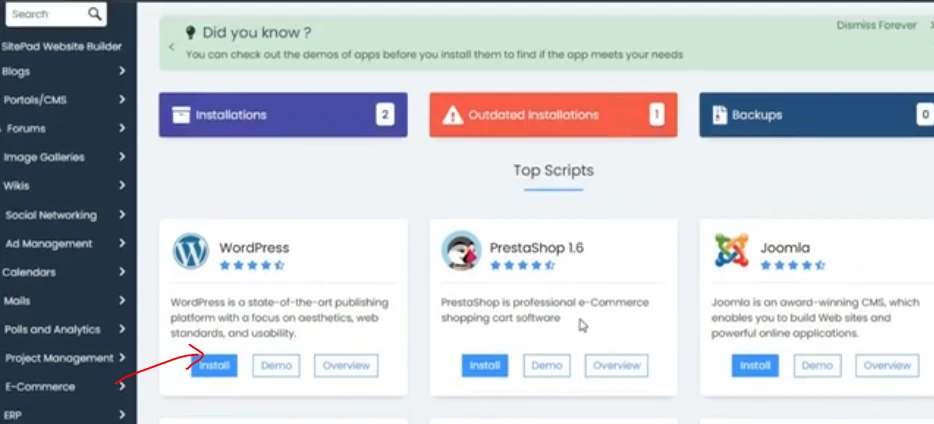
You’ll see a setup form. Here’s how to fill it in:
- Protocol: Choose
https://orhttps://www.Your free SSL certificate will handle the security. - Domain: Select your domain from the dropdown.
- In Directory: Leave this blank if you want your site on yourdomain.com. Add something like
/blogonly if you want it in a subfolder. - Site Name and Description: Enter your website title and a short tagline.
- Admin Username: Avoid using “admin.” Choose something unique.
- Admin Password: Make it strong. Use the password generator if needed.
- Admin Email: Enter a valid email address you can access.
You can also select your preferred language, choose a theme, enable auto-updates, or add plugins at this stage, but you can always adjust these later.
Once everything looks good, click Install.
In about 1–2 minutes, Softaculous will automatically create your database, configure your files, and set up WordPress.
When it’s done, you’ll see a success page with:
- Your website URL
- Your admin login link (usually
yourdomain.com/wp-admin)
Open the admin link and log in right away. You’re officially inside your WordPress dashboard.
Alternative: Manual WordPress Installation on cPanel
If you prefer doing things manually, you can install WordPress yourself.
Here’s the short version:
- Download WordPress from wordpress.org.
- In cPanel, open File Manager and go to the
public_htmlfolder. Upload and extract the files there. - Go to MySQL Databases and create a new database.
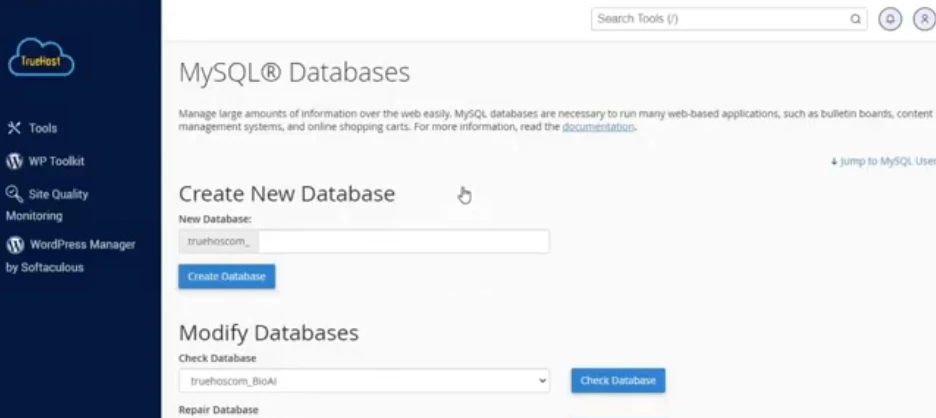
- Create a database user and assign it to the database with full privileges.
- Open the
wp-config.phpfile and add your database details. - Visit your domain in a browser to complete the installation.
It works perfectly fine, but for most users, Softaculous is faster, easier, and reduces the chance of configuration errors.
Step 5: Post-Installation Setup
Your site is live. Now let’s make sure it’s secure and properly set up.
1) Activate SSL
Go back to cPanel and open Security, then Let’s Encrypt or SSL/TLS. Install your free SSL certificate if it isn’t already active. It renews automatically.
To ensure all traffic uses HTTPS, you can:
- Set a redirect under Domains then Redirects in cPanel, or
- Install a WordPress plugin like Really Simple SSL.
Once done, your website will load securely with the padlock icon in the browser.
2) Log In to Your WordPress Dashboard
Visit yourdomain.com/wp-admin and log in.
From here, install a few essential plugins:
- A security plugin like Wordfence
- An SEO plugin like Yoast SEO
- A caching plugin like LiteSpeed Cache (especially if your hosting supports it)
These help protect your site, improve search visibility, and boost speed.
3) Fix Your Permalinks
Go to Settings then Permalinks and select Post name. Click Save Changes.
This makes your URLs clean and SEO-friendly.
4) Activate Your Theme
Go to Appearance, then Themes. Choose a theme you like and click Activate.
Now your WordPress site is secure, structured properly, and ready for customization.
Step 6: Ongoing Website Management in cPanel
When your website is live, keeping it fast, secure, and running smoothly is an ongoing job.
But cPanel gives you everything you need in one place.
a) File Management
Need to upload new images, edit a theme file, or fix a small issue like .htaccess?
Open File Manager in cPanel (under the Files section).
It works like a built-in FTP tool, so you don’t need extra software. You can upload, delete, edit, and organize your website files directly from your browser.

One important rule: always create a backup before editing core files. A small mistake in a file can take your site offline, but a backup lets you restore everything quickly.
b) Backups
Backups are your safety net.
At Truehost, we provide free daily backups through tools like JetBackup. You’ll find it in cPanel under Files then JetBackup (or a similar backup section depending on your plan).
From there, you can:
- Download a full website backup
- Restore your site in a few clicks
- Access database backups separately
It’s also a smart habit to test a restore at least once a month. That way, you know everything works if you ever need it.
c) Automated Updates
Outdated software is one of the biggest security risks for WordPress sites.
Inside Softaculous, you can enable auto-updates for:
- WordPress core
- Themes
- Plugins
You can also manage updates from your WordPress dashboard under Dashboard and then Updates.
A practical approach is to enable automatic updates for minor WordPress core releases (these usually include security patches) and review major updates before applying them.
d) Database Basics
Every post, page, comment, and setting on your WordPress site lives inside a database.
You can access it through phpMyAdmin in the Databases section of cPanel. From there, you can:
- Export your database as a backup
- Optimize tables to improve performance
- Repair tables if something breaks
If you’re not comfortable editing database entries directly, avoid making manual changes. Instead, use a plugin like WP-Optimize to clean and optimize safely from inside WordPress.
e) Staging Environments
Want to test a new design or plugin without affecting your live visitors?
Create a staging copy of your site first.
You can:
- Use plugins like WP Staging or Duplicator to clone your site to a subdomain
- Create that subdomain in Addon Domains
- Or use WP Toolkit in cPanel (if available) for built-in staging
Make your changes on the staging site. Once everything works properly, push the updates to your live site. This keeps your visitors from seeing unfinished changes.
Conclusion
Once you master how to host a WordPress website on cPanel, everything else is simpler to manage.
With the right maintenance habits, your site will stay secure and perform well long-term.
Truehost’s affordable plans give you a free cPanel, offering you all the tools you need to succeed online.
Now, if you’re ready to launch your site or manage with ease, our cPanel hosting packages are available at very affordable prices.
And our team is available 24/7 to support you every step of the way.
Your online presence is just a few clicks away. Let’s build it together.