Domain SearchInstantly check and register your preferred domain name
 Web Hosting
 cPanel HostingHosting powered by cPanel (Most user friendly)
 KE Domains
 Reseller HostingStart your own hosting business without tech hustles
 Windows HostingOptimized for Windows-based applications and sites.
 Free Domain
 Affiliate ProgramEarn commissions by referring customers to our platforms
 Free HostingTest our SSD Hosting for free, for life (1GB storage)
 All DomainsBrowse and register domain extensions from around the world
 .Com Domain
 WhoisLook up domain ownership, expiry dates, and registrar information
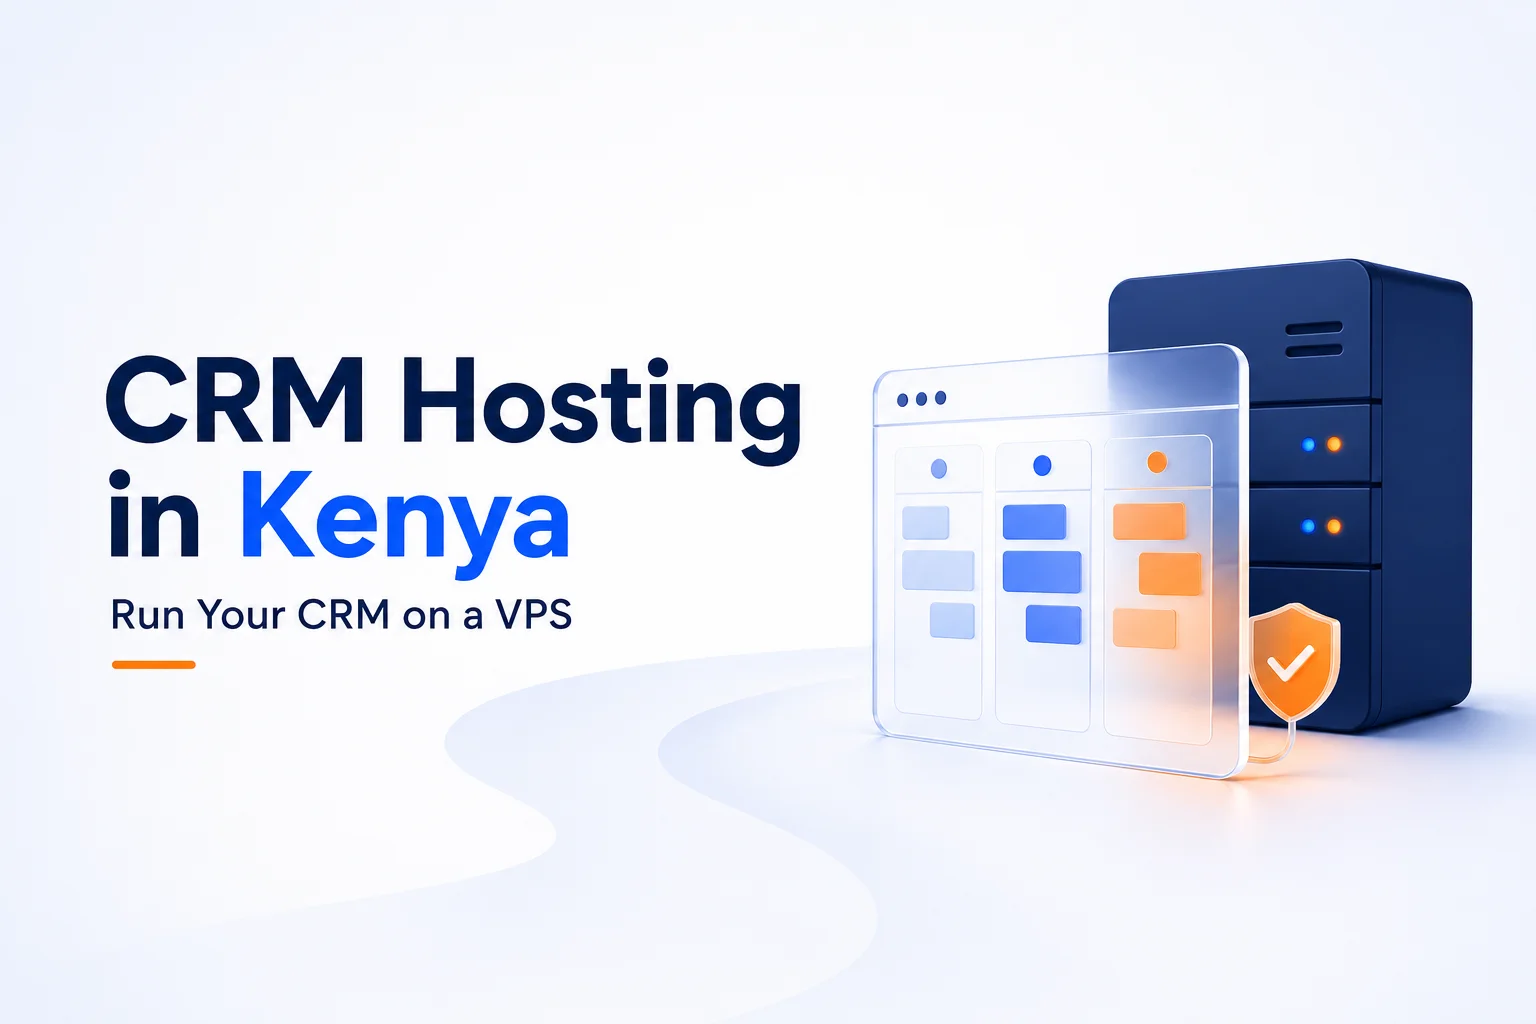
 VPS Hosting
 Managed VPSNon techy? Opt for fully managed VPS server
 Dedicated ServersEnjoy unmatched power and control with your own physical server.
 SupportOur support guides cover everything you need to know about our services
Setting up your own VPS might sound complex, but with Truehost, it’s easy.
So, if you’re hosting a website, running an app, or just learning how servers work, this guide will walk you through everything step by step — no tech skills needed.
Setting Up Your Own Server
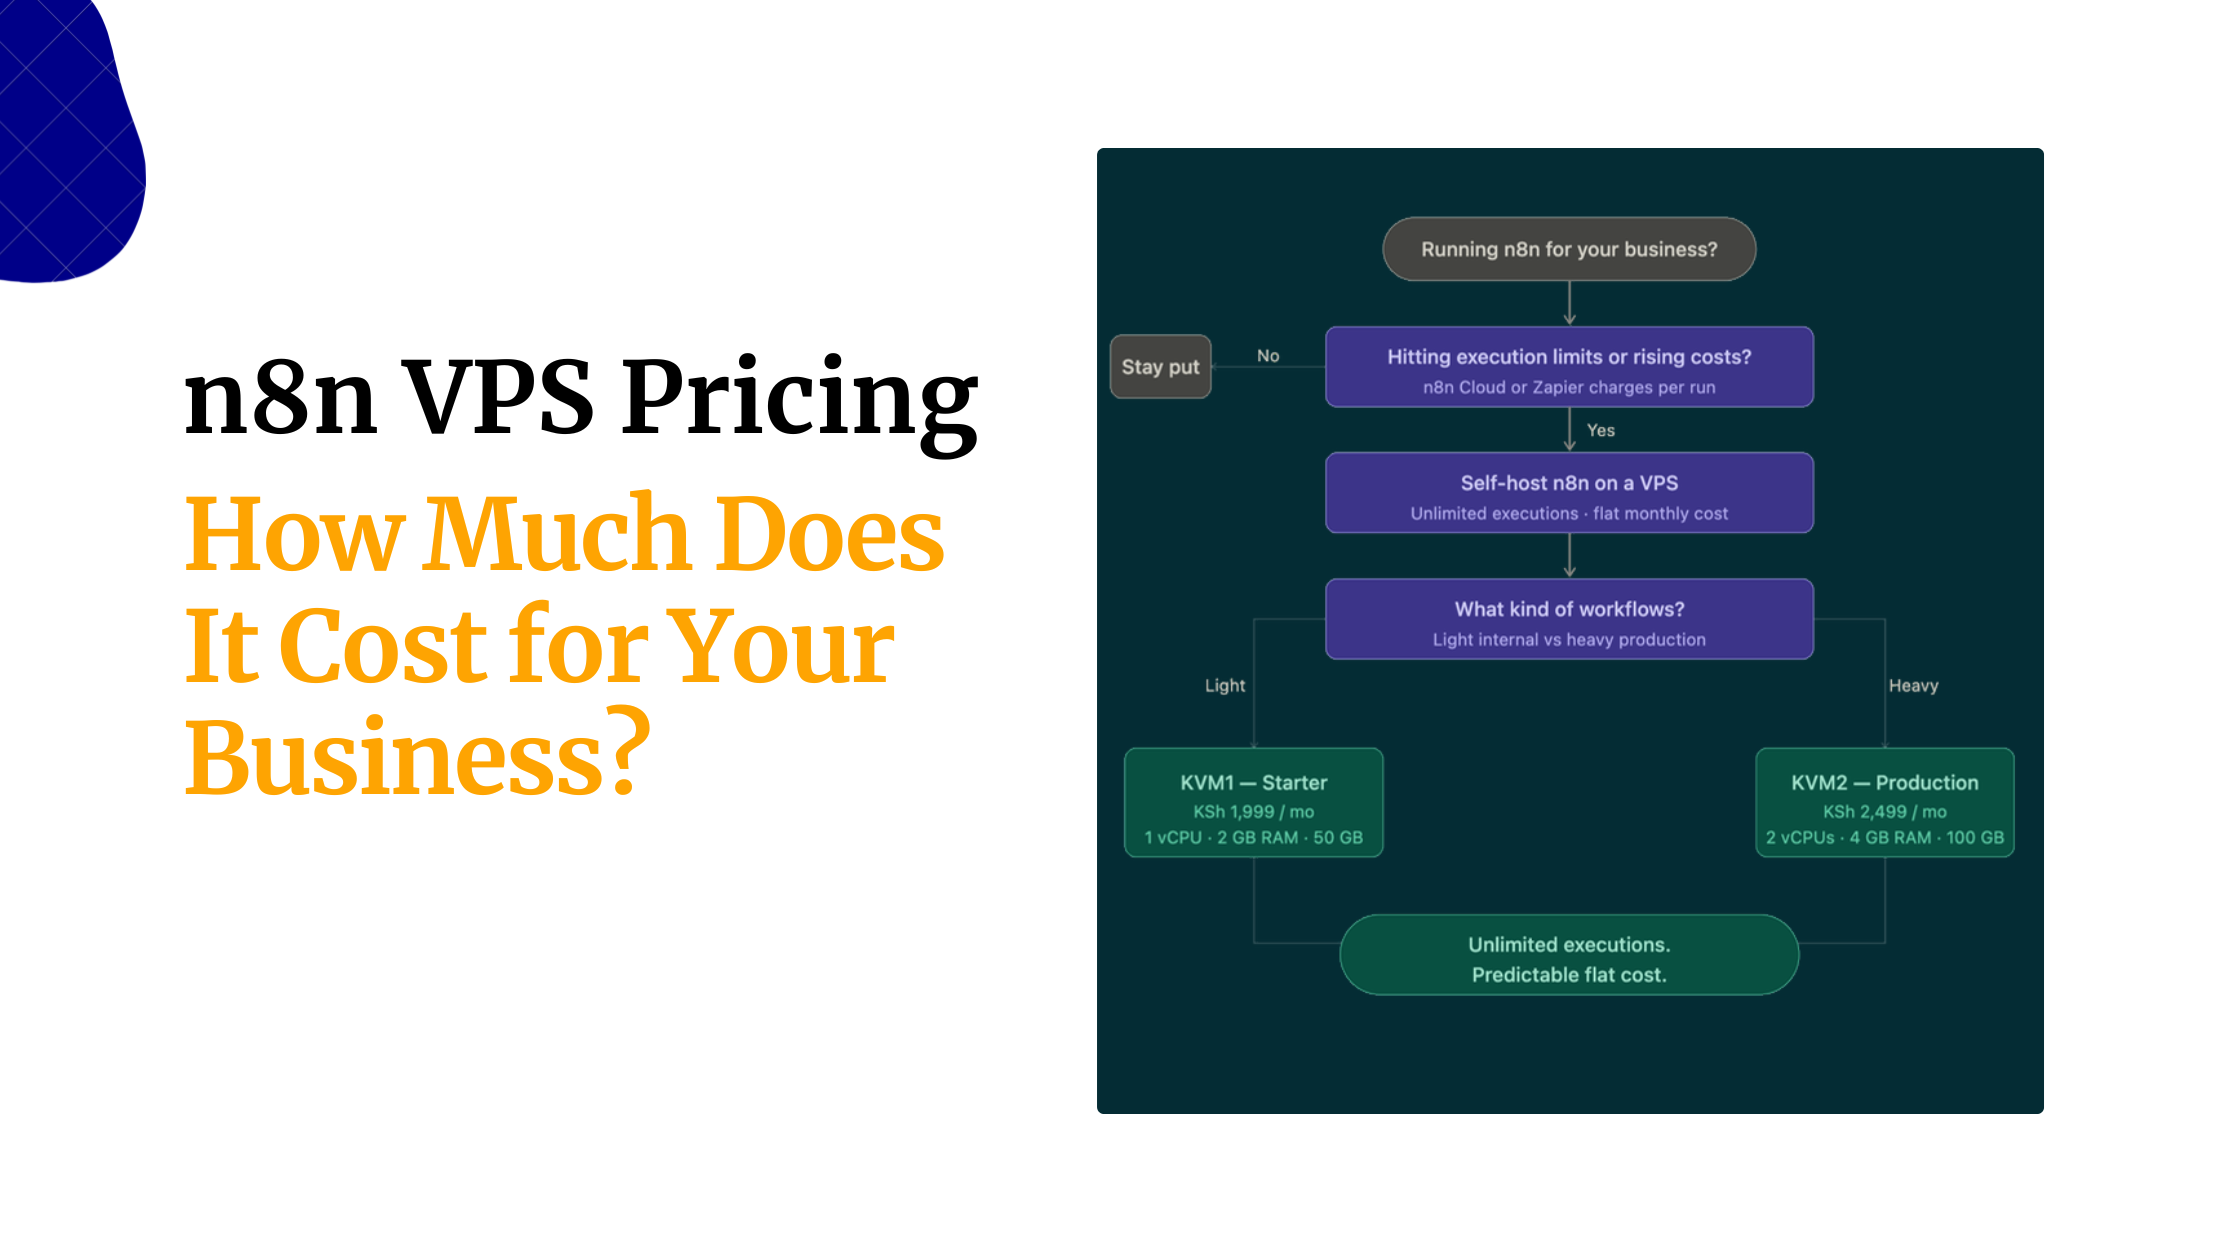
1) Choose a plan that fits you
Visit Truehost.co.ke and check out our VPS Hosting plans—they’re like renting a small computer in the cloud. We offer Cloudpap VPS plans that fit different needs:
- Cloudpap1 (Ksh 399/month) – Best for personal blogs or testing.
- Cloudpap2 (Ksh 1191/month) – Ideal for small business websites.
- Cloudpap3 (Ksh 2234/month) – Great for larger projects with more visitors.
Pick the one that works for you—you can always upgrade later if needed.
2) Sign up and access your VPS
Once you’ve chosen a plan:
- Sign up on our website and place your order.
- Choose an operating system—we recommend Ubuntu for its simplicity.
- After setup (which is fast, thanks to our Nairobi servers), we’ll email you the VPS IP address (e.g., 197.232.x.x), plus a username (root) and password.
Logging into your VPS
To connect to your VPS, use one of these tools:
- Windows: Download and install PuTTY. Open it, enter your VPS IP in the Host Name field, and click Open. A terminal window will appear—enter the username (root) and password we sent.
Mac/Linux: Open Terminal (found in Applications > Utilities). Type:
ssh root@your-vps-ip
- Then, enter your password when prompted.
If prompted to change your password, follow the instructions—it helps secure your VPS.
3) Update and prepare your VPS
Now that you’re logged in, let’s update your VPS. Think of this like updating your phone. In your PuTTY or Terminal window, type:
sudo apt update && sudo apt upgrade -y
Press Enter. This ensures your VPS has the latest software and security updates.
For extra security, create a new user account instead of using root all the time. In the same PuTTY or Terminal window, type:
adduser yourname # Replace ‘yourname’ with your actual username
Press Enter, set a password for the new user, and confirm it. Then, give the user admin rights by typing:
usermod -aG sudo yourname
Now, log out by typing:
exitThen, log back in using:
ssh yourname@your-vps-ip4) Connect to the internet
Your VPS already has an IP address (like a phone number) so others can find it. To check, open PuTTY or Terminal and type:
ip addrPress Enter. You should see an address under eth0 (e.g., 197.232.x.x). To confirm the connection, type:
ping google.comIf numbers appear, your VPS is online!
5) Install what you need
Want a website?
In your PuTTY or Terminal window, type the following to install Apache (a web server):
sudo apt install apache2 -y
sudo systemctl start apache2
sudo systemctl enable apache2
Press Enter after each line. Now, open a browser and visit http://your-vps-ip—you should see an Apache welcome page.
Need a file-sharing server?
To install Samba, type:
sudo apt install samba -y
sudo systemctl restart smbd
Press Enter after each command.
Want to add more tools? Let us know — we can guide you.
6) Secure your VPS
Let’s lock down your VPS to keep it safe.
Enable a firewall
Open PuTTY or Terminal and type:
sudo apt install ufw -y
sudo ufw allow 22  # Allow SSH
sudo ufw allow 80  # Allow websites
sudo ufw enable  # Turn on the firewall
Press Enter after each line.
Secure SSH (remote login)
Open the SSH settings by typing:
sudo nano /etc/ssh/sshd_config- Use the arrow keys to find Port 22, change it to 2222.
- Find PermitRootLogin and change it to no.
- Save changes: Press Ctrl+O, then Enter.
- Exit: Press Ctrl+X.
Restart SSH by typing:
sudo systemctl restart sshdNext time, log in with:
ssh -p 2222 yourname@your-vps-ipNow, your VPS is much harder to hack.
7) Add a domain name (optional)
If you own a domain (e.g., yourname.com), you can link it to your VPS:
- Log into your domain provider’s dashboard.
- Go to DNS settings.
- Add an A record, pointing it to your VPS IP (197.232.x.x).
- Wait a few hours for the change to take effect.
Now, typing your domain in a browser will show your website!
8) Monitor your VPS
To check how your VPS is doing, open PuTTY or Terminal and type:
sudo apt install htop -y
htop
Press Enter after each command. This shows CPU and memory usage in real time—press Q to exit.
If anything looks off, our team is here 24/7. Chat with us on Truehost.co.ke or send a support ticket.
Final tips
- Your VPS is fast, thanks to our Nairobi data centers.
- You’re in full control—add whatever software you need.
- Need more power? Upgrading is easy—just let us know!
? Ready to go? Start building your VPS today with Truehost!