Domain SearchInstantly check and register your preferred domain name
 Web Hosting
 cPanel HostingHosting powered by cPanel (Most user friendly)
 KE Domains
 Reseller HostingStart your own hosting business without tech hustles
 Windows HostingOptimized for Windows-based applications and sites.
 Free Domain
 Affiliate ProgramEarn commissions by referring customers to our platforms
 Free HostingTest our SSD Hosting for free, for life (1GB storage)
 All DomainsBrowse and register domain extensions from around the world
 .Com Domain
 WhoisLook up domain ownership, expiry dates, and registrar information
 VPS Hosting
 Managed VPSNon techy? Opt for fully managed VPS server
 Dedicated ServersEnjoy unmatched power and control with your own physical server.
 SupportOur support guides cover everything you need to know about our services
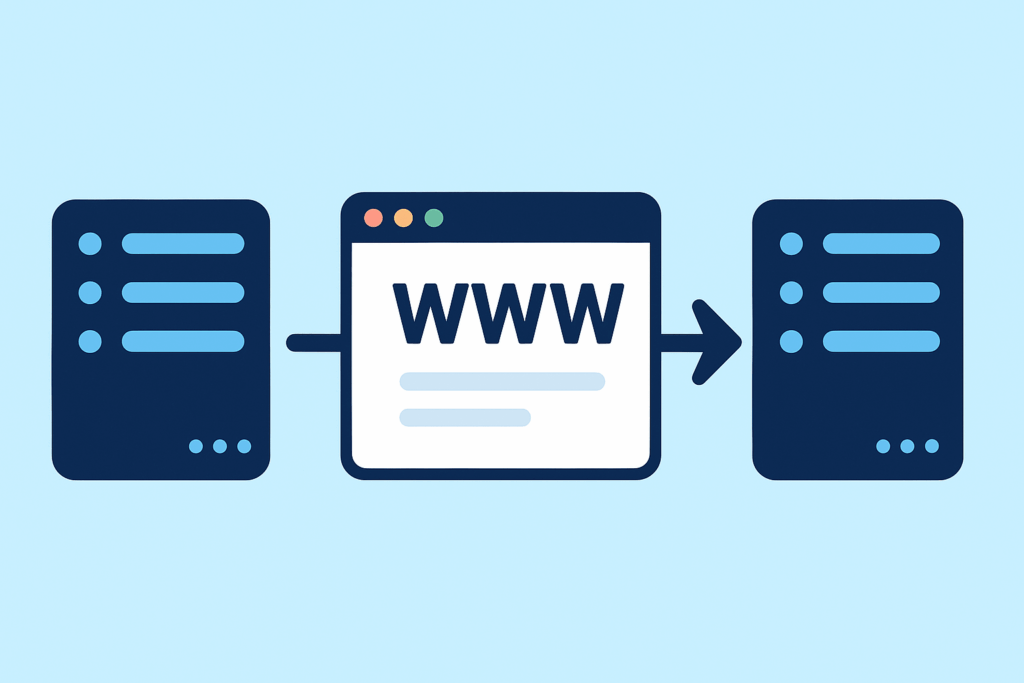
Ever heard that switching your web host will crash your site or wipe everything clean?
Yeah… that myth stops a lot of people from moving, even when their current hosting is slow, unreliable, or just not working anymore.
But here’s the real story: changing your web hosting doesn’t have to be scary at all. When you follow the right steps, you can move your website, every file, every image, every email, without any downtime or data loss.
Maybe your site is growing, maybe you’re tired of bad support, or maybe you just want faster loading speeds. Whatever the reason, you can switch hosts smoothly and safely. In this guide, I’ll walk you through how to change web hosting without breaking anything, stressing out, or losing visitors.
Why You Might Need to Change Web Hosting
Switching web hosts, often called website migration, is something many website owners eventually have to face. And honestly, it usually comes after months (or even years) of putting up with issues you shouldn’t have to tolerate. Here are the real, everyday reasons people decide it’s time to move:
1. Your website has become painfully slow.
Maybe your pages take forever to load, or your users keep complaining that things “hang” when they try to browse.
Slow hosting doesn’t just frustrate people, it affects your Google rankings and your sales. If your current provider can’t give you the speed or SSD performance you need, it’s a sign to leave.
2. Your site keeps going offline when you need it the most.
There’s nothing worse than waking up to messages like “Your website isn’t loading.” If your host has frequent or random downtime, it means they aren’t reliable and your business is paying the price.
3. Your business has outgrown your hosting plan.
Maybe you started small on shared hosting (most people do), but now your traffic is growing, you’re running more tools, or you need better stability.
Upgrading to something stronger, like a VPS or cloud hosting, is a natural step when your site levels up.
4. You’re paying too much for too little.
Sometimes you find a host like Truehost that offers more storage, faster servers, better features, or stronger security at a lower price.
When you compare value, switching becomes the smarter financial move.
5. You’re tired of bad customer support.
Slow replies, unhelpful responses, or support teams that leave you stranded in the middle of an issue; this alone is enough reason to switch. Great hosting should come with great support, especially when things go wrong.
In short, you switch web hosts when your website deserves better, and most of the time, it really does.
Essential Preparation Before You Move
Before you jump into the actual migration, there are a few important things you need to take care of. Think of this stage as laying down the foundation; once it’s solid, the rest of the process becomes smooth, safe, and stress-free.
1) Choose Your New Web Host Carefully
This is not a step to rush. The hosting provider you choose will determine your website’s speed, uptime, security, and overall experience moving forward. Take your time and ask yourself:
- Does this host offer a reliable uptime guarantee (ideally 99.9% or higher)?
- Is their customer support available 24/7 and actually helpful?
- Do they support the specific technologies your website depends on, your PHP version, your database type, your CMS, and so on?
At Truehost, we’ve built our services with these exact needs in mind. Our plans are powerful, affordable, and we even offer free website migration to make the switch easier for you. You can explore our hosting packages at /hosting.
2) Create a Full Backup of Your Website
This is your safety net, your “just in case” plan. Even if everything goes perfectly, having a complete backup ensures your data is protected from surprises.
Here’s what to back up:
• Website Files:

Download every file in your main directory (usually public_html or www). You can do this through your control panel’s File Manager or an FTP client like FileZilla.
• Database:
This is where all your website content, user data, and settings live. Use phpMyAdmin (found in most control panels) to export your full database.
• Emails:
If your emails are hosted on your current provider, make sure to back up every mailbox and configuration. This ensures nothing gets lost when you switch servers.
With a complete backup in place, you can migrate with confidence.
3) Set Up Your New Hosting Account
Once you’ve chosen your new host, purchase your plan and wait for the welcome email. Inside, you’ll find key details such as:
- Your new cPanel or hPanel login
- Your server IP address
- Your new nameservers
Keep these details somewhere safe; you’ll need them during the migration process.
If you’re hosting with Truehost, this setup is straightforward, and our team is always ready to help you get started.
When Is the Best Time to Change Web Hosting?
Timing your migration makes a huge difference, especially if you want to avoid losing visitors or disrupting your business. While you can move at any time, choosing the right moment ensures a smooth, stress-free transition.
Here are the best times to switch:
✔ 1. When Your Renewal Date Is 30–60 Days Away
If your hosting plan is about to renew, this is the perfect window. You’ll have enough time to migrate safely, test everything, and make DNS updates, without paying for another full year of service you won’t use.
✔ 2. After You Finish a Major Website Update or Launch
Don’t switch hosts in the middle of a redesign or big content push. Once everything is updated, polished, and stable, that’s the best moment to pack up and move. A completed site is easier to back up, restore, and test on the new server.
✔ 3. During Your Low-Traffic Hours or Season
Check your Google Analytics. Find the times when fewer visitors are online; this might be late nights, weekdays, or certain months. Moving during your quiet periods reduces the chances that users will notice the switch at all.
✔ 4. Immediately, If Your Host Keeps Crashing
If your website is constantly going offline, freezing, or loading painfully slow, don’t wait for the “perfect moment.”
Downtime hurts your SEO, your traffic, and your business. In this situation, switching right now is the best option.
Step-by-Step: How to Safely Change Your Web Hosting Provider
Migrating your website to a new hosting provider doesn’t have to feel overwhelming. When you break it down into simple, intentional steps, the process becomes clear, safe, and surprisingly manageable.
Here’s a detailed guide to help you move your site without downtime, broken pages, or stress.
1) Start by Choosing Your New Hosting Provider
Before touching your current hosting account, you must choose where your website is going. This gives you time to prepare everything on the new server before making the switch.
When choosing a host, especially in Kenya, prioritize:
- Servers are physically located in Africa or with fast routing to Kenya, ensuring quick loading speeds.
- A 99.9% uptime guarantee, which means your website stays online consistently.
- Free migration services, so professionals can move their site safely.
- 24/7 support, ideally with real humans who respond quickly.
- Daily or automated backups, just in case anything goes wrong.
Truehost provides all these features, plus free, expert migration, making the transition smooth and secure.
2) Sign Up for the New Hosting Plan (But Don’t Move the Domain Yet)
Once you’ve chosen your new provider:
- Create your hosting account.
- Choose a plan equal to, or better than, the one you currently use.
- Wait for your new hosting dashboard, login credentials, and nameserver details.
Do NOT point your domain to the new host yet.
Your domain should still direct visitors to your old host, so everything stays online during preparation.
3) Back Up Everything You Own
This step cannot be skipped. Even when your new host promises to migrate everything for you, having your own backups is non-negotiable. It’s your safety net.
Create full backups of:
• Website Files
These include all your images, themes, plugins, scripts, and content files. Download them via:
- cPanel File Manager
- FTP (e.g., FileZilla)
• Databases
Your database contains your content, settings, and user information. Export your database using:
- phpMyAdmin → Export
• Emails
If your email accounts are hosted on your current provider, ensure you back up:
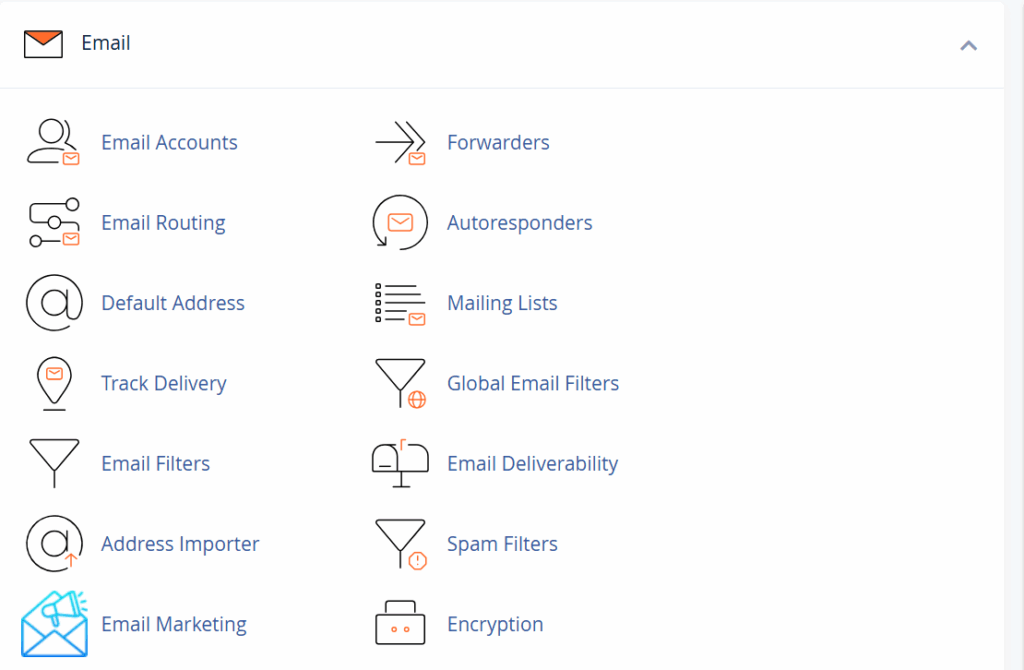
- Email accounts
- Inbox and sent messages
- Email settings
Store everything on your computer, and open the backup files to confirm they’re not corrupted.
4) Upload Your Website to the New Hosting Provider
Now bring your website into its new environment:
- Upload all files to the new host using FTP or File Manager.
- Import your database through phpMyAdmin.
- Reconnect your website to the new database.
If you use WordPress, update the wp-config.php file:
- Database name
- Username
- Password
- Host
Once done, your website will be fully installed on the new server, but still hidden from the public.
5) Test the Website on the New Server
Before making the migration official, you must test everything, privately.
To do this, edit your hosts file so that only your computer sees the new server while the public continues to see the old one.
When testing:
- Visit all pages
- Review images and links
- Check menus and widgets
- Submit forms
- Test logins
- If you run an e-commerce store, test checkout, carts, and payment gateways
Fix all issues now, while users are still seeing the stable version on your old host.
6) Update Domain Nameservers (This Makes the New Site Live)
Now that everything works, it’s time to point your domain to the new hosting provider.
Steps:
- Log in to your domain registrar (Truehost, KEWE, Safaricom, etc.)
- Open DNS Management or Nameservers
- Replace the old nameservers with the new ones provided by your host
Once saved, the internet begins routing traffic to the new server. This process, called DNS propagation, takes:
- 1–48 hours globally
- Typically 4–8 hours in Kenya
During this time, some visitors will see the old site, others the new. This is normal and temporary.
7) Cancel Your Old Hosting (After You’re 100% Sure Everything Works)
Don’t rush to cancel your old hosting. Give the system time to fully shift.
Wait 48–72 hours after updating your nameservers, then:
- Test your website again
- Test emails on multiple devices
- Confirm fast loading speeds
- Make sure admin dashboards work properly
Only when everything is stable should you cancel your old hosting account. If your previous provider offers refunds for unused months, request one.
Common Mistakes to Avoid
Even a well-planned website migration can go wrong if you overlook a few critical steps. Here are the most common mistakes people make, and how to avoid them:
1. Canceling Your Old Hosting Too Early
This is one of the biggest and most painful mistakes.
Never cancel your old hosting plan until you’re sure your website is fully live, stable, and working correctly on the new server.
You may still need access to old files, databases, or email settings during the testing phase.
Once the site is stable everywhere, then you can safely cancel.
2. Skipping the Backup Step
No backup = no safety net.
If anything goes wrong during the transfer and you don’t have a full backup of your files, database, and emails, you risk permanent data loss.
A proper backup gives you control and peace of mind, no matter what happens.
3. Forgetting to Migrate Your Emails
Many people move the website but completely forget their emails. If your email accounts are hosted on your old provider, you must:
- Back up the email accounts
- Recreate them on the new server
- Update your MX records in your DNS settings
If you don’t do this, you could lose incoming emails or cause delivery failures.
4. Not Updating Configuration Files
Uploading your files isn’t enough.
If you’re using WordPress or any CMS with a configuration file, you must update it with:
- New database name
- New database username
- New password
- New database host
Failing to do this results in the dreaded “Error Establishing a Database Connection” message.
Conclusion
Switching your web hosting provider doesn’t have to be a stressful gamble.
By following these clear, step-by-step instructions, from essential preparation and full backups to careful testing and final DNS updates, you can ensure a secure migration with virtually no downtime.
The key is never to rush, always back up everything, and only cancel your old service once you’ve confirmed your site is 100% stable on the new server.
When your website needs a speed boost, reliable uptime, and responsive local support, the solution is clear.
If you are looking to simplify your transition and avoid technical headaches, we at Truehost are here to help. We believe every website deserves a fast, secure, and reliable home.
We offer:
- Powerful Local Hosting: Fast servers optimized for the Kenyan market.
- Expert Migration: We offer free, professional site migration to move your entire website, including files and emails, safely and securely.
- 24/7 Support: Our team is always available to assist you throughout the entire process and beyond.
Stop putting up with slow loading speeds and unreliable service. Take the next step toward a better online presence today.