Domain SearchInstantly check and register your preferred domain name
 Web Hosting
 cPanel HostingHosting powered by cPanel (Most user friendly)
 KE Domains
 Reseller HostingStart your own hosting business without tech hustles
 Windows HostingOptimized for Windows-based applications and sites.
 Free Domain
 Affiliate ProgramEarn commissions by referring customers to our platforms
 Free HostingTest our SSD Hosting for free, for life (1GB storage)
 All DomainsBrowse and register domain extensions from around the world
 .Com Domain
 WhoisLook up domain ownership, expiry dates, and registrar information
 VPS Hosting
 Managed VPSNon techy? Opt for fully managed VPS server
 Dedicated ServersEnjoy unmatched power and control with your own physical server.
 SupportOur support guides cover everything you need to know about our services
If you’ve ever felt limited just clicking around in cPanel, SSH is what opens things up for you. It gives you a more direct way to manage your website behind the scenes. It might sound a bit technical at first, but once you get the basics, it’s actually pretty straightforward.
SSH is just a secure way to connect to your server and run commands. Instead of using a visual dashboard like cPanel, you interact with your server through a command line. It’s like having a direct line to your website, faster and more flexible.
Now, you might be wondering, do you really need it as a beginner? In many cases, yes. SSH is handy when you want to fix website issues quickly, manage files more efficiently, install tools, run updates, or work with Git. It’s one of those tools you may not use every day, but when you need it, it makes a big difference.
You don’t need to learn everything at once; getting the basics down is already a big step toward managing your website with confidence. This guide walks you through how to access SSH in cPanel as a beginner, step by step.
Most modern hosting providers, including Truehost, make SSH access available even for beginners.
How to Access SSH in cPanel
Before jumping in, you need a few things set up.
What You Need Before Starting
1) Active cPanel Hosting Account
You’ll need access to your hosting dashboard (cPanel).
2) SSH Access Enabled
Not all hosting providers enable SSH by default, especially on shared hosting.
If you don’t see SSH Access in cPanel, you may need to:
- Request it from your hosting provider
- Upgrade your hosting plan
With providers like Truehost, you can easily request SSH access from support, and in many cases, it’s enabled quickly without complicated steps.
3) Basic Requirements
Make sure you have:
- Your cPanel login details
- Your server IP address or hostname
- The SSH port (usually 22, but sometimes different)
4) SSH Client (How You’ll Connect)
- Windows: Use PuTTY
- Mac/Linux: Use Terminal (already installed)
Step-by-Step to Accessing SSH in cPanel (The Secure Way)
Recommended method: Using SSH keys
If you’re new to SSH, this is the best way to start. Using SSH keys is more secure than passwords and is what most hosting providers recommend. It might look like a lot of steps at first, but once you do it once, it becomes routine.
Step 1: Log in to cPanel
Start by accessing your hosting dashboard:
Go to: yourdomain.com/cpanel
Enter your username and password

Once inside, scroll down to the Security section

Click on SSH Access
If you don’t see this option, your hosting provider may not have enabled it yet. You can always request access.
Step 2: Generate or Import SSH Keys
Now you’re setting up your secure login.
Inside SSH Access, click Manage SSH Keys

You’ll see two options:
- Generate a new key (best for beginners)
- Import an existing key (if you already have one)

Option A: Generate a New Key
Click Generate a New Key, then fill in:
- Key Name → You can leave the default or rename it
- Passphrase → This protects your key (make it strong, it’s like a second password)
Next, choose:
- Type: RSA (recommended and widely supported)
- Key Size: The larger the size, the more secure (default is usually fine)
Click Generate Key

Public vs Private Key
This part confuses a lot of beginners, but it’s simple:
- Public Key → Stays on your server
- Private Key → Stays on your computer
They work together, like a lock (public key) and the only key (private key) that can open it.
Step 3: Authorize the Key
This is a step many people miss.
- Go back to Public Keys
- Find the key you just created
- Click Manage → Authorize
If you skip this, your key won’t work, so don’t ignore it.
Step 4: Download the Private Key
Now you need your side of the lock and key.

- Go to Private Keys
- Click View/Download
- Save the file somewhere safe on your computer
Important: Never share this file. Anyone with it can access your server.
If you’re on Windows using PuTTY, you may need to convert this file into .ppk format before using it.
Step 5: Connect Using an SSH Client
This is where everything comes together.
If You’re Using Windows (PuTTY)
- Open PuTTY
- Enter:
- Your hostname or server IP
- Your port number
- Load your private key
- Click Open
- Enter your passphrase when prompted
If You’re Using Mac or Linux (Terminal)
Open Terminal and type:
ssh username@server-ip -p port
- Press Enter
- Enter your passphrase
- And that’s it, you’re connected.
Common Issues and How to Fix Them
This is the part where most beginners hit a wall, and that’s completely normal. SSH is straightforward once it’s set up correctly, but a small misstep can block access. Here’s a deeper look at the most common issues and how to fix them.
1) SSH Access Not Enabled
Sometimes the problem isn’t you; SSH simply isn’t turned on.
What’s happening:
Some hosting providers disable SSH by default, especially on shared hosting plans.
How to fix it:
- Check your cPanel for SSH Access
- If it’s missing, contact your hosting provider and request activation
- In some cases, you may need to upgrade your hosting plan
2) Connection Refused / Wrong Port
You try to connect, but nothing happens, or you get a connection refused error.
What’s happening:
SSH usually runs on port 22, but many hosts change this for security reasons.
How to fix it:
- Confirm the correct port from your hosting provider or cPanel
- Double-check your command or PuTTY settings
- Make sure you’re using the correct server IP or hostname
3) Permission Denied Errors
This is one of the most common (and frustrating) errors.
What’s happening:
Your server is rejecting the login attempt.
Possible causes:
- Your SSH key hasn’t been authorized
- You’re using the wrong username
- The private key doesn’t match the public key
- Incorrect passphrase
How to fix it:
- Go back to cPanel → SSH Access → Manage Keys
- Ensure your key is authorized
- Double-check your username (it’s usually your cPanel username)
- Try re-downloading and reloading your private key
4) Incorrect Key Format
This mostly affects Windows users using PuTTY.
What’s happening:
PuTTY doesn’t accept the default private key format from cPanel.
How to fix it:
- Open PuTTYgen
- Import your private key
- Convert and save it as a .ppk file
- Load the .ppk file into PuTTY before connecting
5) Firewall or IP Blocking
You’ve set everything correctly, but still can’t connect.
What’s happening:
Your hosting provider or server firewall may be blocking your IP address.
How to fix it:
- Check if your host has IP restrictions for SSH
- Add your IP to the allowlist (if available in cPanel or hosting dashboard)
- Temporarily disable your local firewall to test
- Contact support if you’re unsure
6) Shared Hosting Limitations
Not all hosting environments give full SSH access.
What’s happening:
On shared hosting, some SSH features may be restricted for security reasons.
How to fix it:
- Check what level of SSH access your plan supports
- Upgrade to VPS or cloud hosting if you need full control
- Use cPanel alternatives (File Manager, Terminal if available) for basic tasks
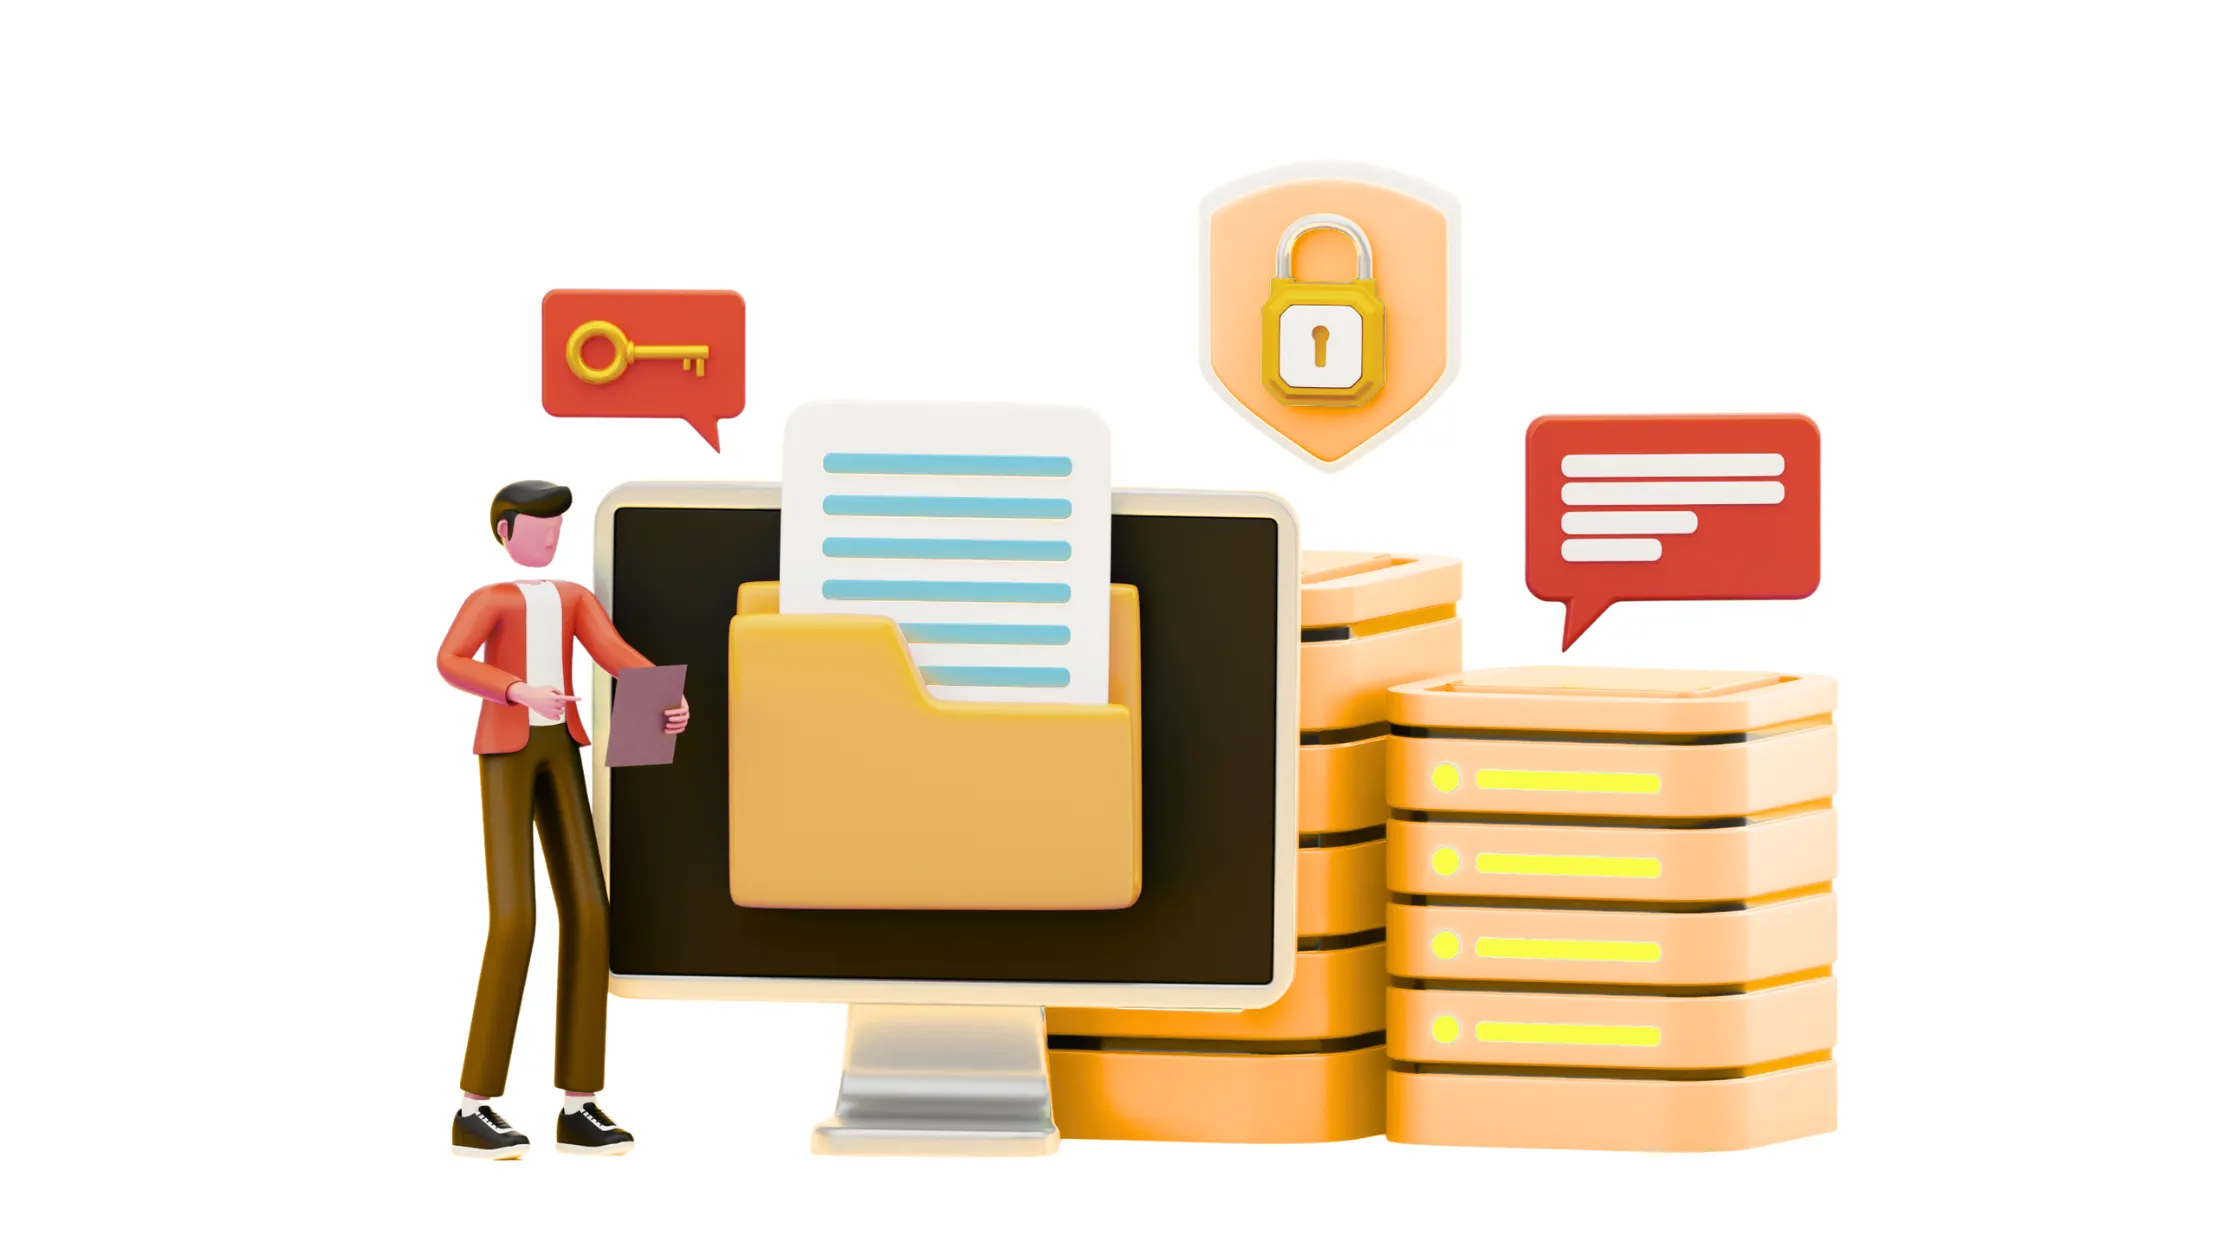
Security Best Practices for SSH
This is one area you don’t want to overlook. SSH gives direct access to your server, so keeping it secure is just as important as getting it working.
a) Use SSH Keys Instead of Passwords
Passwords can be guessed or attacked. SSH keys are much harder to break and are a safer option. If you have the choice, always go with key-based authentication.
b) Keep Your Private Key Safe
Your private key is your access. If someone else gets it, they can log in as you.
- Store it in a secure location on your device
- Don’t upload it online or share it
- Delete it from public or shared computers after use
c) Use a Strong Passphrase
A passphrase adds an extra layer of protection to your key. Even if someone gets your private key, they still won’t be able to use it without the passphrase.
Make it strong, unique, and not easy to guess.
d) Disable SSH When You’re Not Using It
If you don’t need SSH access all the time, it’s safer to turn it off. This reduces the chances of unwanted login attempts.
e) Limit Access to Trusted Users Only
Only give SSH access to people who actually need it. The fewer users with access, the lower the risk.
Getting Comfortable with SSH
Your first SSH login might feel a bit unfamiliar; that’s completely normal. The key is to keep things simple and build confidence as you go.
Start small:
- Run basic commands like ls, cd, and pwd
- Avoid copying random commands from the internet
- Practice on files or projects that aren’t critical
With a little consistency, SSH starts to feel less like a FF developer tool
and more like a faster, smarter way to manage your website.
If you find that SSH isn’t available on your current hosting, or it feels unnecessarily complicated, it might be worth switching to a provider that makes it easier. Truehost offers beginner-friendly hosting with accessible SSH features so that you can learn and manage your site without the usual friction.
Access SSH FAQs
Is SSH free in cPanel?
Yes. SSH access in cPanel is usually free, but it depends on your hosting provider. Most hosts include it as part of their hosting plans, though some may restrict it to higher-tier packages.
Why can’t I see SSH Access in cPanel?
If you don’t see SSH Access, it’s likely because your hosting provider has not enabled it on your account. This is common in shared hosting environments. You can usually request activation from support or upgrade your hosting plan if needed.
What port does SSH use?
By default, SSH uses port 22. However, some hosting providers change this for security reasons. If port 22 doesn’t work, check your hosting dashboard or ask your provider for the correct port number.
Can I use SSH on shared hosting?
Yes, but it depends on the hosting provider. Many shared hosting plans allow SSH, but with limited permissions for security reasons. Some providers may also restrict certain commands to protect server stability.
Is SSH safe for beginners?
Yes, SSH is safe when used correctly. In fact, it’s more secure than traditional login methods because it uses encryption. For beginners, the key is to:
- Use SSH keys instead of passwords
- Avoid running unknown commands
- Stick to basic, well-documented instructions
With good practices, even beginners can use SSH safely and confidently.