Domain SearchInstantly check and register your preferred domain name
 Web Hosting
 cPanel HostingHosting powered by cPanel (Most user friendly)
 KE Domains
 Reseller HostingStart your own hosting business without tech hustles
 Windows HostingOptimized for Windows-based applications and sites.
 Free Domain
 Affiliate ProgramEarn commissions by referring customers to our platforms
 Free HostingTest our SSD Hosting for free, for life (1GB storage)
 All DomainsBrowse and register domain extensions from around the world
 .Com Domain
 WhoisLook up domain ownership, expiry dates, and registrar information
 VPS Hosting
 Managed VPSNon techy? Opt for fully managed VPS server
 Dedicated ServersEnjoy unmatched power and control with your own physical server.
 SupportOur support guides cover everything you need to know about our services
Want to block a WordPress user from accessing your site without deleting their account?
Sometimes, you don’t want to remove a user completely, just stop them from logging in or making changes.
In this guide, you’ll learn how to disable a WordPress user while keeping all their content and data safe.
Why Disable a User Instead of Deleting Their Account?
You might wonder, why not just delete the user entirely?
In many situations, disabling a WordPress user is a much better choice.
Here’s why it makes sense:
1) You Keep Their Content Safe
When you delete a user, WordPress gives you two choices:
- Reassign their content to another user
- Or delete their content along with the account
Both options carry risks.
You could accidentally lose valuable blog posts, product pages, or comments.
Or the content may show a different author, which can confuse your readers.
Disabling avoids all that.
Their content stays exactly as it was, fully credited to them.
2) You Can Pause Access Without Losing Anything
Sometimes, you don’t want a user gone for good.
You just want to temporarily block access.
That could be because:
- They’re taking a break
- Their contract is on hold
- You’ve noticed suspicious activity and need to investigate
Disabling lets you stop access immediately, without deleting anything.
And if things change, you can restore their access in seconds.
3) You Maintain a Full Record
Deleting a user clears out more than just access.
It erases their:
- Profile
- Login history
- Activity records
That can be a problem, especially for business websites.
By disabling instead, you keep:
- Their full account details
- All user logs and history
- A clear audit trail of past actions
This is critical for sites that manage teams, clients, or members.
4) It’s Easy to Reinstate Their Access
Let’s say the user returns in the future.
If you deleted their account, you’d have to:
- Recreate their user profile
- Set up their role again
- Restore any lost content (if possible)
That’s time-consuming.
But if you simply disabled the account?
You just re-enable it.
- No need to reset permissions
- No content lost
- No confusion
It’s faster, safer, and far more convenient.
How to Disable a WordPress User Account
There are a few effective ways to disable a user in WordPress without deleting their profile. We’ll explore the most common and straightforward methods.
Method 1: Use a Plugin to Disable WordPress Users
One of the easiest ways to disable WordPress user accounts is by using a plugin.
These tools are designed to give you control over who can access your site, without needing to write a single line of code.
Step 1: Install a User Management Plugin
Start by choosing a reliable plugin. Some popular options include “Disable Users” and “User Control”.
To install:
- Go to your WordPress dashboard
- Click on Plugins > Add New
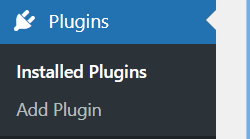
- Search for “Disable Users” or “Members”
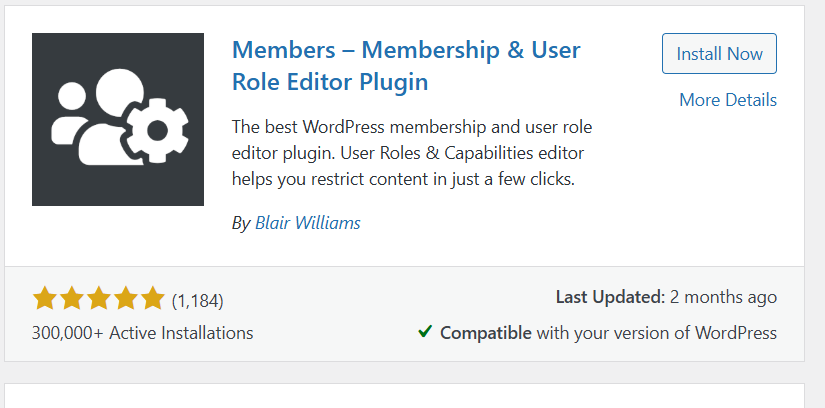
- Click Install Now, then Activate
These plugins add options to your user profiles that allow you to block logins with just a few clicks.
Step 2: Disable the User Account
Once the plugin is active:
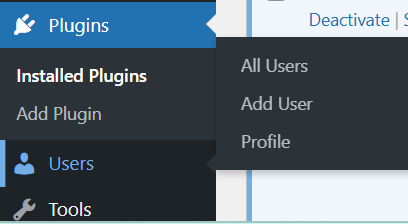
- Head to Users > All Users
- Find the user you want to block
- Click Edit under their name
- Look for a setting that says something like “Disable this account” or “Block user login”
- Check the box or toggle it on
- Click Update
The user won’t be able to log in anymore, but their content stays on your site.
Method 2: Change the User’s Role to Disable Access
This is one of the easiest ways to block access without deleting the account.
You simply remove the user’s role so they can’t do anything on your site.
Step 1: Open the User’s Profile
Start by logging into your WordPress dashboard.
From the left-hand menu, click Users > All Users.
Find the person you want to restrict.
Hover over their name and click Edit.
This will open their profile settings.
Step 2: Remove Their Role
Inside the user profile, scroll down to the Role section.
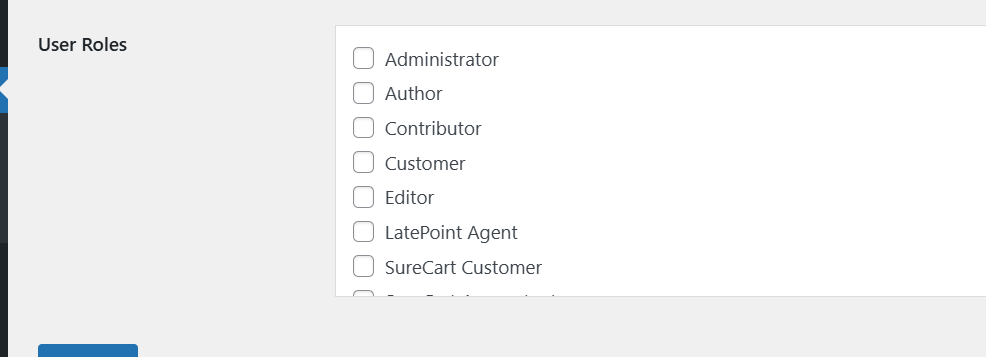
You’ll see a dropdown that shows their current role, like Editor, Author, or Subscriber.
Click the dropdown and choose “No role for this site.”
Then scroll to the bottom and click Update User to save.
What This Does
Setting “No role for this site” removes all their permissions.
The user remains listed in your dashboard, but they can’t log in or access anything.
They won’t see the admin panel, write posts, or make any changes.
Their account is still active, just fully restricted.
This method is clean, fast, and doesn’t require any plugins or code.
It’s a great option when you want to pause a user’s access temporarily or permanently, without affecting their content or data.
Method 3: Change the User’s Password
If you’re looking for a fast and direct way to block access, simply changing a user’s password can do the trick.
Step 1: Update the Password
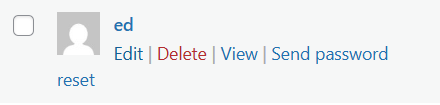
- Go to Users > All Users
- Click Edit on the chosen user
- Scroll to the Account Management section
- Click Generate Password or enter a strong new one
- Save the changes
This locks out the user, as they’ll no longer know the updated login credentials.
Step 2: Store or Share the New Password (Optional)
If you plan to let the user back in later:
- Note down the new password
- You can share it with them when needed
Keep in mind, this doesn’t stop the user from requesting a password reset if they still control the email address tied to the account.
Method 4: Use Code to Block Specific User Accounts
If you’re an advanced user or developer, you can disable specific WordPress accounts directly through your site’s backend, without using a plugin.
Step 1: Access Your Theme Files
Start by logging into your hosting account or using an FTP tool to access your website files.
- Go to your active theme folder
- Find and open the file named functions.php
This file controls key functions of your site and lets you add custom features.
Step 2: Add a Custom Rule to Block Users
Inside the functions.php file, you can add a rule that checks for specific usernames and blocks them from logging in.
You’ll just need to list the usernames of the accounts you want to disable.
Once added and saved, WordPress will prevent those users from accessing the site, even if they enter the correct login details.
Step 3: Confirm the Block Is Working
Try logging in with any of the blocked usernames. If everything is set up correctly, access will be denied, and a message will appear saying the account is disabled.
This method is powerful but should only be used if you’re confident working with WordPress files.
For everyone else, using a plugin or changing user roles is a safer approach.
What Happens When You Disable a WordPress User?
Disabling a user doesn’t remove them. It simply cuts off their access, while everything else stays in place. Here’s what you can expect:
1) The User Loses Access
Once disabled, the user can’t log in.
If they try, they’ll get an error or be redirected.
They won’t be able to view the dashboard or make any changes.
Their login is blocked, but their account still exists.
2) Their Content Remains Live
All posts, pages, and comments they created will stay on your site.
Their name will still appear as the author.
You won’t lose any content tied to that user.
3) Profile Data Is Preserved
Even if the user is inactive, their details stay in your system.
This includes:
- Their email and username
- Account settings
- Any metadata tied to their profile
4) You’ll Still See Them in the User List
Go to Users > All Users, and you’ll find their name there.
Their role may show as “No Role” or “Disabled.”
Some plugins add a label or status to make them easy to identify.
How to Re-Enable a Disabled User
Bringing a user back is simple. Just reverse the steps you took.
- If You Used a Plugin
- Go to the user list
- Find the disabled account
- Click on “Enable,” “Unblock,” or a similar option
- Save changes
The user can now log in again.
- If You Changed Their Role
- Edit their profile
- Scroll to the Role setting
- Choose the original role (like Editor or Subscriber)
- Click Update
This restores their access instantly.
No need to create a new account.
Conclusions
Disabling a user is a smart move when you need to pause access, not remove them.
It helps when:
- A staff member leaves
- Someone is on break
- You’re reviewing suspicious activity
Their content stays. Their profile is safe. And reactivating them is quick.
Choose the method that fits your workflow, and keep your site secure and organized.