Domain SearchInstantly check and register your preferred domain name
 Web Hosting
 cPanel HostingHosting powered by cPanel (Most user friendly)
 KE Domains
 Reseller HostingStart your own hosting business without tech hustles
 Windows HostingOptimized for Windows-based applications and sites.
 Free Domain
 Affiliate ProgramEarn commissions by referring customers to our platforms
 Free HostingTest our SSD Hosting for free, for life (1GB storage)
 All DomainsBrowse and register domain extensions from around the world
 .Com Domain
 WhoisLook up domain ownership, expiry dates, and registrar information
 VPS Hosting
 Managed VPSNon techy? Opt for fully managed VPS server
 Dedicated ServersEnjoy unmatched power and control with your own physical server.
 SupportOur support guides cover everything you need to know about our services
Changing your domain name doesn’t have to damage your SEO if done correctly.
Many Kenyan site owners switch domains for rebranding, moving to a cleaner TLD (like .com), or leaving a penalized domain, and rankings can recover within weeks or a few months.
This guide shows you how to change domain name without losing your SEO value.
It covers key reasons for changing, common mistakes to avoid, and a simple 10-step process (including backups, migration, 301 redirects, and notifying Google), especially for sites on cPanel.
Why You Might Want to Change Domain Name
a) Rebranding or growth
Your current name no longer reflects what you offer.
b) Better domain (TLD) choice
Moving from .co.ke to .com for a more global, professional feel.
c) Stronger brand recognition
A more memorable domain builds trust and credibility.
d) Escaping a bad domain history
Leaving behind penalties, spam signals, or poor backlinks.
e) Fresh start (done right)
A new domain can help, but only if handled properly for SEO.
Important Things to Remember Before Starting
Keep your URL structure the same as much as possible. If your current page is olddomain.co.ke/aboutus, move it to newdomain.com/aboutus.
This makes things easier for both users and search engines, and helps protect your rankings.
Also, don’t try to change everything at once. It’s tempting, but it usually backfires.
Start by switching the domain, give it about 2–4 weeks to settle, then make any URL structure changes later if needed.
Expect a temporary drop in traffic; it’s completely normal. Most sites see a 10–40% dip while Google re-crawls and re-indexes pages.
In many cases, traffic recovers within 1–3 months, though full stabilization can take longer.
The key is to stay calm and stay on top of things. Keep an eye on performance daily, fix issues like broken links or redirect errors quickly, and give it time.
Done right, the move won’t hurt your site and can even set you up for better results.
Step-by-Step Guide to Change Your Domain Name
Follow these steps, and you’ll protect your rankings.
1) Register the New Domain Name
Log in to your Truehost client area or head straight to our domain search if you don’t have an account yet.

Search for your desired name, check availability, and pick the best TLD.
Complete the purchase using M-Pesa or a card. We recommend registering for at least 1–2 years upfront.
Longer registration periods send stronger SEO signals.
2) Backup Your Current Website
Before you touch anything else, create a complete safety net.
i) Log in to your cPanel account
ii) Go to the Files section > Files category, then click Backup Wizard.

iii) Start the backup process.

Select Full Backup. This captures your website files, databases, emails, and more in one go.

iv) Choose Home Directory as the backup destination (this saves the file on the server so you can download it easily). Enter your email address if you want a notification when the backup finishes.

v) Click Generate Backup. The process may take a few minutes, depending on your site size. You’ll see a confirmation once it starts.
vi) Once it’s ready, go back to the Backup section and download the .tar.gz file to your computer. Store it somewhere safe (external drive or cloud storage).
Also back up your database separately for extra safety
Even with a full backup, it’s smart to do this:
- In cPanel, go to Databases → phpMyAdmin.

- Select your website’s database on the left.
- Click Export at the top, choose Quick method, and download the SQL file.
Tip: Do this manual backup even if you already use plugins like UpdraftPlus, Duplicator, or WPvivid. Having multiple copies gives you peace of mind before a domain change.
3) Set Up the New Website on Your Hosting
Now that your old site is safely backed up, it’s time to prepare a home for your website on the new domain.
This step creates a separate folder on your hosting account where the new site will live.
i) Navigate to the Domains section on your cPanel account.

Scroll down to the Domains category and click on Addon Domains (in some newer cPanel interfaces, you may first click Domains then choose to create a new domain).

ii) Enter your new domain name In the New Domain Name field, type your new domain (for example: newbrand.com).

Do not include ‘www’ or ‘https://‘. The other fields (like Document Root and Subdomain) will usually auto-fill. This is normal and saves you time.
iii) Optionally create an FTP account. Check the box for Create an FTP account if you want separate FTP access for this domain.
Enter a username and a strong password. This is useful if you plan to upload files manually later.
iv) Click Add Domain (or Submit in newer interfaces). Wait 1–2 minutes. Do not close or refresh the browser tab while it processes.
vi) Confirm it’s added. Once complete, you’ll see a success message. Your new domain now has its own directory.
Usually something like public_html/newbrand.com. This keeps your new site completely separate from your old one.
What just happened?
You now have two domains running on the same hosting package, but each with its own independent folder and files. This setup is perfect for a clean domain migration.
Quick tip: If you registered the new domain with Truehost, the pointing process is usually automatic once you add it as an addon domain. If the domain was registered elsewhere, you’ll handle nameservers or A records in a later step.
4) Clone/Migrate Your Old Website to the New Domain
For most WordPress sites, the easiest and safest method is using a migration plugin.
Recommended easy method (for WordPress sites):
Use a reliable plugin like Duplicator, All-in-One WP Migration, or WPvivid Backup & Migration. These tools handle most of the heavy lifting automatically.
Here’s how to do it with Duplicator (the most popular choice in 2026):
i) Install and activate Duplicator on your old site.
Log in to your old WordPress dashboard → Go to Plugins > Add New → Search for ‘Duplicator’ → Install and activate it.
ii) Create a full package/backup on the old site.
Go to Duplicator in the left menu → Click Create New → Run the scan → If everything shows green, click Build.
Download the two files it creates: the archive (zip) and the installer.php file. Save them safely on your computer.
iii) On the new domain, prepare the environment.
Make sure you have already created a new database in cPanel (under Databases > MySQL Databases). Note down the database name, username, and password.
iv) Upload the package to the new domain.
Log in to cPanel for the new domain → Go to File Manager → Navigate to the new domain’s folder (usually public_html/newdomain.com). Upload the archive zip and installer.php files.
v) Run the installer.
In your browser, go to https://newdomain.com/installer.php (replace with your actual new domain).
Follow the wizard: Enter your new database details, then use the built-in search-and-replace tool to automatically change all old domain URLs to the new domain.
Complete the installation and delete the installer files when prompted for security.
Manual method (only if you prefer, or plugins aren’t an option):
- Copy all files from the old site’s public_html folder to the new domain’s folder using File Manager or FTP.
- Export the old database via phpMyAdmin.
- Create a new database in cPanel for the new site.
- Import the old database into the new one.
- Edit the wp-config.php file in the new folder with the new database name, username, and password.
- Test everything on a temporary URL first before making the new domain live.
Tip: Always test the cloned site thoroughly on the new domain before setting up redirects. This prevents surprises later.
5) Update Internal Links and References
This step keeps your site working smoothly and helps SEO.
Here’s what to do:
a) Update menus, pages, and hard-coded links.
Go through your navigation menus, footer links, images, and any pages with direct URLs. Change them from the old domain to the new one.
b) Update canonical tags.
If you use an SEO plugin like Rank Math or Yoast, open its settings and update the site URL or canonical settings to the new domain. This tells search engines the preferred version of your pages.
c) Generate a fresh XML sitemap.
In your SEO plugin, create and save a new sitemap that uses only the new domain.
For WordPress users, the safest way:
Use the search-and-replace tool built into Duplicator during migration, or install a plugin like Better Search Replace.
Run it carefully: Search for your old domain (e.g., olddomain.co.ke) and replace with the new one (e.g., newdomain.com). Always back up your database first.
This keeps everything clean and prevents mixed-content errors (http vs https) or broken links.
6) Point the New Domain to Your Website
Your new domain needs to connect properly to your hosting account so visitors can actually reach your site.
Here’s how:
a) If registered with Truehost
Once you have added it as an Addon Domain in cPanel, it usually points automatically. No extra work needed in most cases.
b) If registered elsewhere
Log in to the registrar where you bought the domain.
Update the nameservers to Truehost’s nameservers (you can find them in your cPanel under Server Information or in your Truehost welcome email).
Common Truehost nameservers look like ns1.truehost.co.ke and ns2.truehost.co.ke.
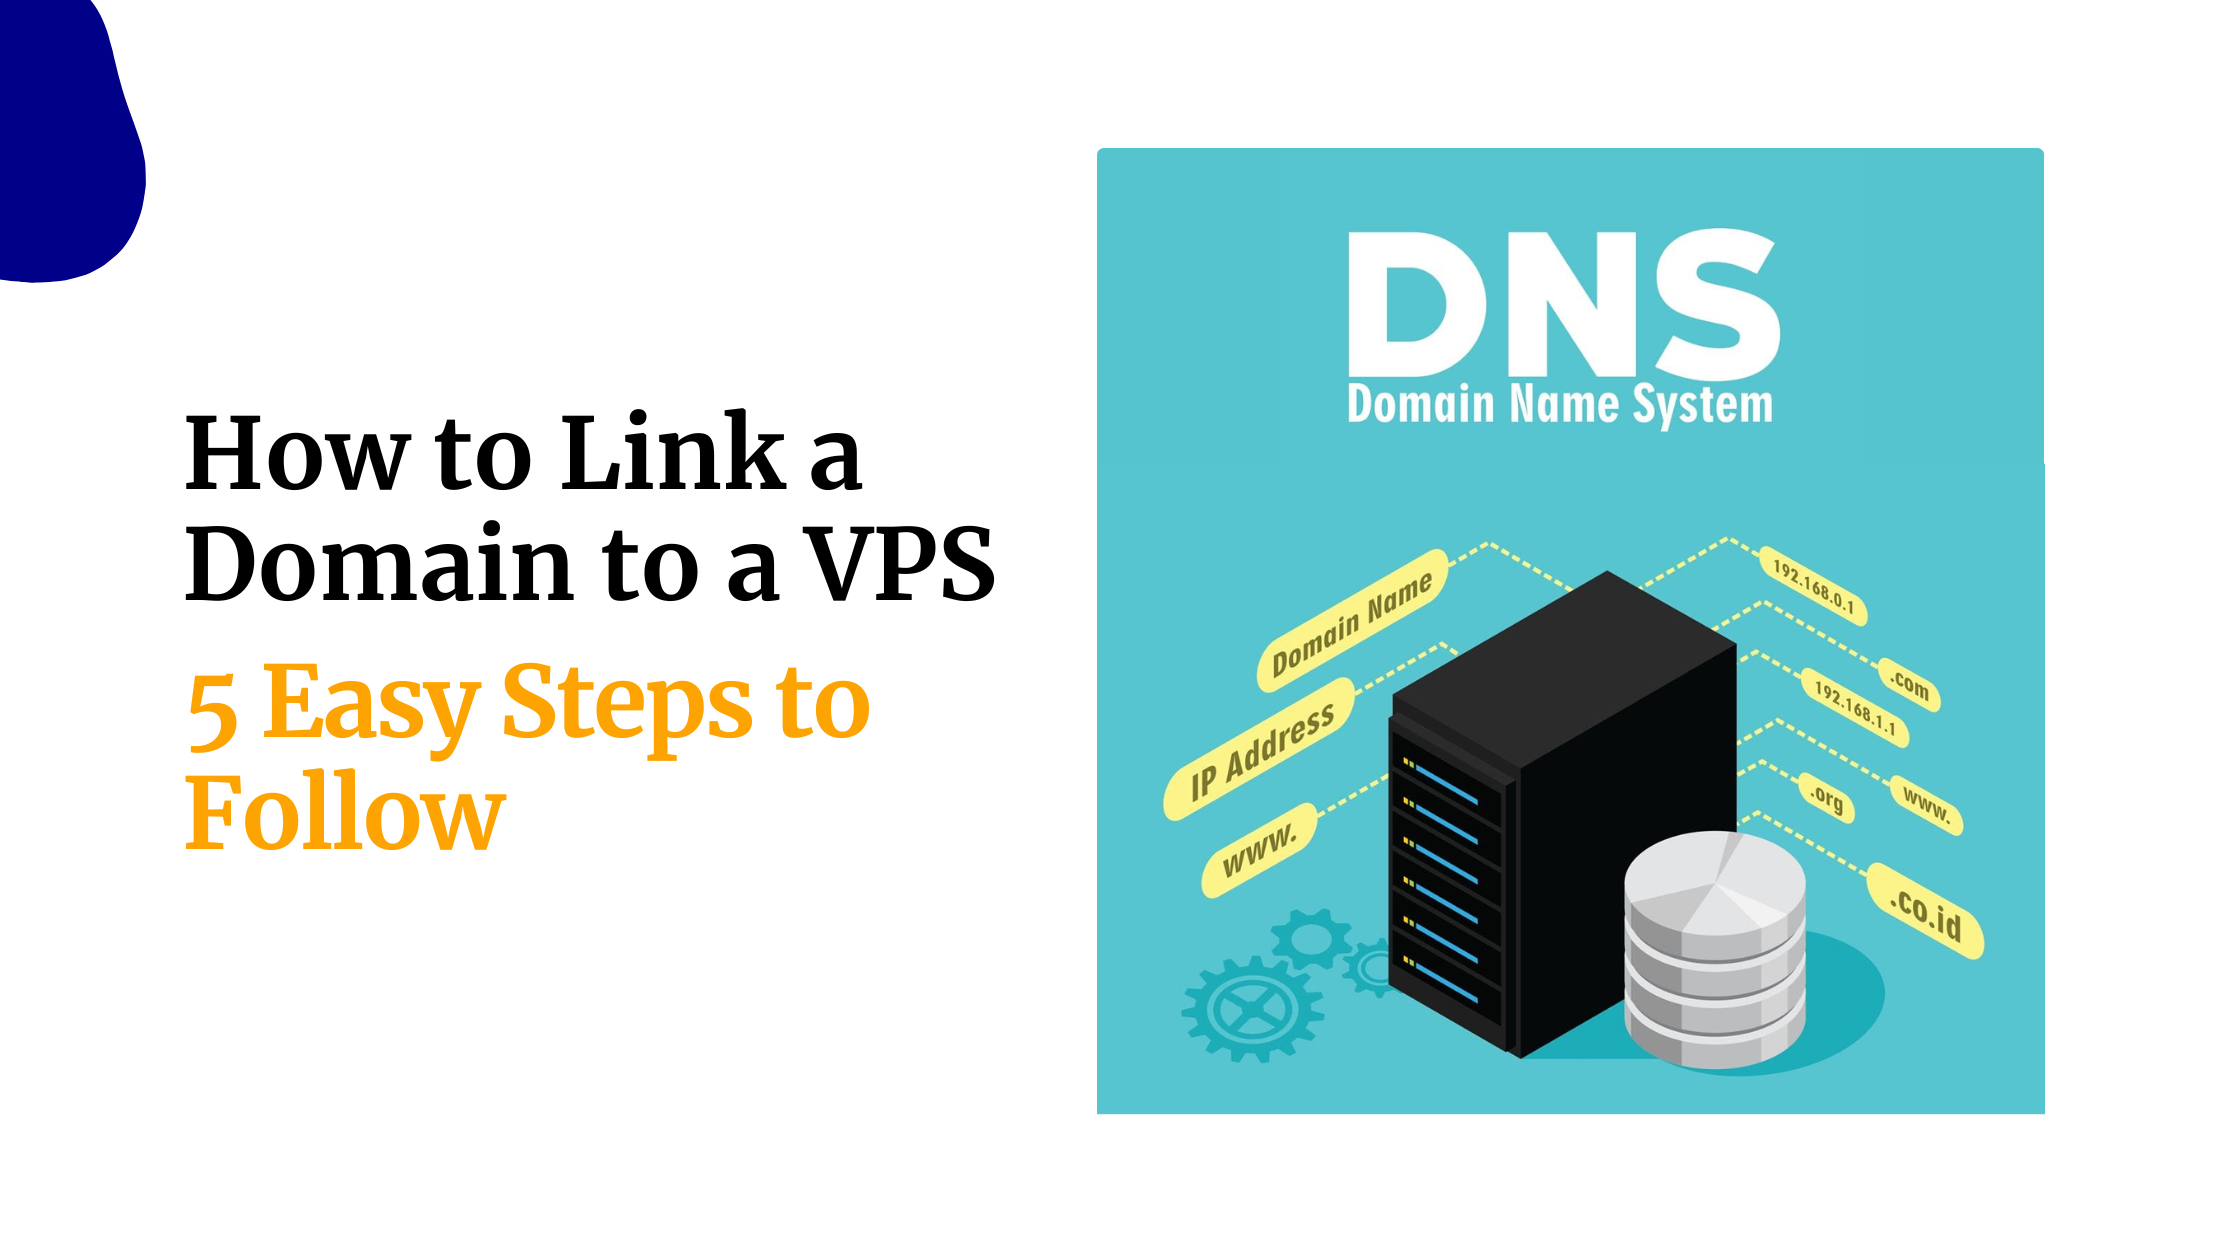
Alternatively, add A records pointing to your hosting server’s IP address (also found in cPanel).
c) Wait for DNS propagation
Changes can take a few minutes up to 48 hours to spread worldwide.
Check progress with the free tool whatsmydns.net.
Once propagation is complete, your new domain should load the website you cloned.
7) Set Up 301 Redirects from Old Domain to New Domain
This is the single most important SEO step in the entire process.
It tells search engines and visitors that your site has moved permanently and passes most of your link equity (ranking power) to the new domain.
Here’s how to set it up in cPanel:
i) Log in to cPanel.
Go to the Domains section → Click Redirects.

ii) Create the redirect.
Select Permanent (301). Choose your old domain from the dropdown.

Leave the path field blank (this redirects the entire site). In the ‘Redirects to’ field, enter your new domain with https:// (for example: https://newdomain.com).
iii) Add the redirect.
Click Add. Test it by typing an old URL in your browser; it should send you to the matching new page.
For more advanced control:
Edit the .htaccess file in the old domain’s folder and add redirect rules manually.
Important: Keep these 301 redirects active for at least 6–12 months. This gives Google plenty of time to fully transfer your authority.
8) Test the New Site Thoroughly
Don’t skip this step. A quick test now can save you headaches later.
Do the following:
- Visit the new domain yourself Check that all pages load correctly.
- Test key elements Click every internal link, submit contact forms, check images and media, test menus, and try the search function if you have one.
- Verify redirects Type several old URLs into your browser. They should automatically go to the correct new pages.
- Check for issues Look for broken elements or mixed content warnings (http vs https). Run your site through Google PageSpeed Insights or GTmetrix and fix any performance problems.
Fix anything broken immediately. A clean, fast site helps your rankings recover faster.
9) Notify Google and Other Search Engines
Here’s what to do:
i) Add the new domain in Google Search Console.
Add your new domain as a new property.
ii) Use the Change of Address tool.
In the old property’s settings, go to Change of Address and tell Google you’ve moved to the new domain. Do this only after redirects are live.
iii) Submit your new XML sitemap.
Upload the fresh sitemap you created earlier.
iv) Monitor reports.
Keep an eye on Crawl Errors and Index Coverage reports for any issues.
Optionally, do the same steps in Bing Webmaster Tools if you use it. This helps search engines discover and rank your new domain faster.
10) Update Analytics and Monitoring Tools
Your tracking tools need to follow the new domain so you don’t lose important data.
Follow these steps:
a) Update Google Analytics: Add or update the tracking property to include the new domain. Set up a new view if needed.
b) Refresh other tools: Update your Facebook Pixel, Hotjar, Google Tag Manager, or any other monitoring services with the new domain.
c) Verify the new domain in Search Console: Make sure it’s fully verified so data starts flowing correctly from day one.
Once everything is updated, you’ll continue getting accurate insights into your traffic and performance on the new domain.
Additional Important Steps
Update Backlinks Where Possible
Use Ahrefs, SEMrush, or Google Search Console to find your best backlinks. Reach out politely to webmasters and ask them to update the links to your new domain. It’s not mandatory, but it speeds up recovery.
Monitor Rankings and Traffic
Check Google Analytics and Search Console every day for the first few weeks. A small dip is expected to fix any 404s or broken redirects immediately. Most well-planned migrations see traffic return stronger.
Maintain the Old Domain
Keep the old domain registered and active. Leave the 301 redirects running for at least 6–12 months. This ensures Google fully transfers the link equity.
Optional: Update Email Addresses
If you use email on the old domain, set up forwarding in cPanel or migrate mailboxes. Let clients, subscribers, and partners know your new email addresses.
Final Verdit
You don’t have to figure this out alone. Start by securing your new domain the easy way. We at Truehost make registration quick with M-Pesa and local support that actually answers when you call.
Ready to get your new domain and protect your rankings? Register your domain name right now with Truehost.
Once it’s yours, follow the steps above, and you’ll be live on the new domain without losing the traffic and authority you’ve worked so hard to build.
If you get stuck at any point, our team is here to help. Your new chapter starts with one smart click. Let’s do this together.