Domain SearchInstantly check and register your preferred domain name
 Web Hosting
 cPanel HostingHosting powered by cPanel (Most user friendly)
 KE Domains
 Reseller HostingStart your own hosting business without tech hustles
 Windows HostingOptimized for Windows-based applications and sites.
 Free Domain
 Affiliate ProgramEarn commissions by referring customers to our platforms
 Free HostingTest our SSD Hosting for free, for life (1GB storage)
 All DomainsBrowse and register domain extensions from around the world
 .Com Domain
 WhoisLook up domain ownership, expiry dates, and registrar information
 VPS Hosting
 Managed VPSNon techy? Opt for fully managed VPS server
 Dedicated ServersEnjoy unmatched power and control with your own physical server.
 SupportOur support guides cover everything you need to know about our services
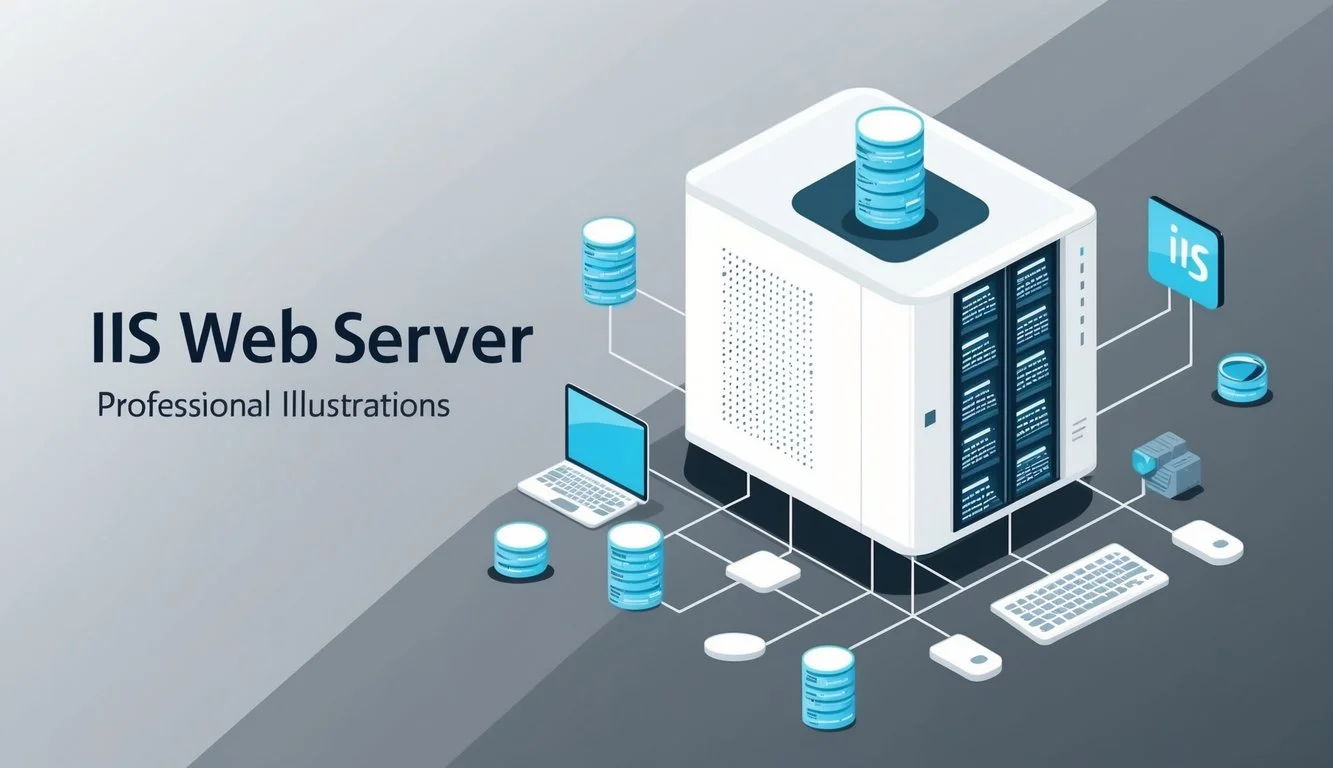
Setting up a domain name in Internet Information Services (IIS) involves configuring your web server to associate a specific domain (e.g., www.example.com) with a website hosted on your server.
Below are the steps to set a domain name in IIS:
Prerequisites
- IIS Installed: Ensure IIS is installed on your Windows server (e.g., via “Add Roles and Features” in Server Manager).
- Domain Ownership: You must own the domain name and have access to its DNS settings (typically managed through your domain registrar like GoDaddy, Namecheap, etc.).
- Static IP Address: Your server should have a static public IP address (or use a dynamic DNS service if applicable).
- Website Files Ready: The website content should already be uploaded to a folder on your server (e.g.,
C:\inetpub\wwwroot\mywebsite).
Steps to Set a Domain Name in IIS
1) Open IIS Manager
To begin, you need to access IIS Manager on your server.
- Press
Win + R, typeinetmgr, and hit Enter. - The IIS Manager window will open.
If IIS is not installed, you must install it through Windows Features.
2) Select Your Website
Once IIS Manager is open:
- In the Connections pane (left side), expand the server node.
- Click on Sites to see the list of websites hosted on the server.
- Select the website to which you want to assign a domain name.
3) Edit Site Bindings
- In the Actions pane (right side), click Bindings.
- The Site Bindings window will appear.
- Click Add to create a new binding.
Here, you need to configure the hostname settings.
4) Configure Hostname
- Type: Choose
http(orhttpsif using an SSL certificate). - IP Address: Set to
All Unassignedor select the specific server IP. - Port: Default is
80for http and443for https. - Host name: Enter your domain (e.g.,
example.com). - Click OK, then Close the Site Bindings window.
At this point, IIS knows to respond to requests for your domain, but the domain itself must point to your server.
5) Update DNS Settings
Your domain must resolve to your server’s IP address. This is done through DNS settings.
For Public Domains (e.g., example.com)
- Log in to your domain registrar’s dashboard (e.g., GoDaddy, Namecheap).
- Find the DNS Settings or DNS Management section.
- Add an A Record pointing to your server’s public IP address.
- If using www.example.com, add a CNAME record pointing
wwwtoexample.com.

Changes may take a few minutes to several hours to propagate.
For Local Domains (e.g., test.local)
If this is a local intranet setup:
- Open the hosts file on your local machine:
C:\Windows\System32\drivers\etc\hosts - Add a new line:
127.0.0.1 test.local
Save the file, and your machine will now recognize the domain locally.
6) Restart IIS
To apply the changes:
- In IIS Manager, click on the server name (top-left).
- In the Actions pane, click Restart.
- Alternatively, open Command Prompt as an administrator and run:
iisreset
7) Test the Domain
Now, open a browser and enter your domain:
- If everything is set up correctly, your website should load.
- If not, clear your DNS cache by running:
ipconfig /flushdns - Check for errors in the IIS logs at:
C:\inetpub\logs\LogFiles
Troubleshooting Tips
- Firewall: Ensure ports
80(HTTP) and/or443(HTTPS) are open in your server’s firewall. - DNS Check: Use a tool like
nslookuporping example.comto verify the domain resolves to your server’s IP. - Host Header Issues: If multiple sites are hosted on the same IP, ensure the “Host Name” field in the binding is correctly set to differentiate them.
Common Issues and Fixes
| Issue | Possible Fix |
| Website not loading | Ensure DNS settings are correct and have propagated. |
| Domain redirects to another site | Check site bindings in IIS and remove conflicting ones. |
| SSL certificate issues | Ensure a valid SSL certificate is installed for https. |
| 404 error | Verify the site is correctly deployed in IIS. |
That’s it! Your domain should now be set up in IIS. Let me know if you need help with any specific part of the process!