Domain SearchInstantly check and register your preferred domain name
 Web Hosting
 cPanel HostingHosting powered by cPanel (Most user friendly)
 KE Domains
 Reseller HostingStart your own hosting business without tech hustles
 Windows HostingOptimized for Windows-based applications and sites.
 Free Domain
 Affiliate ProgramEarn commissions by referring customers to our platforms
 Free HostingTest our SSD Hosting for free, for life (1GB storage)
 All DomainsBrowse and register domain extensions from around the world
 .Com Domain
 WhoisLook up domain ownership, expiry dates, and registrar information
 VPS Hosting
 Managed VPSNon techy? Opt for fully managed VPS server
 Dedicated ServersEnjoy unmatched power and control with your own physical server.
 SupportOur support guides cover everything you need to know about our services
Switching web hosts isn’t something most people wake up excited to do, but staying stuck with slow speeds, downtime, or rising renewal costs isn’t exactly fun either. At some point, it just makes sense to move.
Maybe your current host feels limiting, maybe support takes forever, or maybe you simply want something more affordable without sacrificing the basics your website needs to run smoothly.
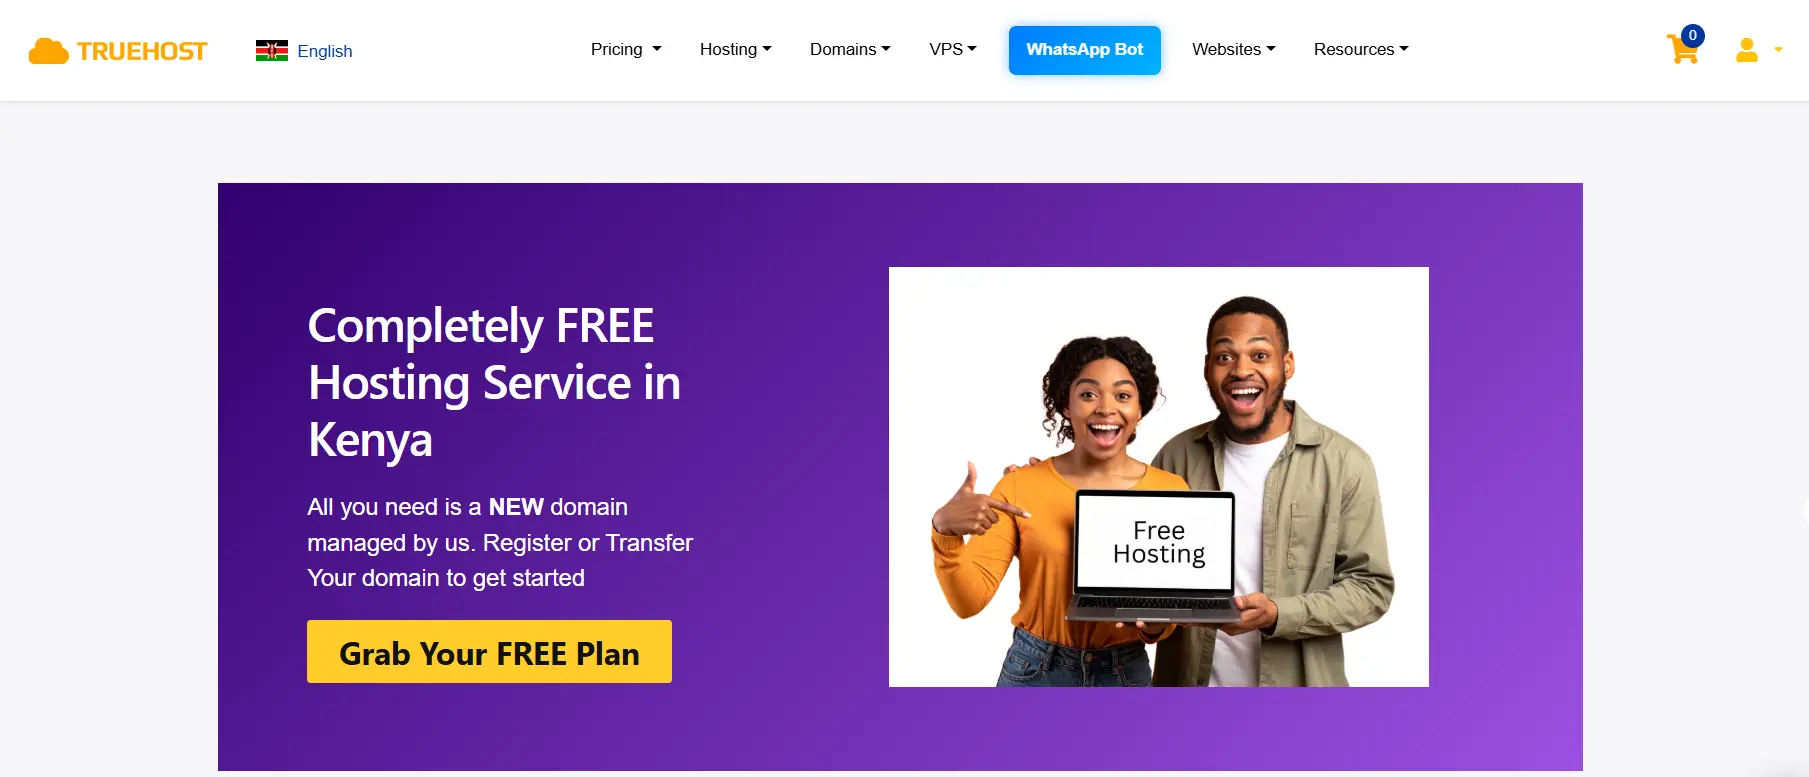
That’s where our free web hosting package comes in. It’s designed for simplicity and practicality, perfect if you’re running a personal blog, small business site, portfolio, or any lightweight project.
You get reliable SSD storage, a user-friendly control panel, a free SSL certificate for security, and one-click installers to set things up quickly. The best part? It’s completely free for life. No hidden renewal fees creeping in later. Just a straightforward solution for websites that don’t need heavy resources but still deserve solid performance.
Now, before you jump into the transfer, there are a few essentials you’ll want to have ready. You’ll need access to your current hosting account, which is where your website files and databases live.
You’ll also need control over your domain name so you can point it to your new hosting. And finally, having a recent backup of your website is key. It’s your safety net, ensuring that no matter what happens during the move, your data stays intact.
Once you’ve got these in place, the transfer process becomes much smoother and a lot less intimidating than it sounds.
Step-by-Step: How to Transfer to Our Free Web Hosting
Migrating your website isn’t as complicated as it sounds; it just needs a careful, structured approach. It’s similar to moving houses: you pack everything, set up the new place, then switch over once everything is in order. If you follow these steps properly, you can move your site with little to no downtime.
Step 1: Back Up Your Current Website (Don’t Skip This)
This is the most important step. Before making any changes, create a complete backup of your website so you always have a restore point if something goes wrong.
A full backup includes:
- All website files (themes, plugins, media, core files)
- Your database (posts, pages, user data, settings)
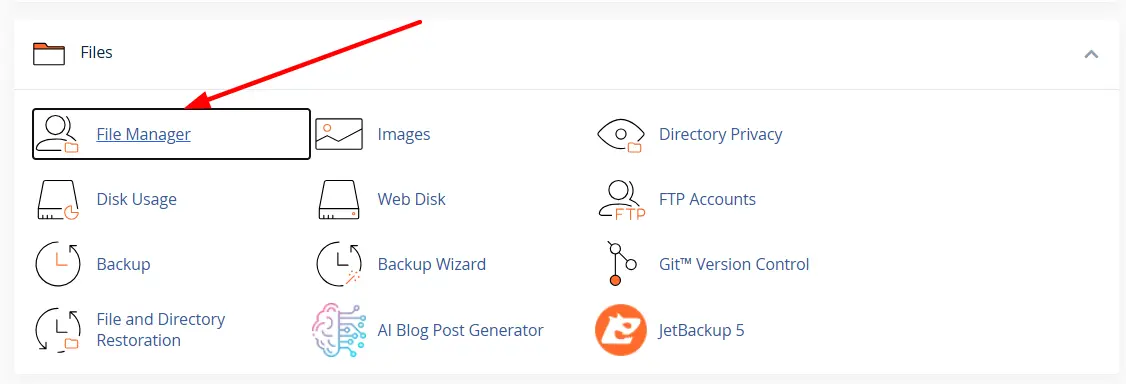
Most hosting panels like cPanel make this easy:
- Use File Manager to compress and download your public_html folder
- Go to phpMyAdmin and export your database as a .sql file
If your site runs on WordPress, backup plugins can automate everything, but it’s still smart to keep a manual copy.
If anything breaks during the transfer, you can restore your site instantly instead of rebuilding everything from scratch.
Step 2: Sign Up and Prepare Your Free Hosting Account
Next, activate your free hosting account and get familiar with your new environment.
During setup:
- Add your domain (either a new registration or a transfer)
- Access your hosting dashboard
- Take note of your nameservers (you’ll use them later)
Our free hosting package is built for simplicity, so you’ll typically get:
- SSD storage for faster loading
- A control panel for easy management
- Free SSL for secure browsing
- 1-click installers for platforms like WordPress
Before moving forward, take a minute to explore the dashboard; it’ll make the next steps go more smoothly.
Step 3: Upload Your Website Files to the New Server
Now that your new hosting is ready, it’s time to move your website files.
You have two main options:
- Upload directly via File Manager
- Use an FTP tool like FileZilla for faster transfers
Here’s the process:
Open your new hosting control panel
Go to the public_html directory

Upload your website backup (preferably as a ZIP file)
Extract the files once uploaded
Make sure your main files (such as index.php or index.html) are placed directly in public_html. If they’re inside another folder, your site won’t load properly.
Step 4: Create and Import Your Database
If your website uses dynamic content (like blogs or ecommerce), it relies on a database.
To set it up:
- Go to MySQL Databases in your hosting panel
- Create a new database
- Create a database user and assign a strong password
- Link the user to the database with full permissions
Then import your old data:
- Open phpMyAdmin
- Select your newly created database
- Click Import and upload your .sql backup file
This step restores your content, settings, and structure exactly as it was.
Step 5: Reconnect Your Website to the New Database
At this point, your files and database are in place, but they’re not yet connected.
You’ll need to update your configuration file so your site knows how to access the new database.
For example, in WordPress:
- Locate wp-config.php in your file manager
- Update:
- Database name
- Username
- Password
- Host (usually localhost)
Even a small typo here can cause a “database connection error,” so double-check everything before saving.
Step 6: Update Your Domain DNS Settings
Now you need to point your domain to your new hosting.
Log in to your domain provider and replace the old nameservers with the new ones from your hosting account.
DNS propagation can take:
- A few minutes (rare)
- Up to 24 hours (common)
During this time, your site may load inconsistently depending on location, but that’s completely normal.
Step 7: Test Everything Before Fully Going Live
Before you consider the migration complete, test your website thoroughly.
Check:
- All pages load correctly
- Images, CSS, and design elements display properly
- Links and navigation work
- Forms and login areas function
- No database errors appear
You can test before DNS fully updates using:
- Temporary URLs from your host
- Editing your local hosts file (advanced option)
Once everything works as expected and DNS has fully propagated, your site is officially live on the new hosting.
Getting Started with Your Free Hosting Transfer
By now, you’ve seen that transferring your website isn’t some complicated, risky process; it’s just a series of clear steps done right. Once your files, database, and domain are properly set up, your site will run just as it did before, only now on a hosting platform that costs you nothing and still gets the job done.
If you’ve been putting off switching because it felt technical or time-consuming, this is your sign to move. The longer you stay on slow or overpriced hosting, the more it costs you in performance and growth.
Start your free hosting journey today with Truehost, and get your site online with zero hosting costs, reliable performance, and everything you need to run a simple website without the stress.
Free Hosting Transfers FAQs
Is the transfer really free?
Yes, there’s no charge for moving your website to our free hosting package. As long as you meet the requirement (buying a new domain or transferring your existing one), the hosting itself is free for life. There are no hidden migration fees or surprise charges later on.
Will my website experience downtime?
In most cases, downtime is minimal or completely avoided. Your old hosting stays active while you set up the new one, so visitors can still access your site during the transition. The only slight delay may happen during DNS updates, but even then, it’s usually smooth for most users.
How long does migration take?
It depends on the size and complexity of your website.
- Small websites: a few hours
- Medium sites: same day
- Larger or more complex sites: up to 24–48 hours
The actual DNS propagation can take up to 24 hours, but the transfer itself is often much quicker.
Can I transfer multiple websites?
Yes, you can transfer multiple websites, but it depends on your hosting plan’s limits. Free hosting is typically designed for simpler, smaller sites, so you may need to check how many domains or websites your account supports.
What if I don’t have technical skills?
You don’t need to be an expert to move your site. The process is beginner-friendly, especially with tools like control panels and one-click installers. Plus, most of the steps involve simple actions like uploading files and copying details. If you get stuck, support is usually available to guide you through it.