
Installing WordPress often takes a lot of steps:
- Downloading and uncompressing a zip file,
- Uploading files to the server, and
- Setting up the database and config.
That can take a lot of time.
Or you can do it by using the Softaculous Apps installer utility available in the control panel.
In SSH installation process is rather easy and very fast.
Requirements:
- SSH access to your hosting account, if not, please request your hosting provider to allow SSH access.
- SSH application, e.g. putty but for Linux users, you can use your terminal.
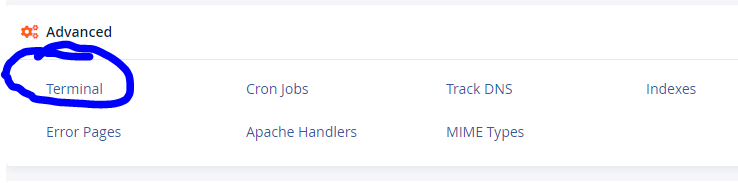
Step1: Login to Cpanel and access the terminal or use the SSH application eg putty with your credentials.
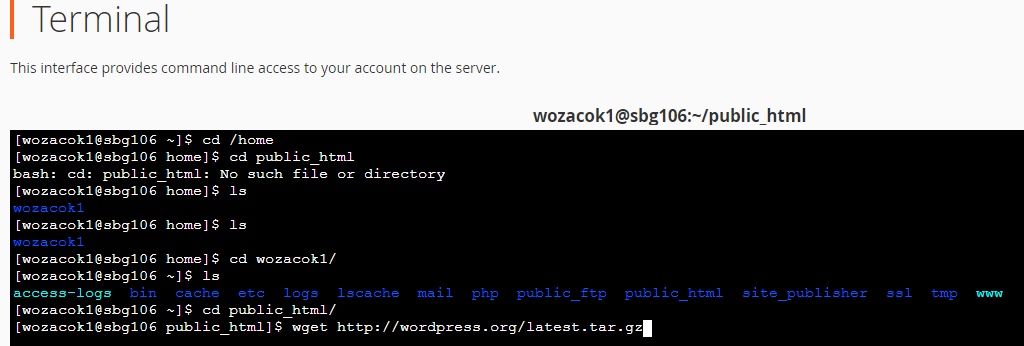
Step 2: Download WordPress.
Need to go to the correct directory where we want to set up WordPress. Download the files and extract them there.
Let’s say the directory you want your blog to be installed under the public_html directory. In that case, you will use the following command:
cd public_html/
Download WordPress using the wget command.
wget http://wordpress.org/latest.tar.gz
Extract the downloaded WordPress using the following command.
$tar xfz latest.tar.gz
Now, after extraction, you will find a WordPress directory under the public_html directory containing your install.
So to shift the files back to where they should be, use the following commands:
mv wordpress/* /public_html
Step 3: Installing WordPress
You need first to create the database and the user and assign privileges.
- mysql -u username –p
- create database dbname;
- create user ‘dbusername’@’localhost’ identified by ‘password’;
- grant usage on *.* to username@localhost identified by ‘password’;
- grant all privileges on dbname.* to username@localhost;
The first command creates the database. The second one creates the database. The third command allows the user to connect to the database. The final command grants all privileges to the user for that database. You can test whether your database creation was successful by running this command:
- use dbname;
It should say “database changed”. Now you can exit the MySQL command line by typing exit.
Now you need to create the database connection in the wp-config.php
Use the following command using vim editors.
vi ./wp-config.php
Enter your database credentials and save.
Now, you can load your website on your browser for the WordPress installer to run.
Enjoy.

Leave A Comment?