
Rescue Mode loads a minimal operating system that allows you to access your VPS in case you are unable to access it normally for some reason. Such reasons may include misconfigured firewall settings, crushed kernel or grub.
Rescue mode allows you to gain access to the VPS and fix the issue or backup your data so you can reinstall the VPS if that is whats needed.
To access rescue mode, follow the steps below
1.Login to your client area
2.Navigate to Services tab
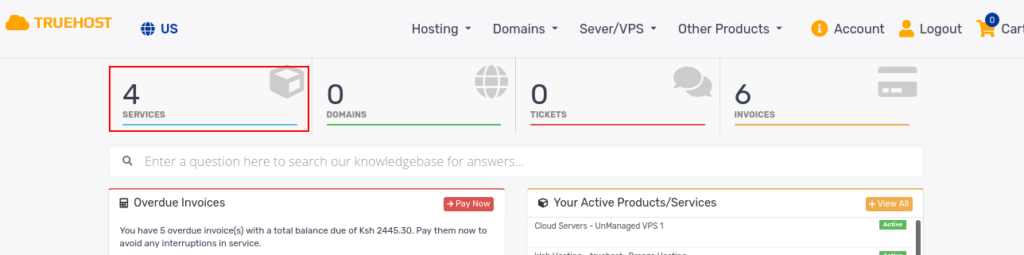
3.Your services will be listed. Click on the VPS service you want to manage. Allow a few seconds for the VPS Management Panel to load. You will see the following page.
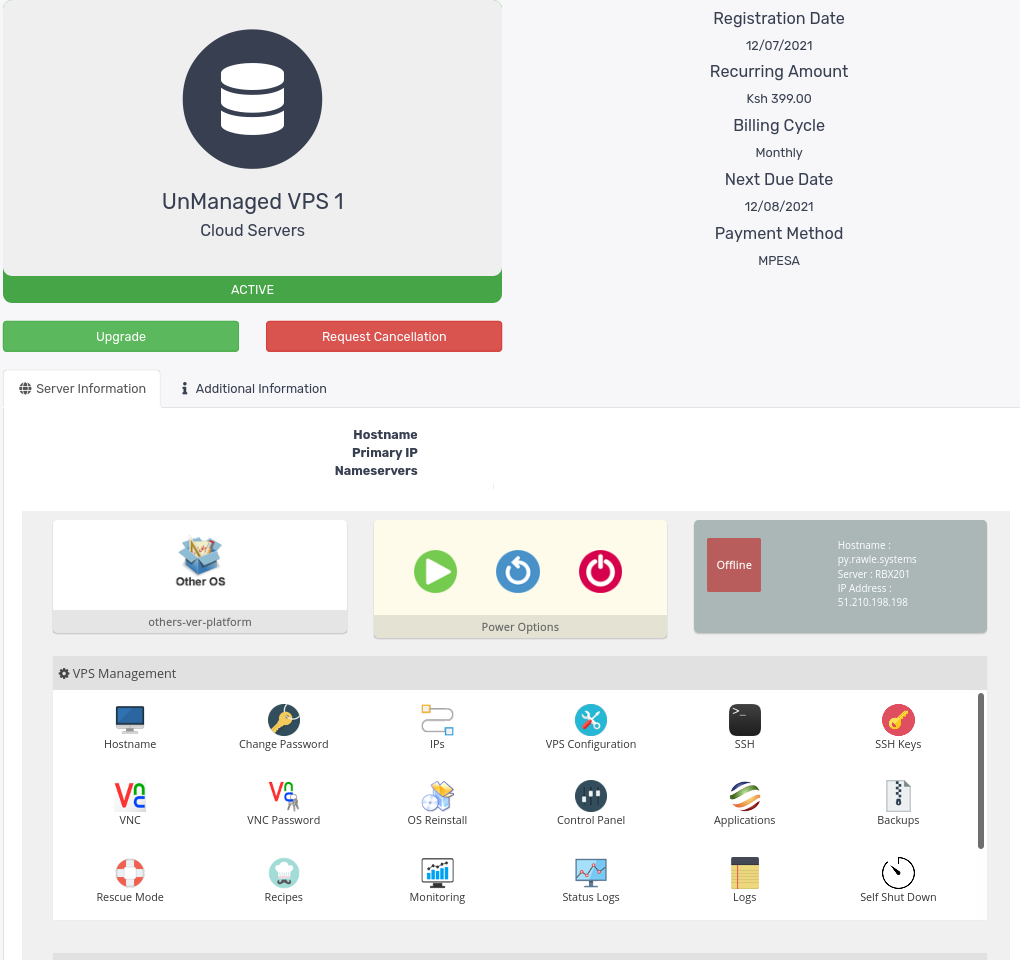
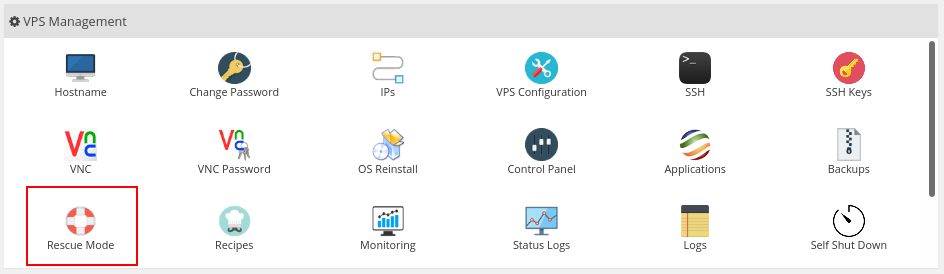
4.Look for Rescue Mode icon and click on it
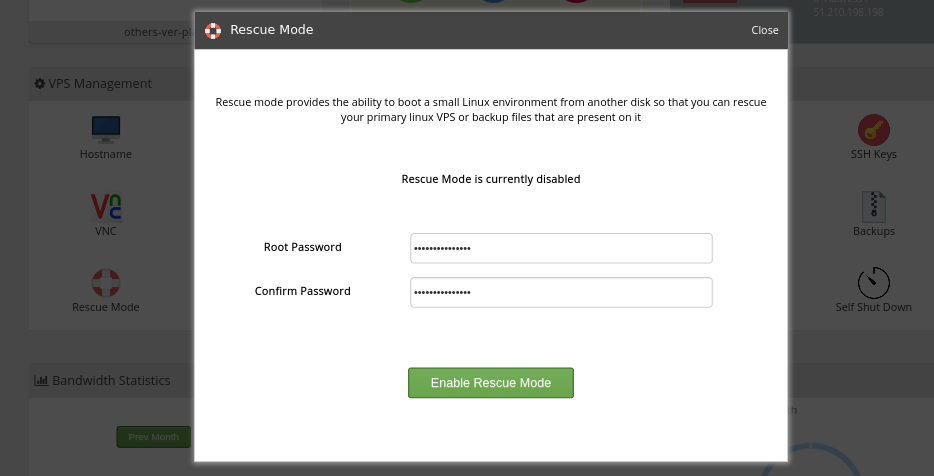
5. Provide a strong password which you will use to access the VPS then click Enable Rescue Mode. Allow 5 minutes as Rescue Mode is enabled. Credentials will also be sent to your registered email address
6. Once Rescue mode is enabled, you may now access the VPS and perform diagnosis and recovery operations as needed.
Disabling Rescue Mode
Once you are through with using Rescue Mode, you need to disable it to boot back to the normal OS.
To do this,
1.Navigate to the VPS Management Panel as guided above.
2.Click Rescue Mode icon
3.Click Disable Rescue Mode button
Rescue mode will be disabled and your VPS can now be managed normally.

Leave A Comment?